ASUS’ gaming brand ROG Strix is currently more and more in the media spotlight. The reason for this is the numerous latest announcements and releases of further gaming products as well as collaborations that catch the eye of a large part of gamers. The design, as well as the workmanship of the products are as good as always and stand out visually from the crowd compared to many other products.
The ASUS ROG Strix Helios is one of these products, which we want to take a closer look at in the following review. All the aspects we just mentioned can be found in this midi tower. In addition, ROG has installed other features that can arouse interest. However, if you look at the price, some doubts arise whether such a gaming tower is worth it. What the Strix Helios is capable of and has to offer, you will now find out in the following article!
Technical data
| Size | Midi Tower |
| Dimensions (L x W x H) | 250 x 565 x 591 mm |
| Material | Toughened glass (front-right-left side) |
| Color | Black (also available in a white version) |
| Mainboard |
EATX (12 “x10. 9”), ATX, Micro-ATX, Mini-ITX
|
| Slots |
8, 2 (optional vertical)
|
| HDD/SSD Support |
4 x 2.5″ Bay, 2 x 2.5″/3.5″ Combo Bay
|
| Front I/O connectors |
1 x headphones, 1 x microphone, 4 x USB 3. 1 Gen1, 1 x USB 3. 1 Gen2 Type C, LED Control Button, Fan Control Button, Reset Button
|
| Lighting | RGB lighting on the front panel glass |
| Fan (front panel) |
120 mm, 140 mm, 240 mm, 280 mm, 360 mm, 420 mm
|
| Cooler support (top). |
120 mm, 140 mm, 240 mm, 280 mm, 360 mm
|
| Fan (rear) |
120 mm
140 mm
|
| Maximum CPU cooler height | 190 mm |
| Maximum GPU length | 450 mm |
| Maximum PSU length | 220 mm |
| Radiator Support | Top (Radiator + Max. 60 mm fan thickness), Front (Radiator + Max. 90 mm fan thickness) |
| Extras | Pre-installed black fans (3 x 140 mm), Removable dust filter, Special PCI slot bezel, Additional SSD bay, Cable ties, Warranty card |
| Price | € 249.90 * |

Packaging & scope of delivery
The ROG Strix Helios comes in typical ROG looking packaging. What is initially noticeable here is the massive size of the box. On the front we find a product image of the case, which stands out against the black ROG logo background. Due to the size, we find enough information about the case in different languages on the back of the box.


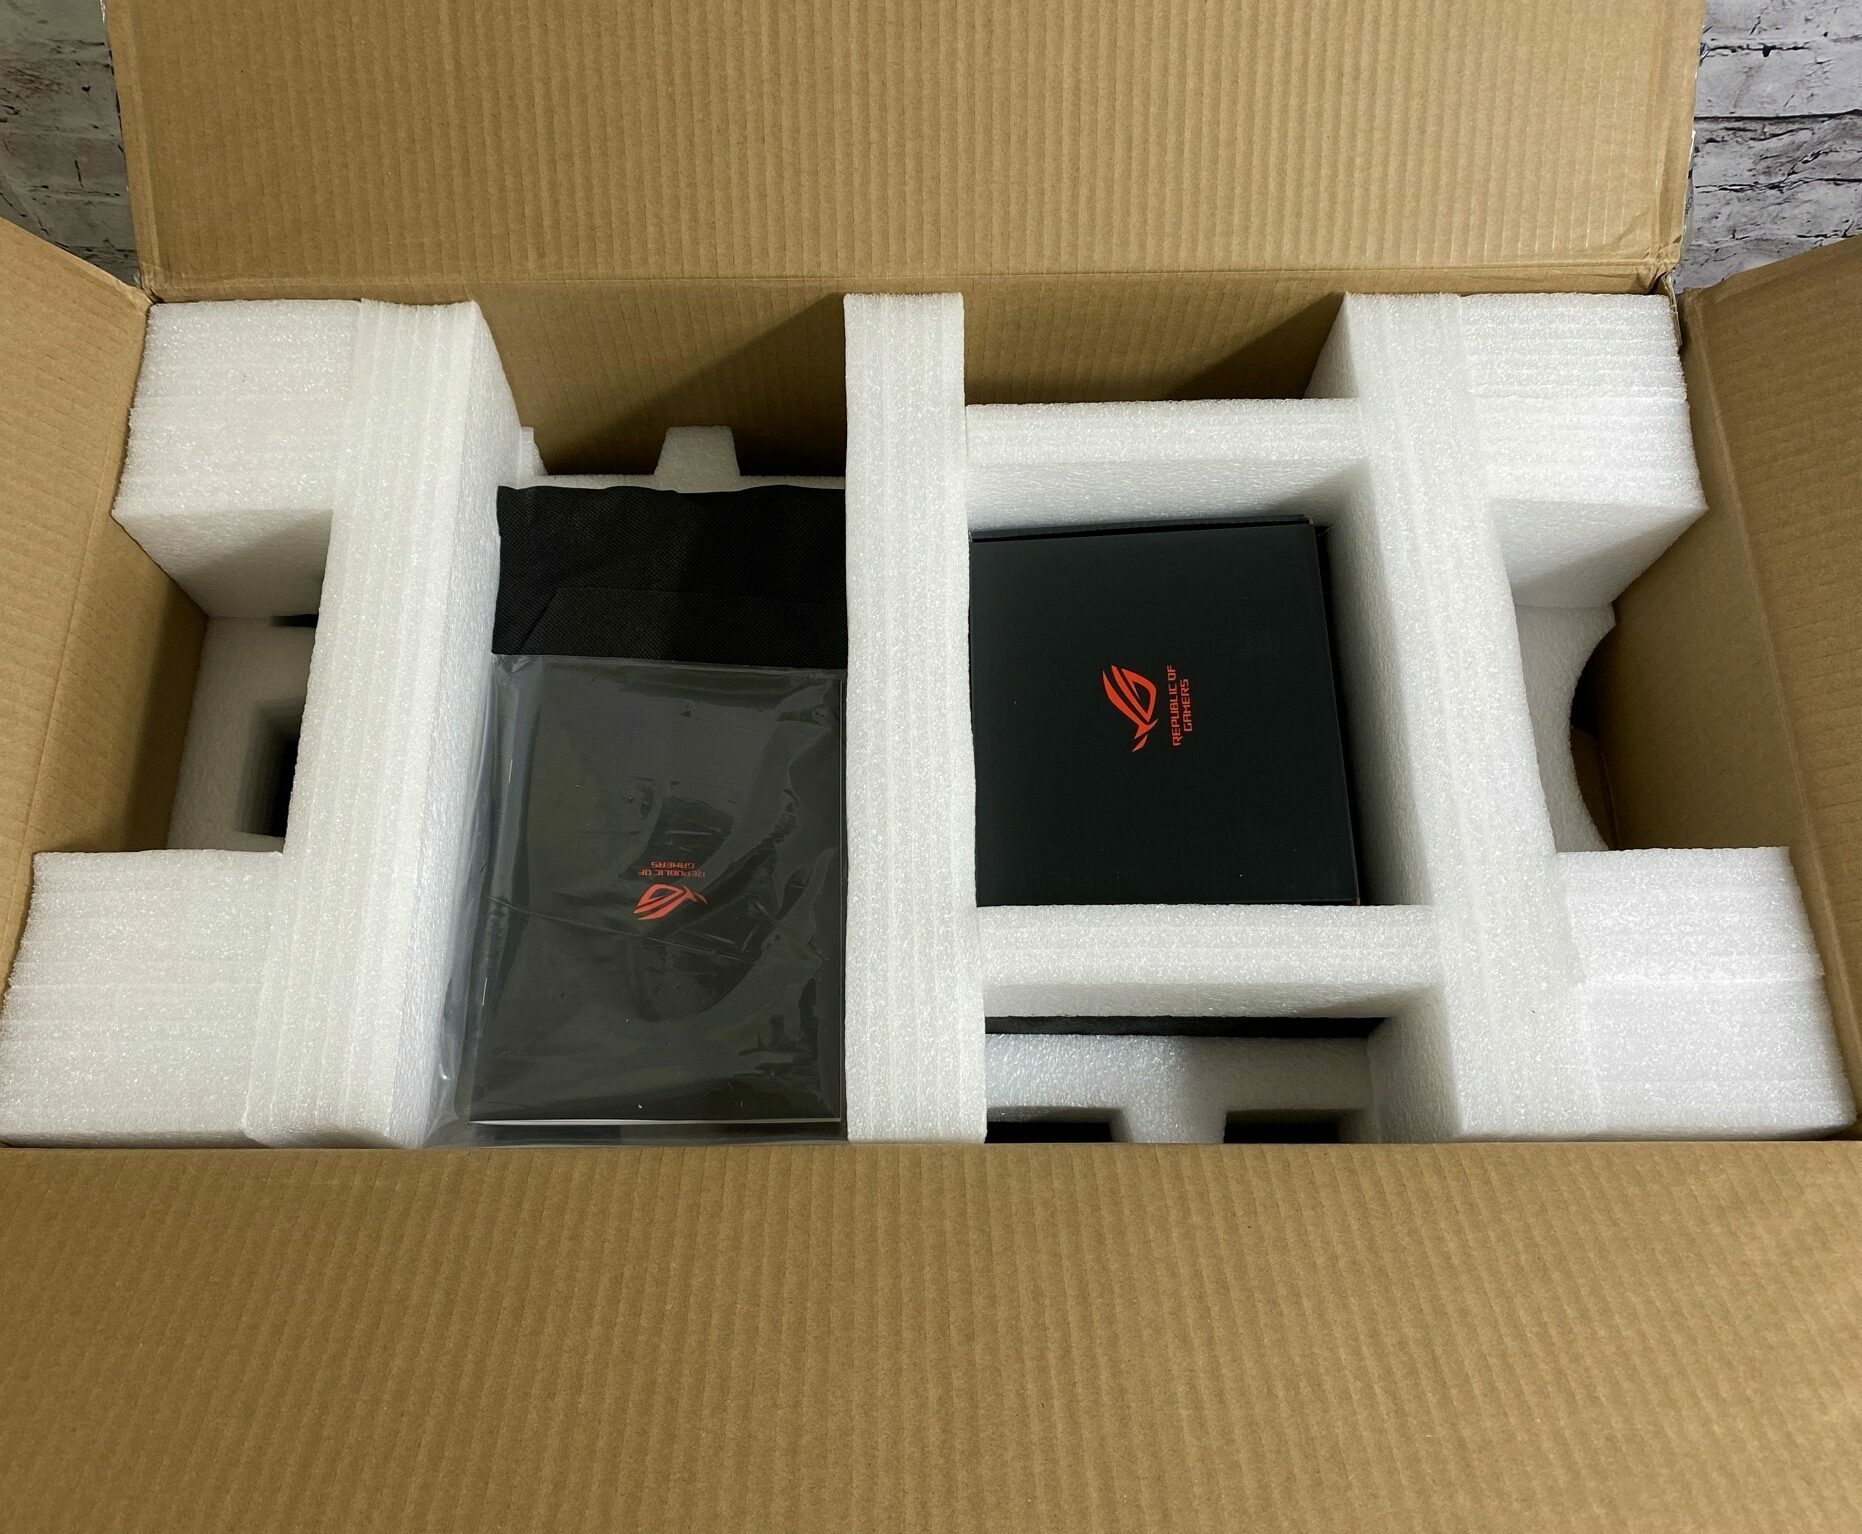
Unboxing is an experience in itself for many products these days – the most recent example of this is probably the ROG Phone 5, which was recently released. Perhaps not quite as exciting in terms of implementation, but Asus has packaged the ROG Strix Helios with a very high quality. When you open it, the packaging inserts are on top in a small black box. The case has been wrapped with a high-quality black ROG bag. Inside the accessory box is a special PCI slot bezel, an extra SSD bay, a few cable ties, screws, and a warranty card.


Exterior Impression
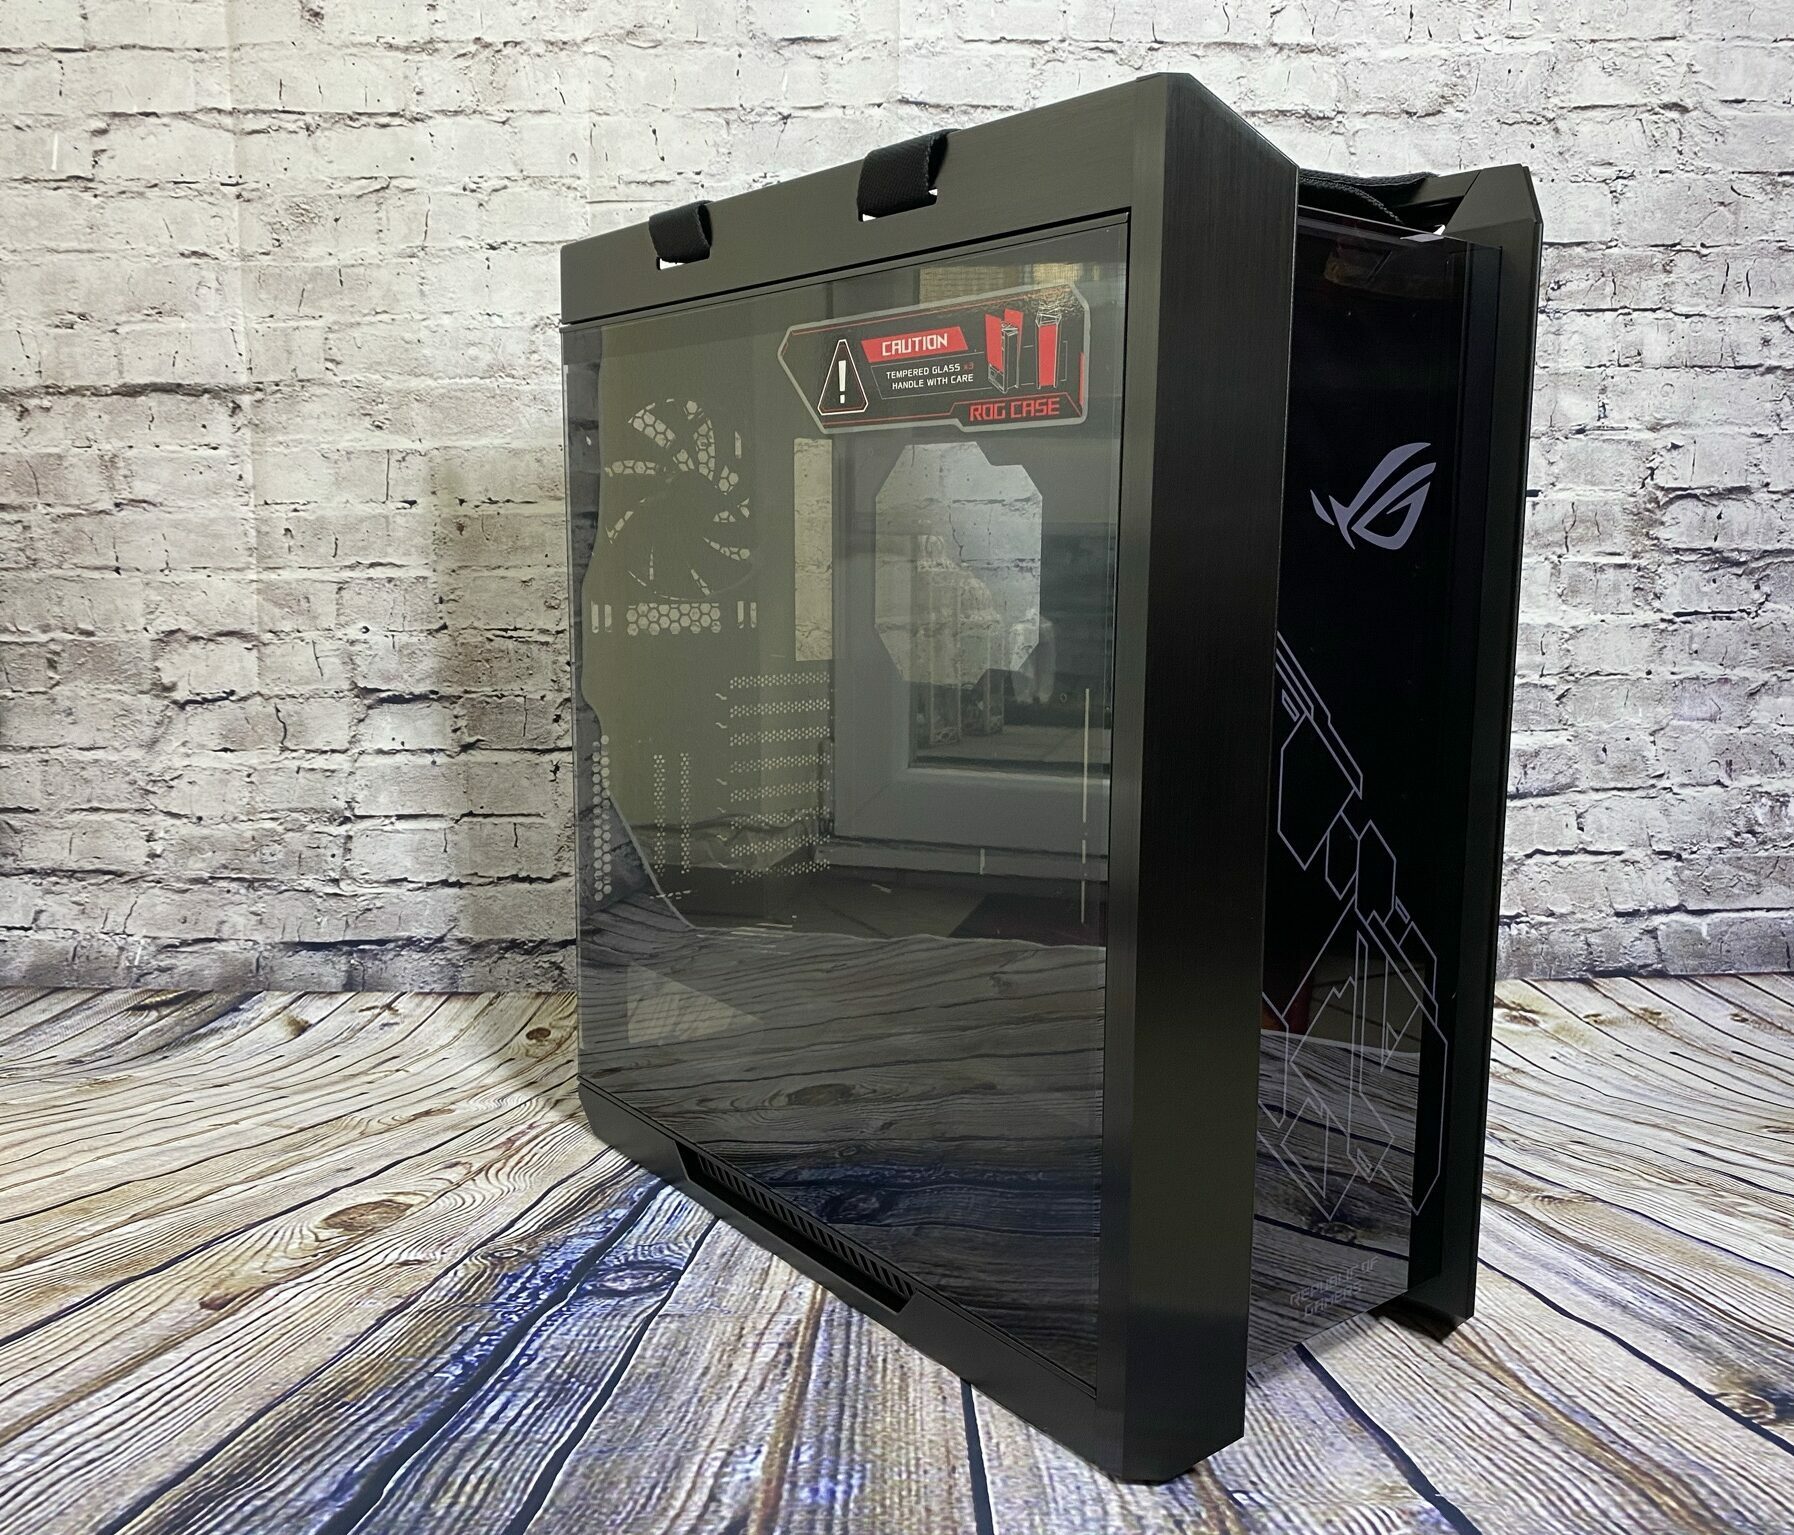
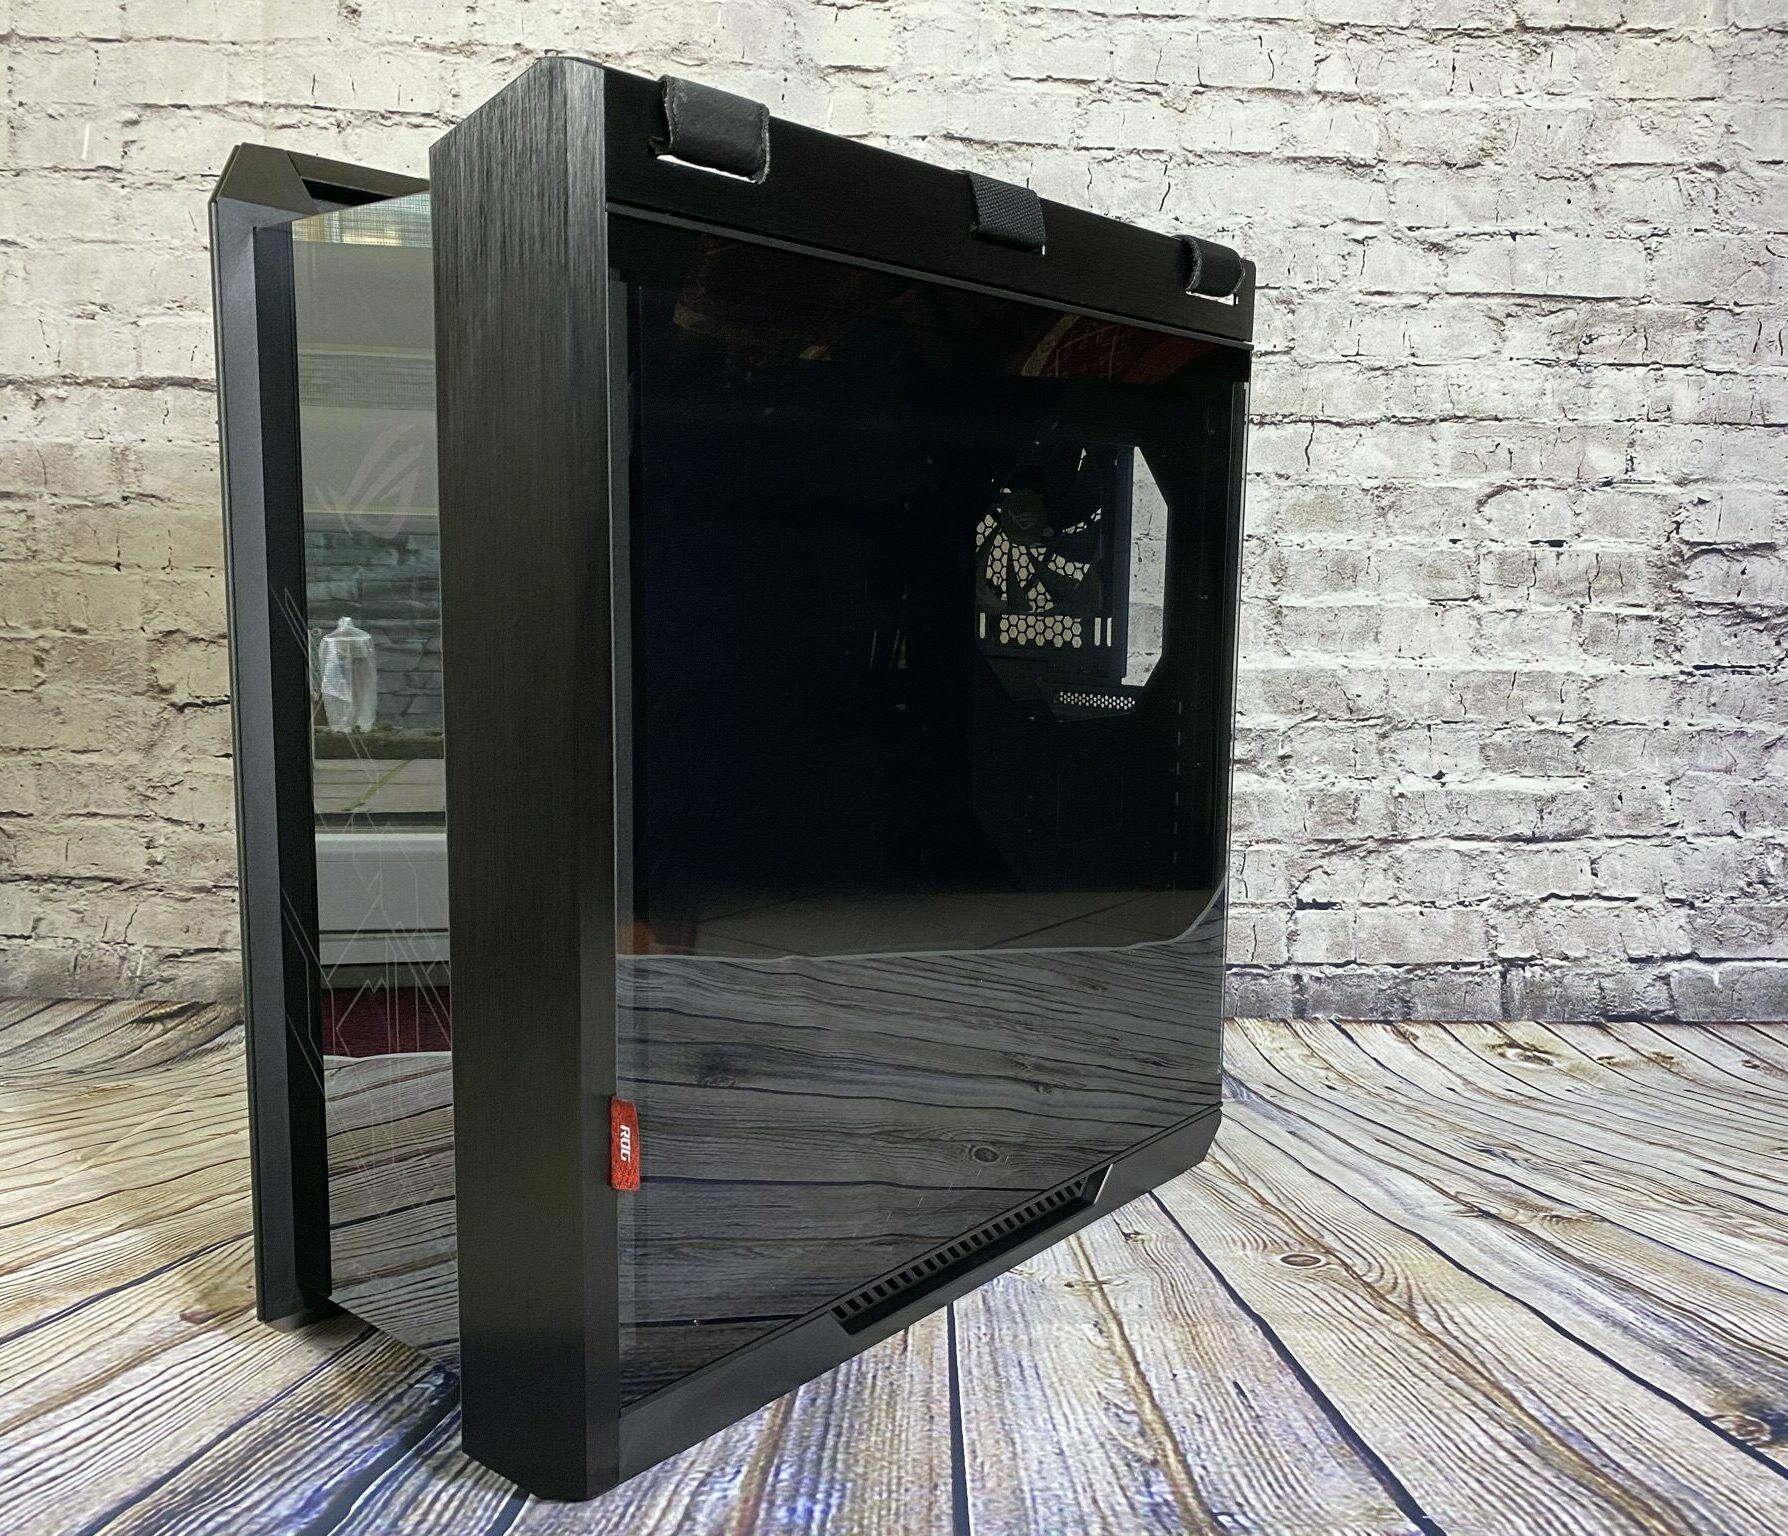
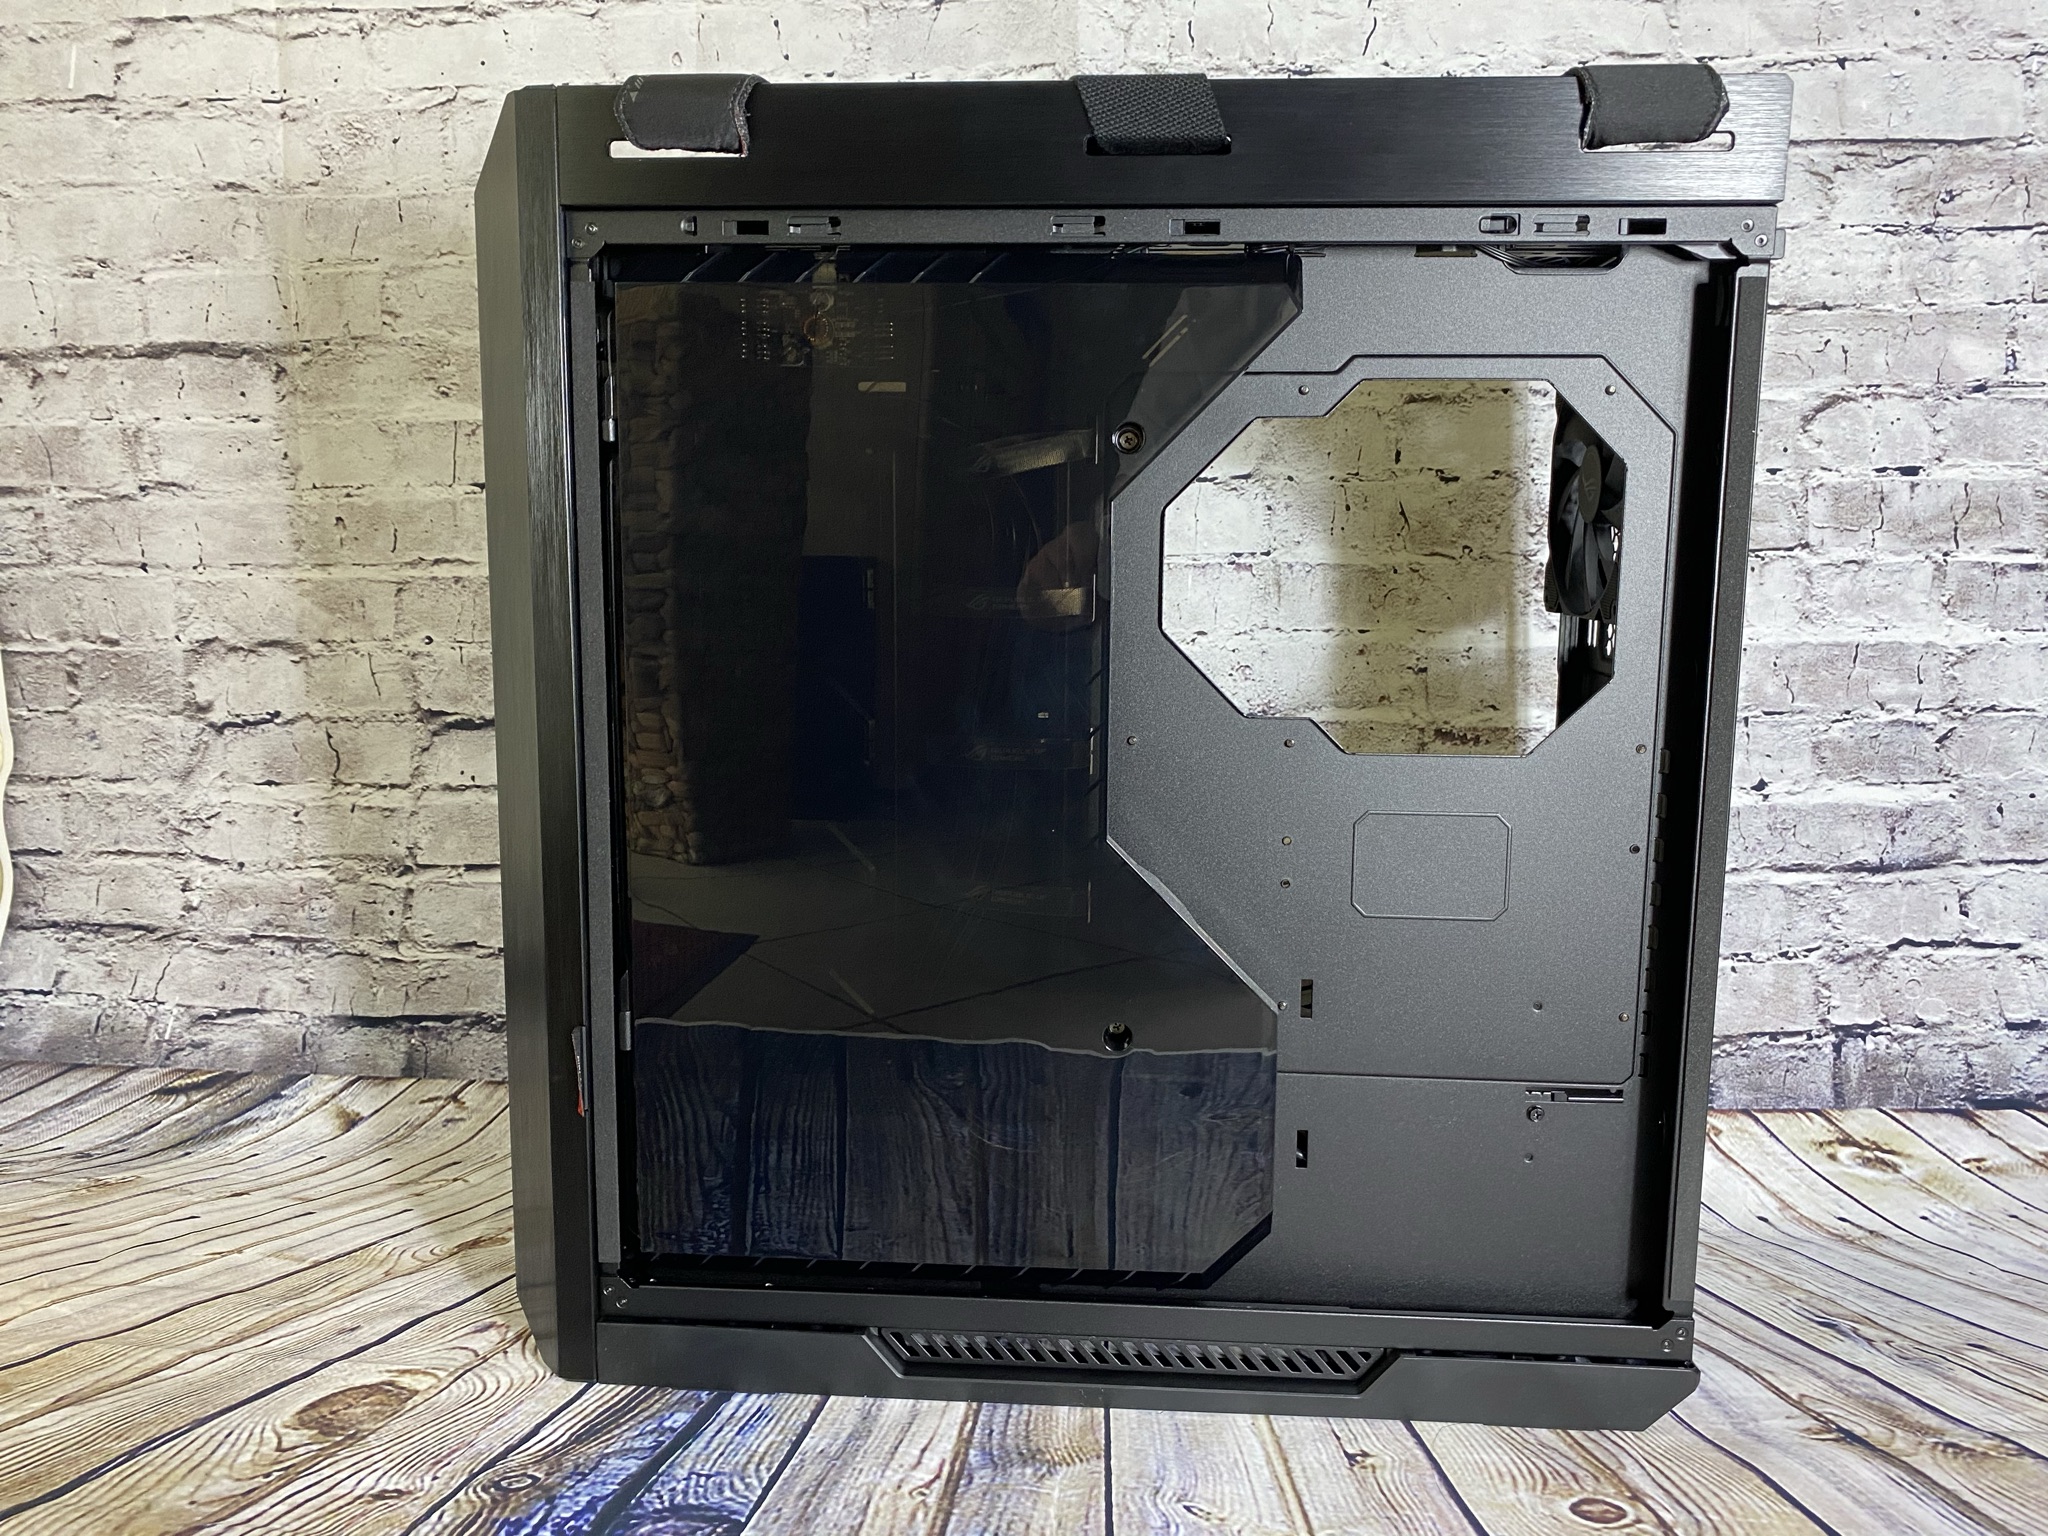
The ROG Strix Helios is now free of its packaging, so let’s get an overview of the exterior. One thing is immediately apparent from the start, the Strix Helios is a colossus and that’s exactly how it stands. The tempered glass panels on the sides are massive in size and thus the viewing window allows a wide-angle view into the inside of the case. The glass has a small metal edge on the top edge – This edge has small hooks on the back that allow it to snap into a guide on the case. To remove the viewing window, you simply press a small button on the back of the case and the glass pane releases from its guide. You don’t have to worry about it falling to the floor if you don’t hold it tight, since it also has holders at the bottom that keep the glass pane in its guide. Here an unintentional mishap was secured – very well thought out and implemented!
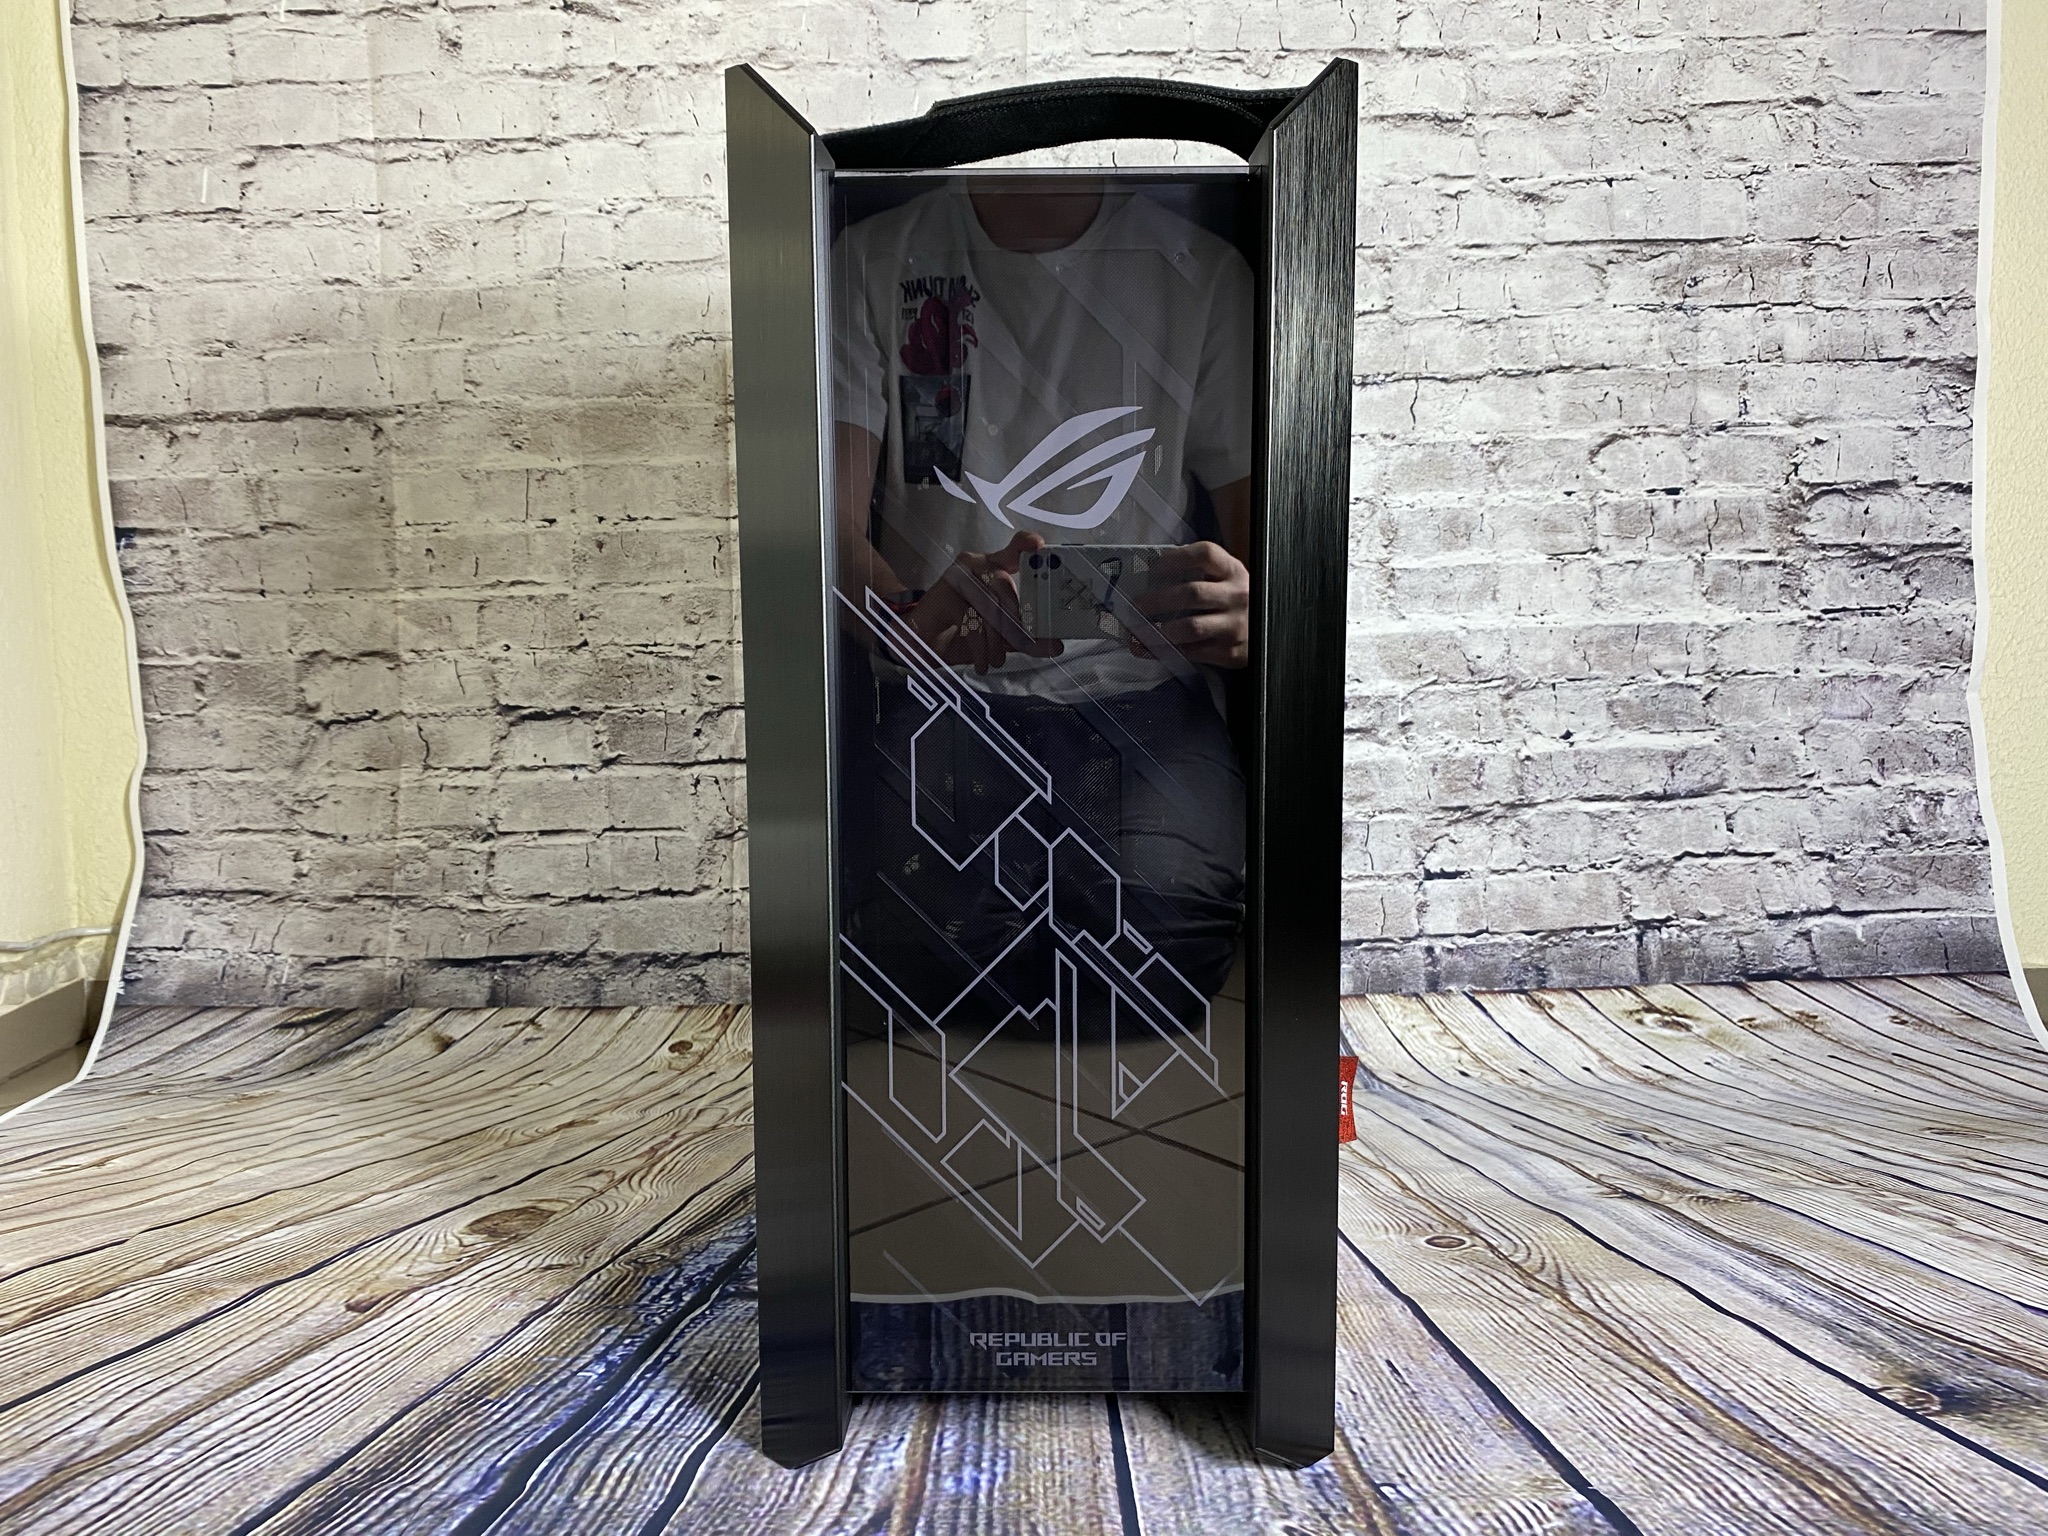
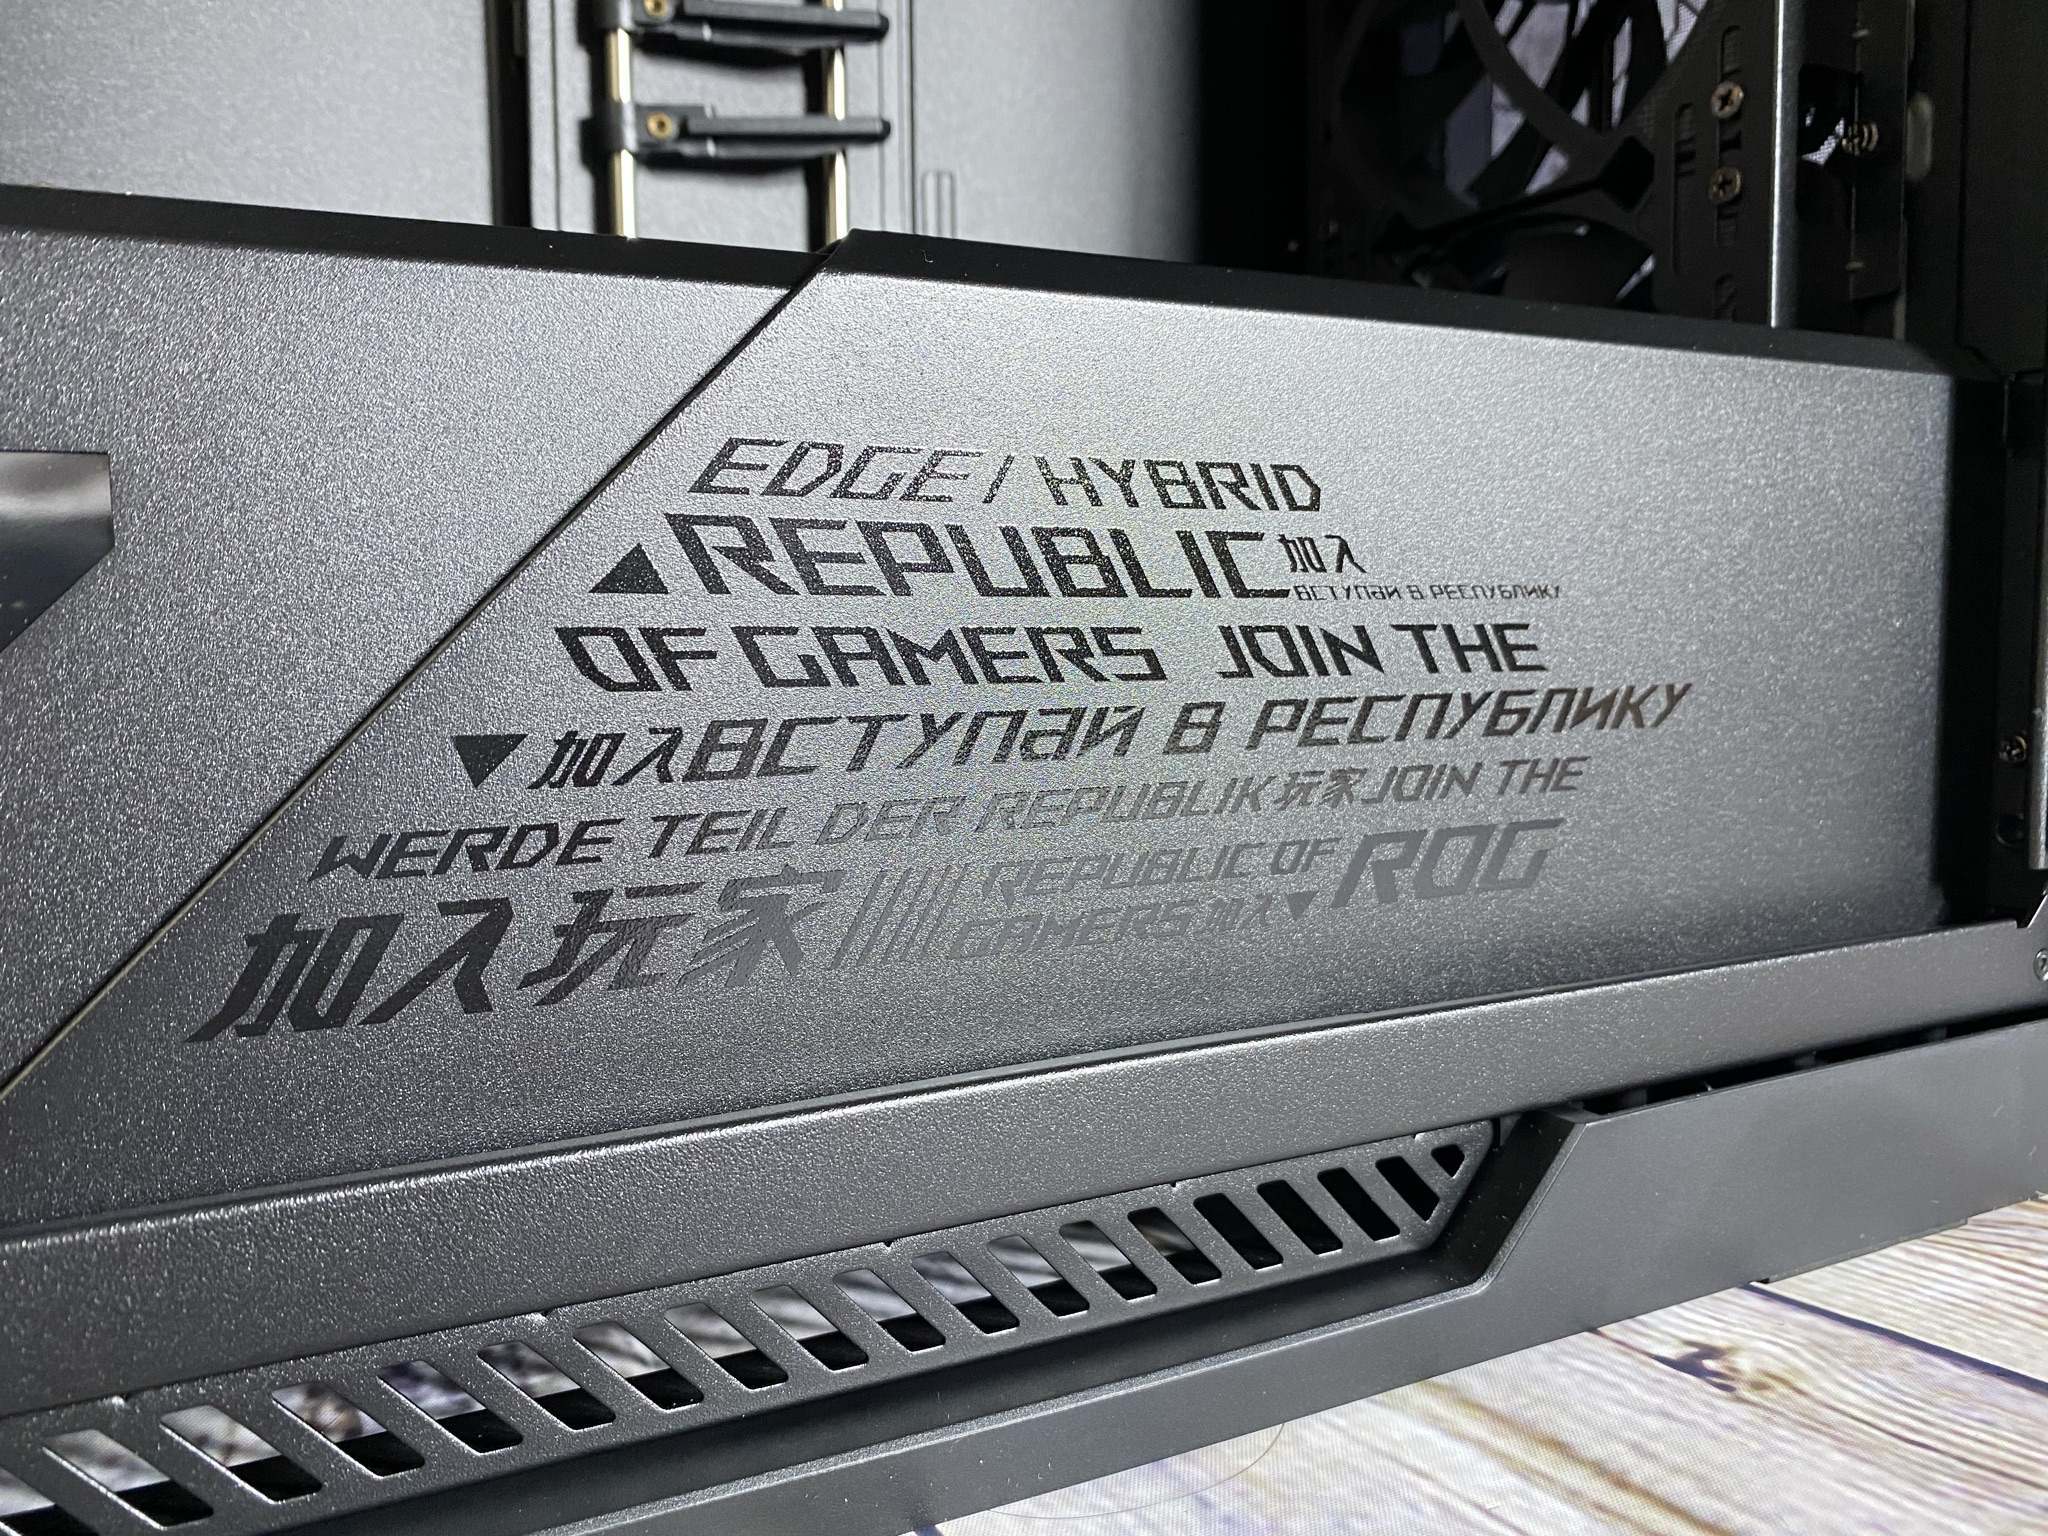
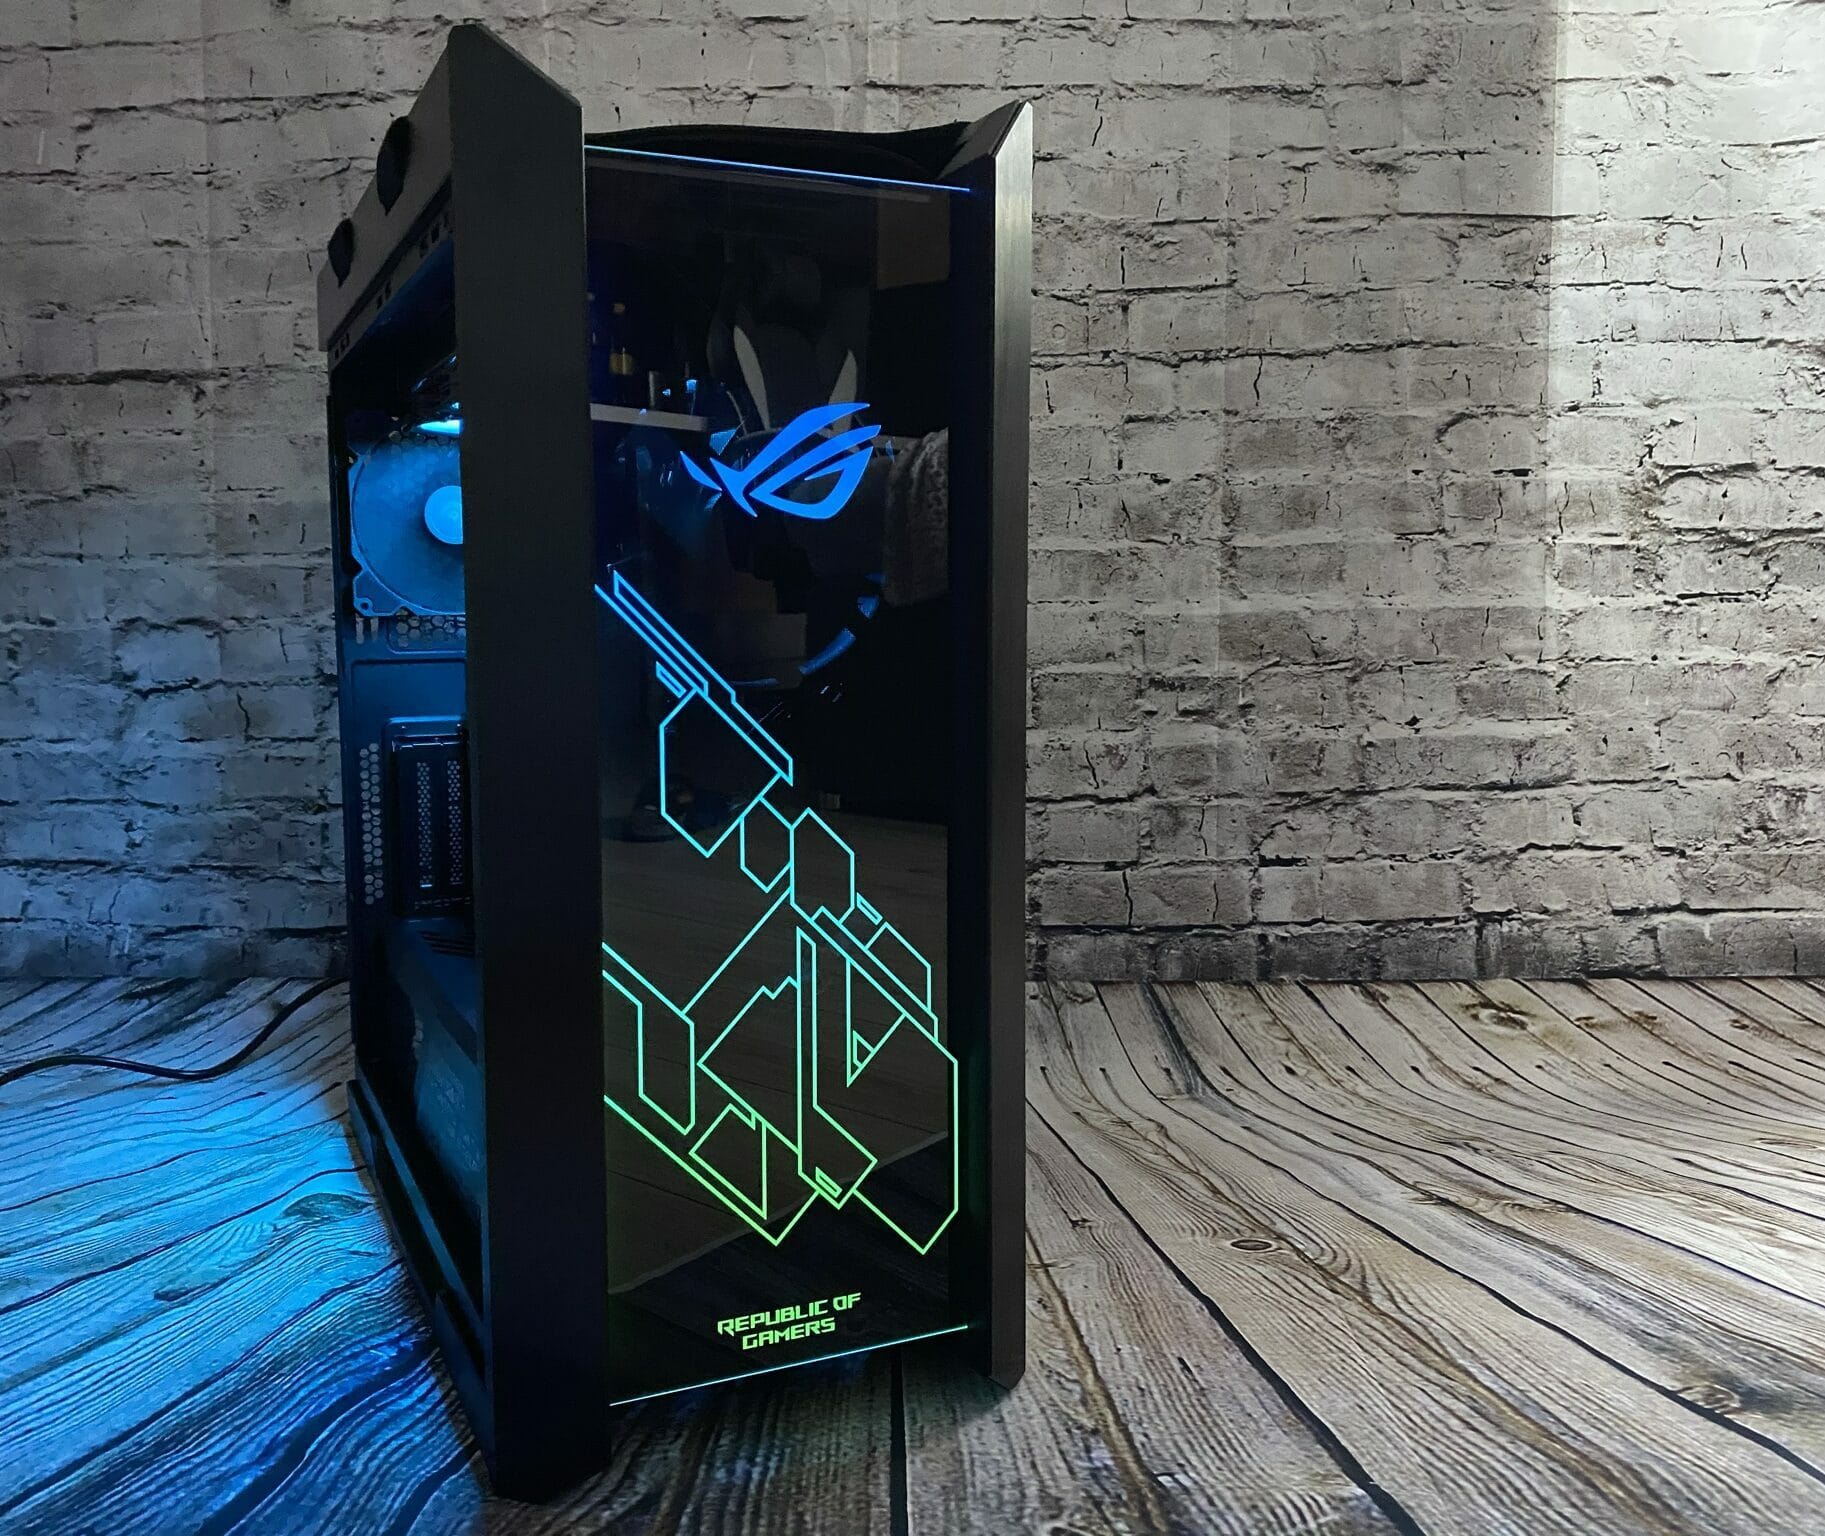
Let’s take a look at the front side, which has been designed differently than usual. From both sides, a slope of brushed black aluminum goes away to the front. The space between the two columns is connected with a glass pane. There is a ROG logo on the glass pane and usual ROG patterns underneath, which can be illuminated from the sides. In addition, the motto: “Republic of Gamers” has also found its place on the glass pane. Everything on the front has been finished to a high standard and does not show any qualitative flaws.


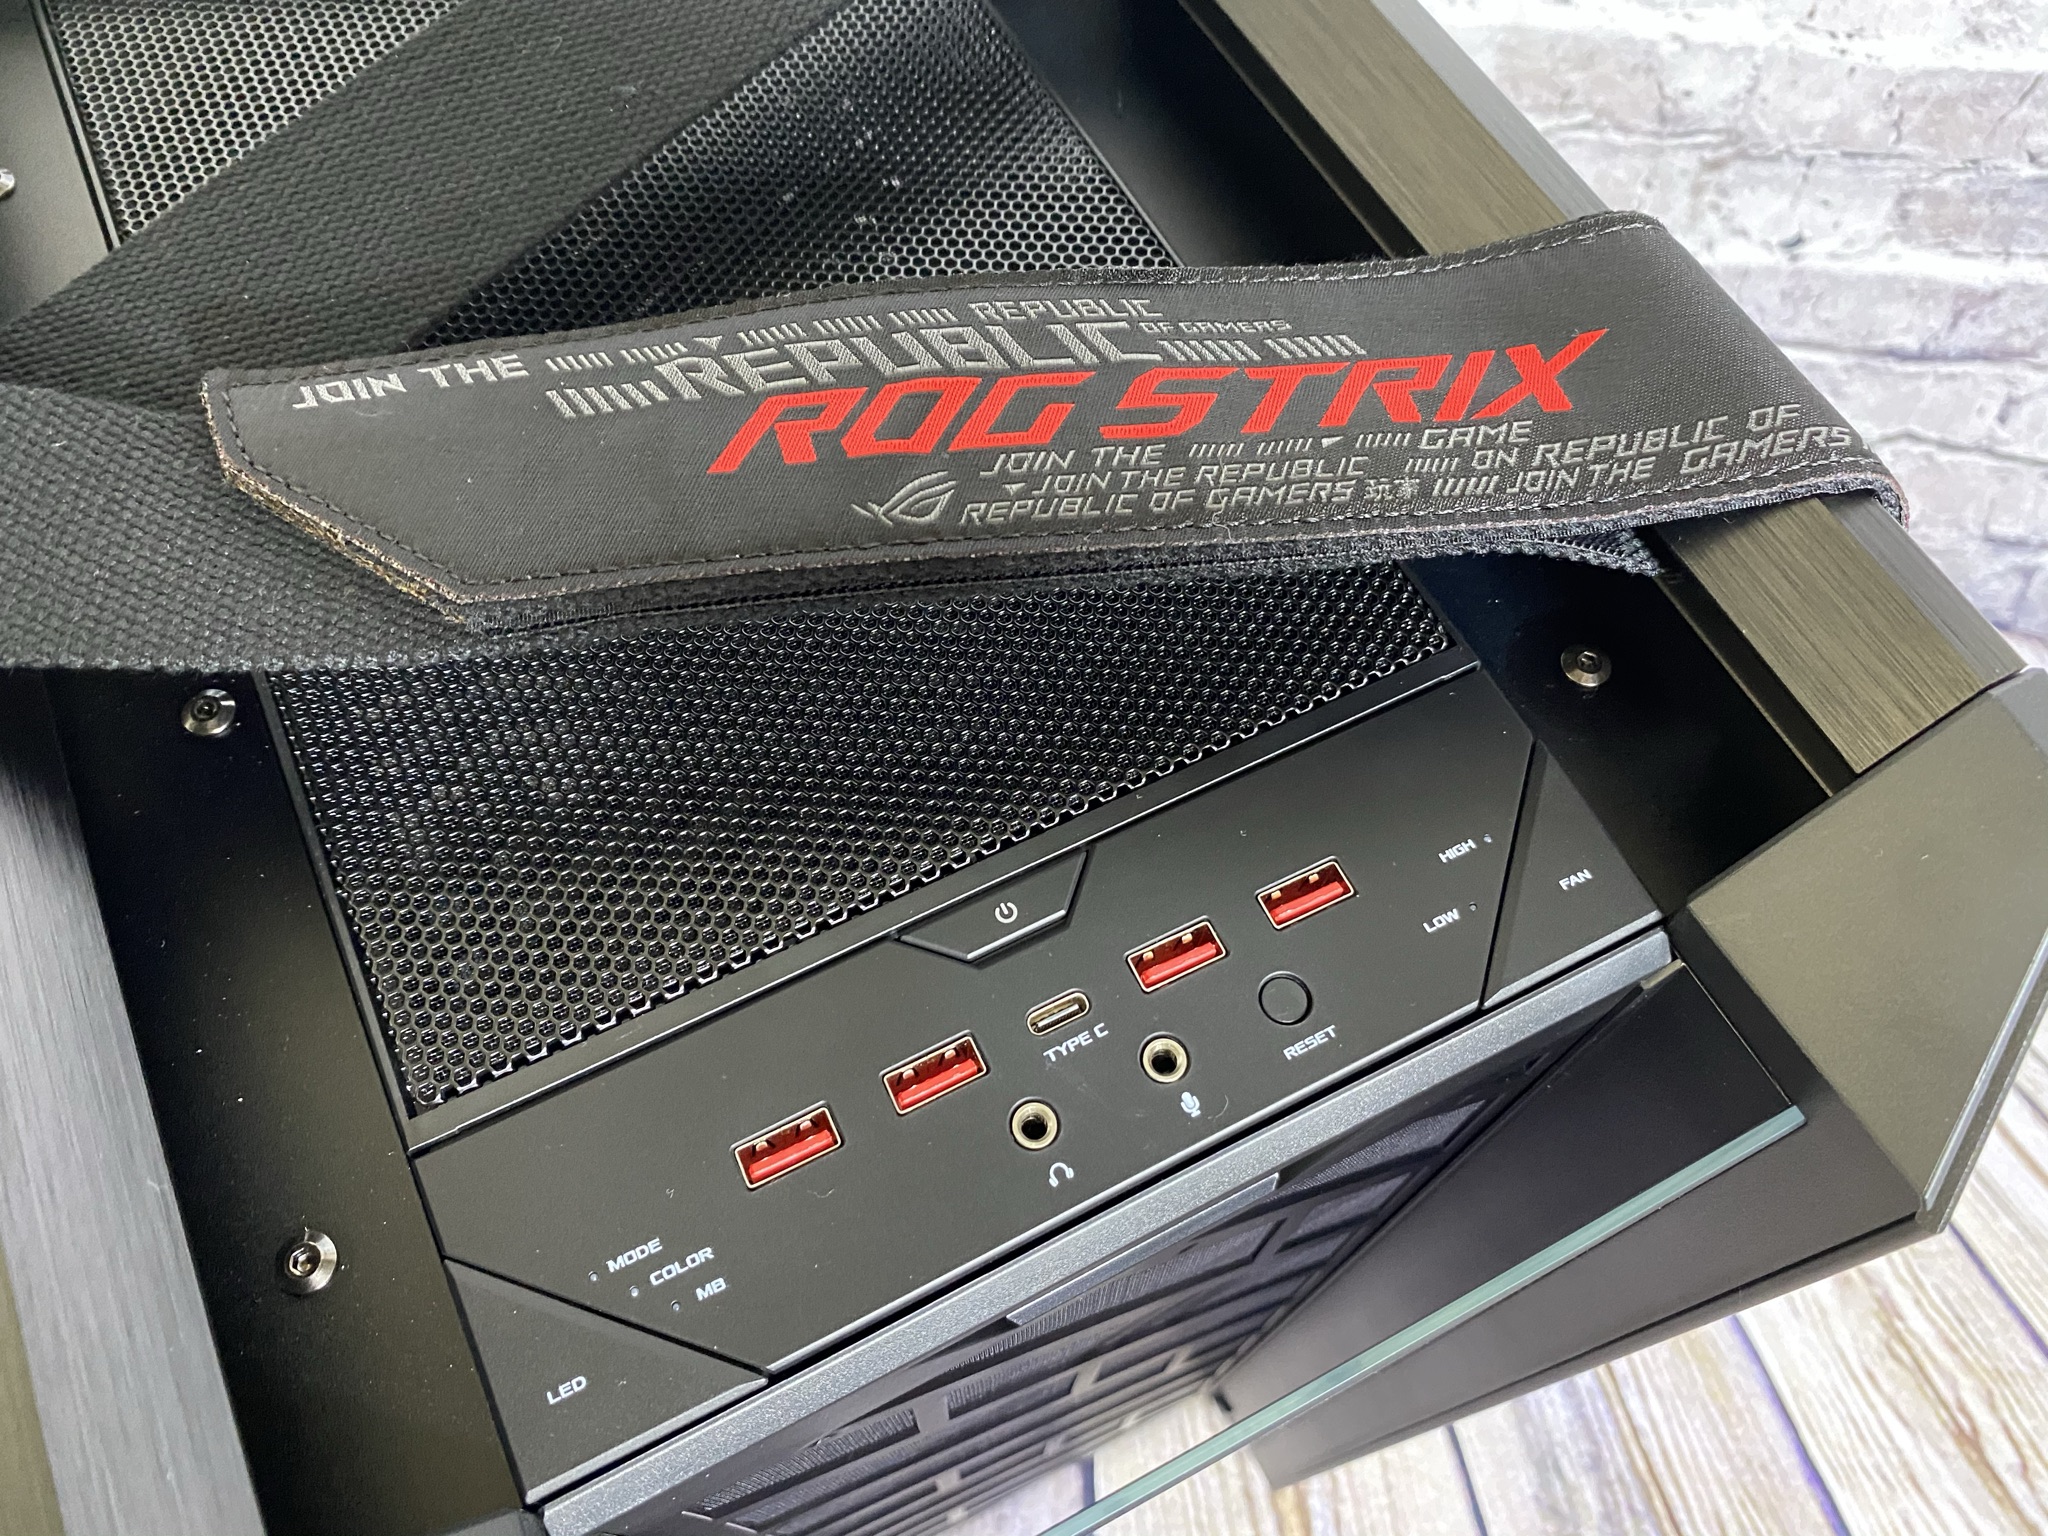
The columns continue away from the back at the top of the case. However, four holes have been punched in them here. The reason for this is that a carrying strap with Velcro fasteners in ROG look is stretched between them. This is unusual, but it serves its purpose very well – the strap makes carrying the Strix Helios very easy with its high weight. A bit below that is a large dust filter in the middle, this one is a bit thicker and has a good-looking metal mesh on the outside.

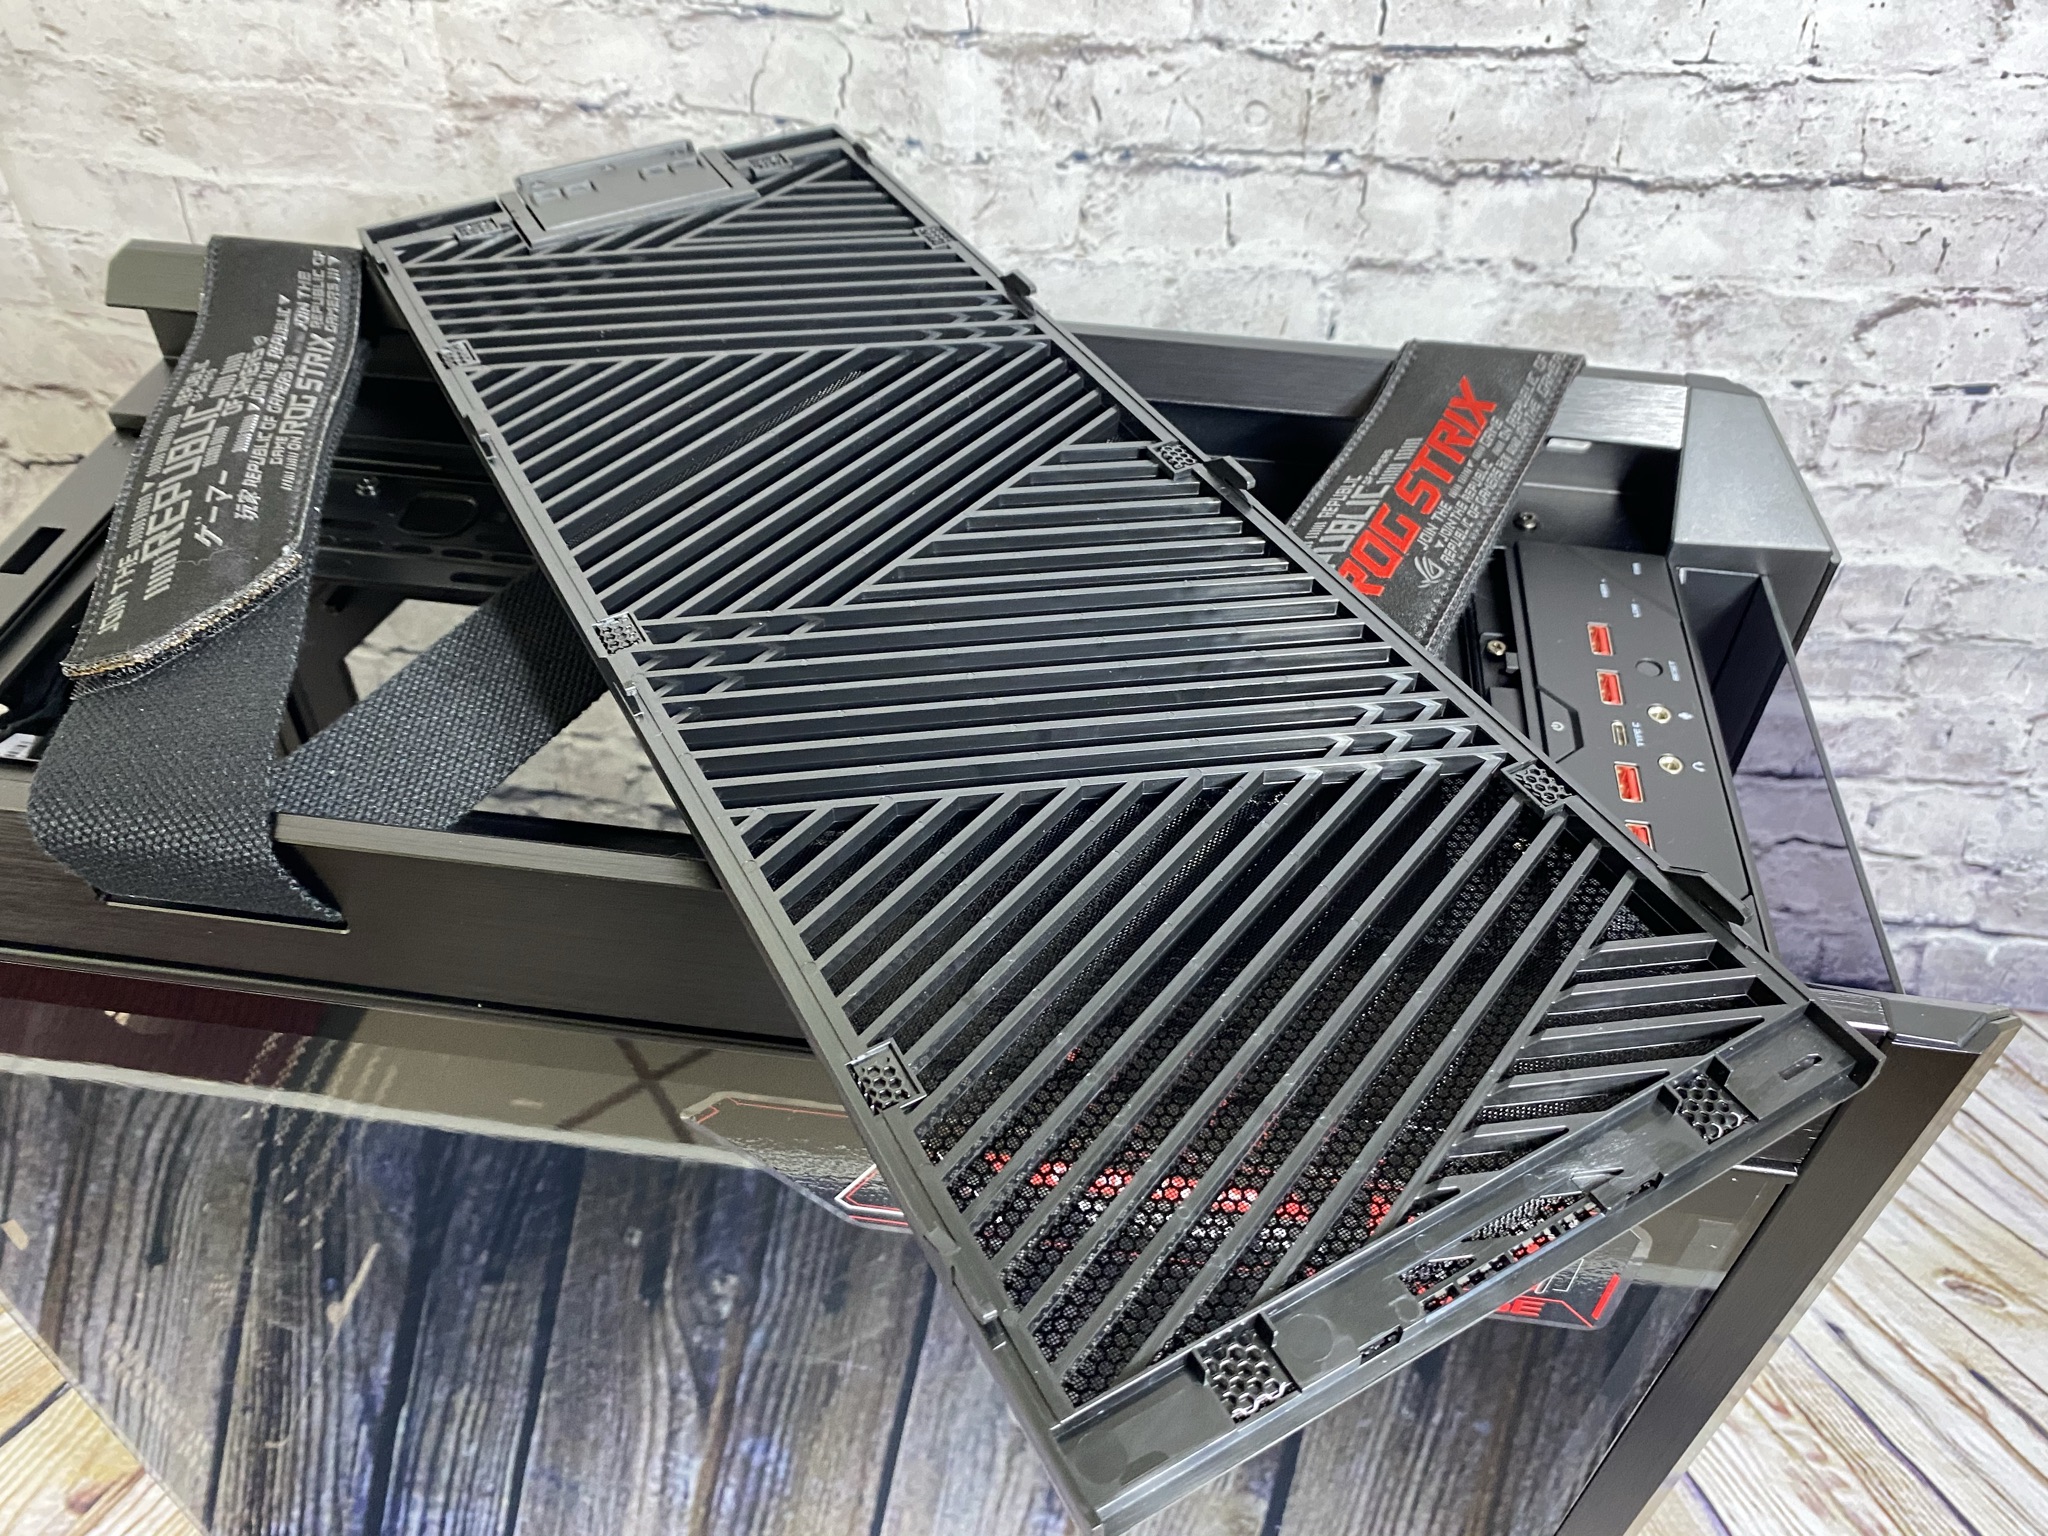
The front IO panel is centered on the front and has a centered design. In the center at the top edge is thereby an elongated power button, in the left lower corner a button to control the LEDs and in the right lower corner is a button to control the fan speed. There are also fourred USB 3.1 Gen1 ports and a USB 3.1 Gen2 Type C in the center. Below those are then the usual headphone and microphone ports. The reset button dances a bit out of the symmetrical arrangement. Overall, the front IO panel looks visually coherent and thus fits well with the rest of the case’s design..
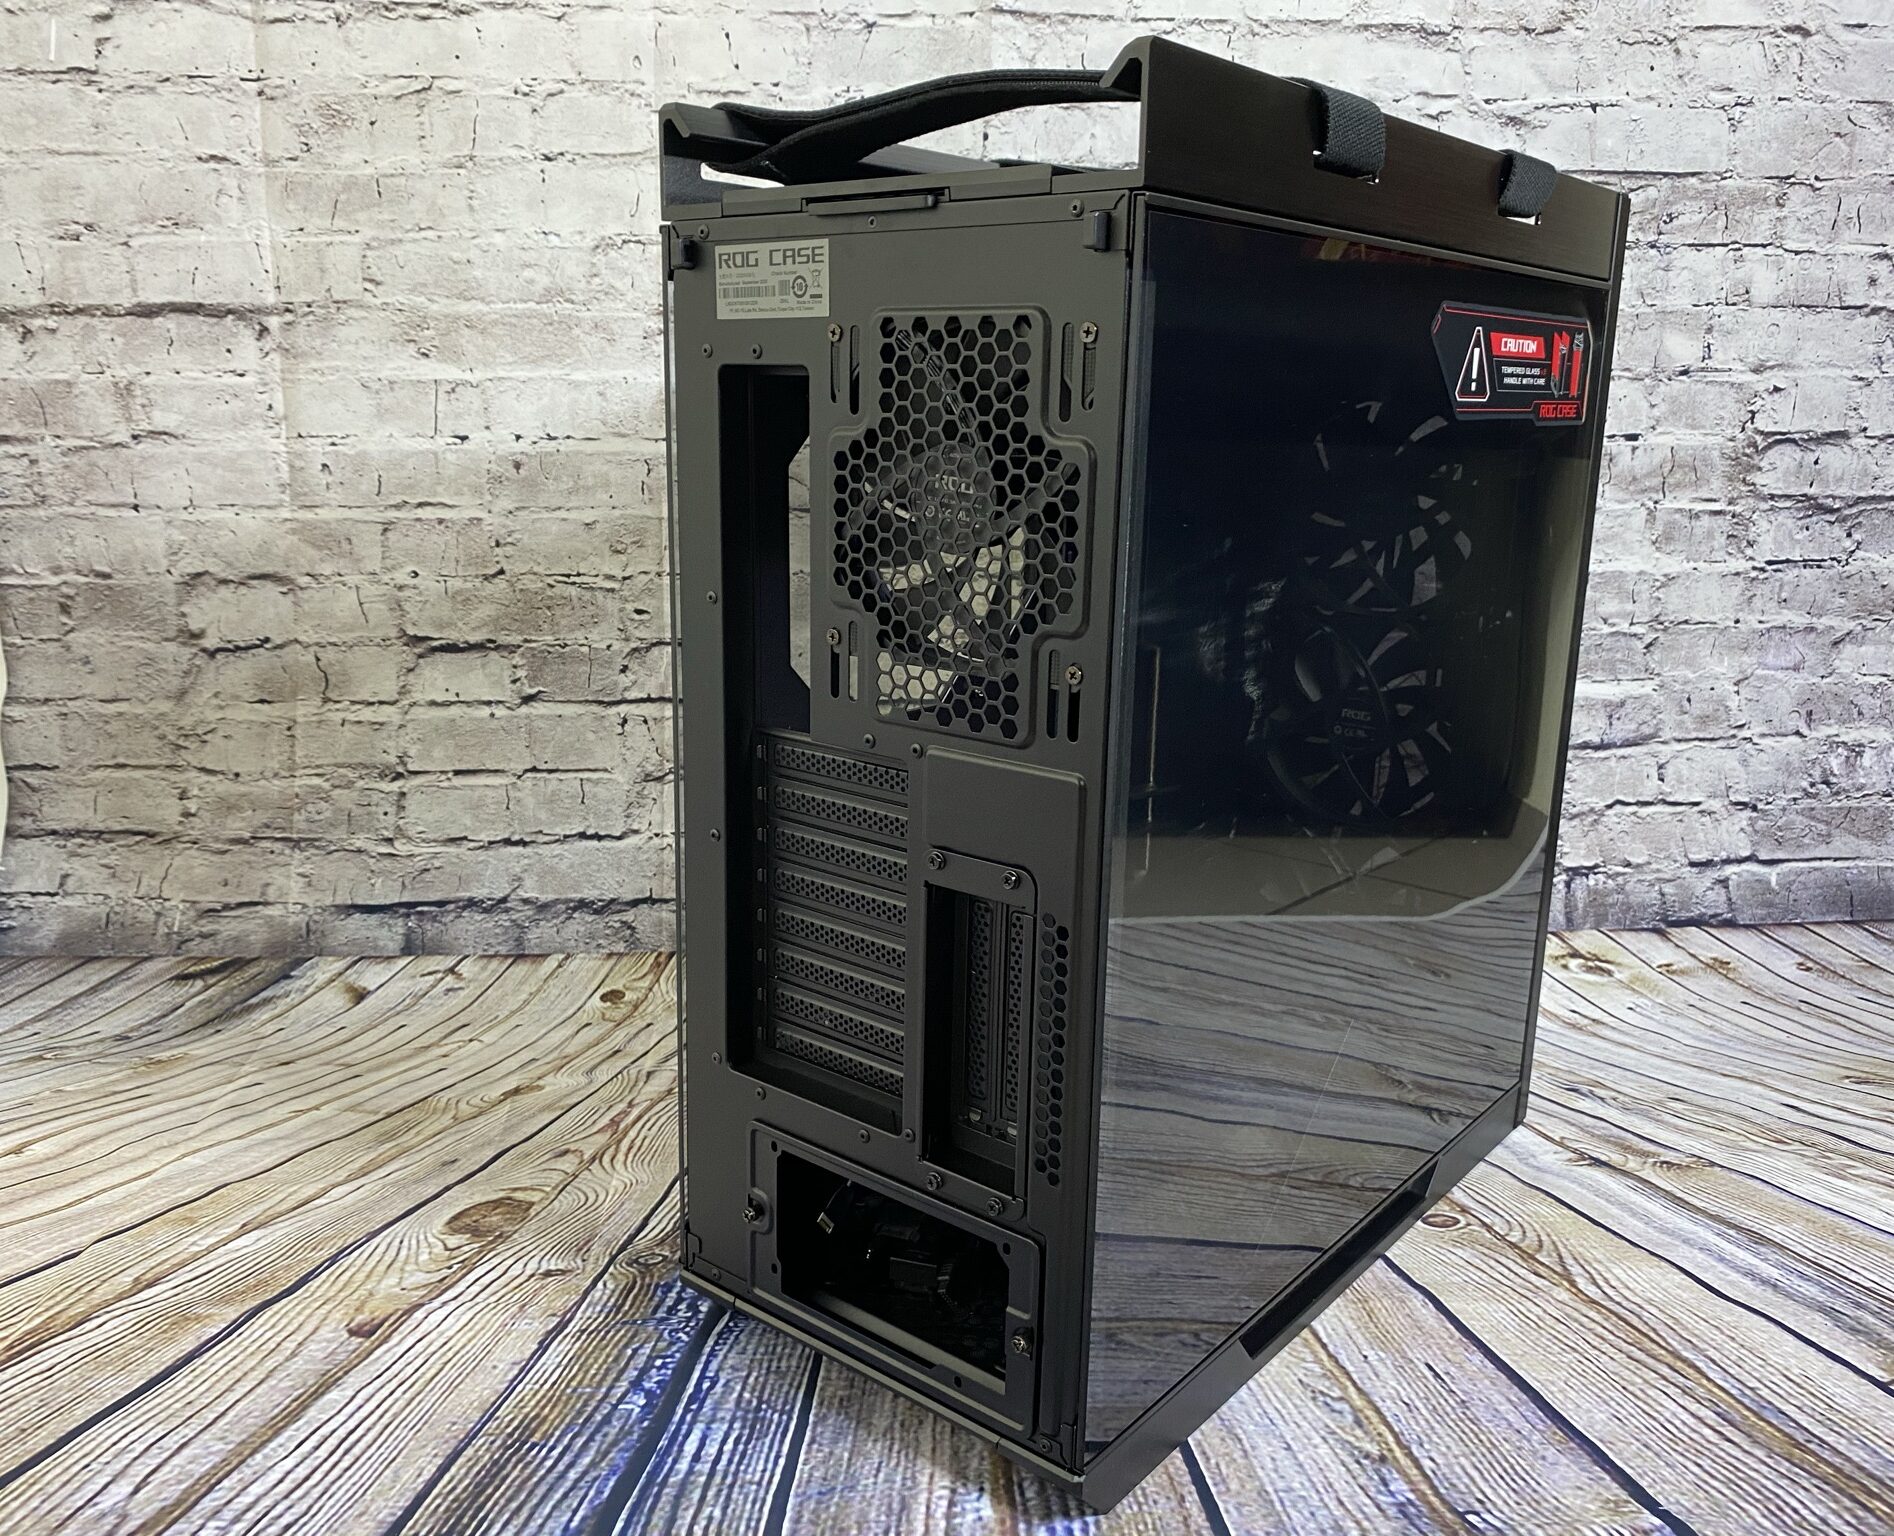
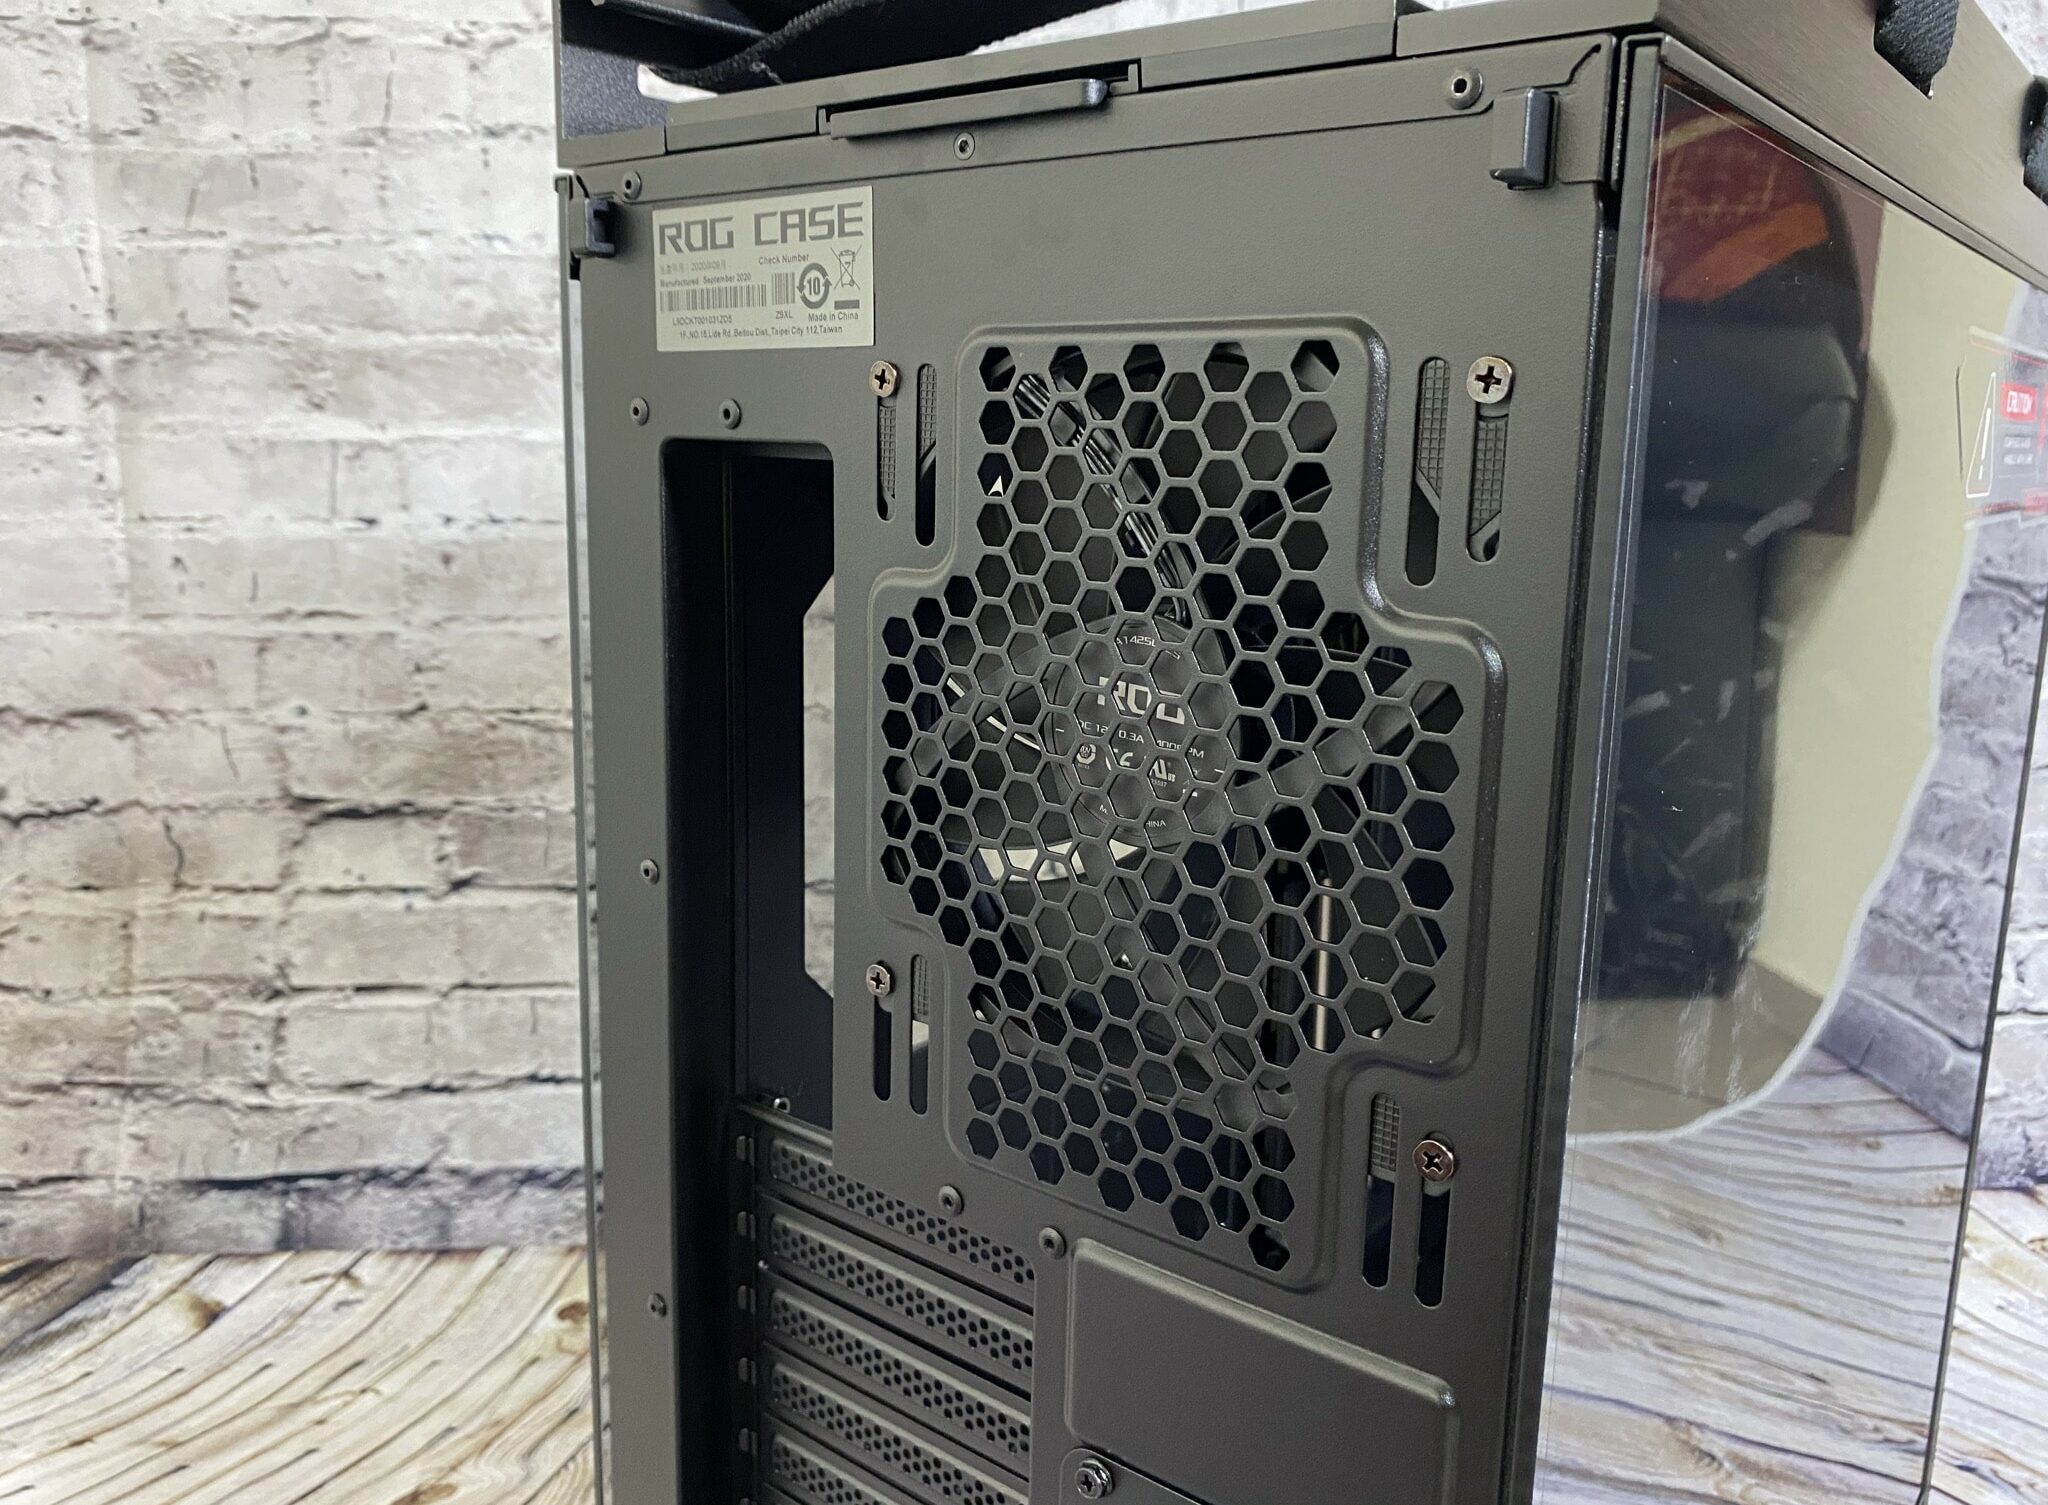
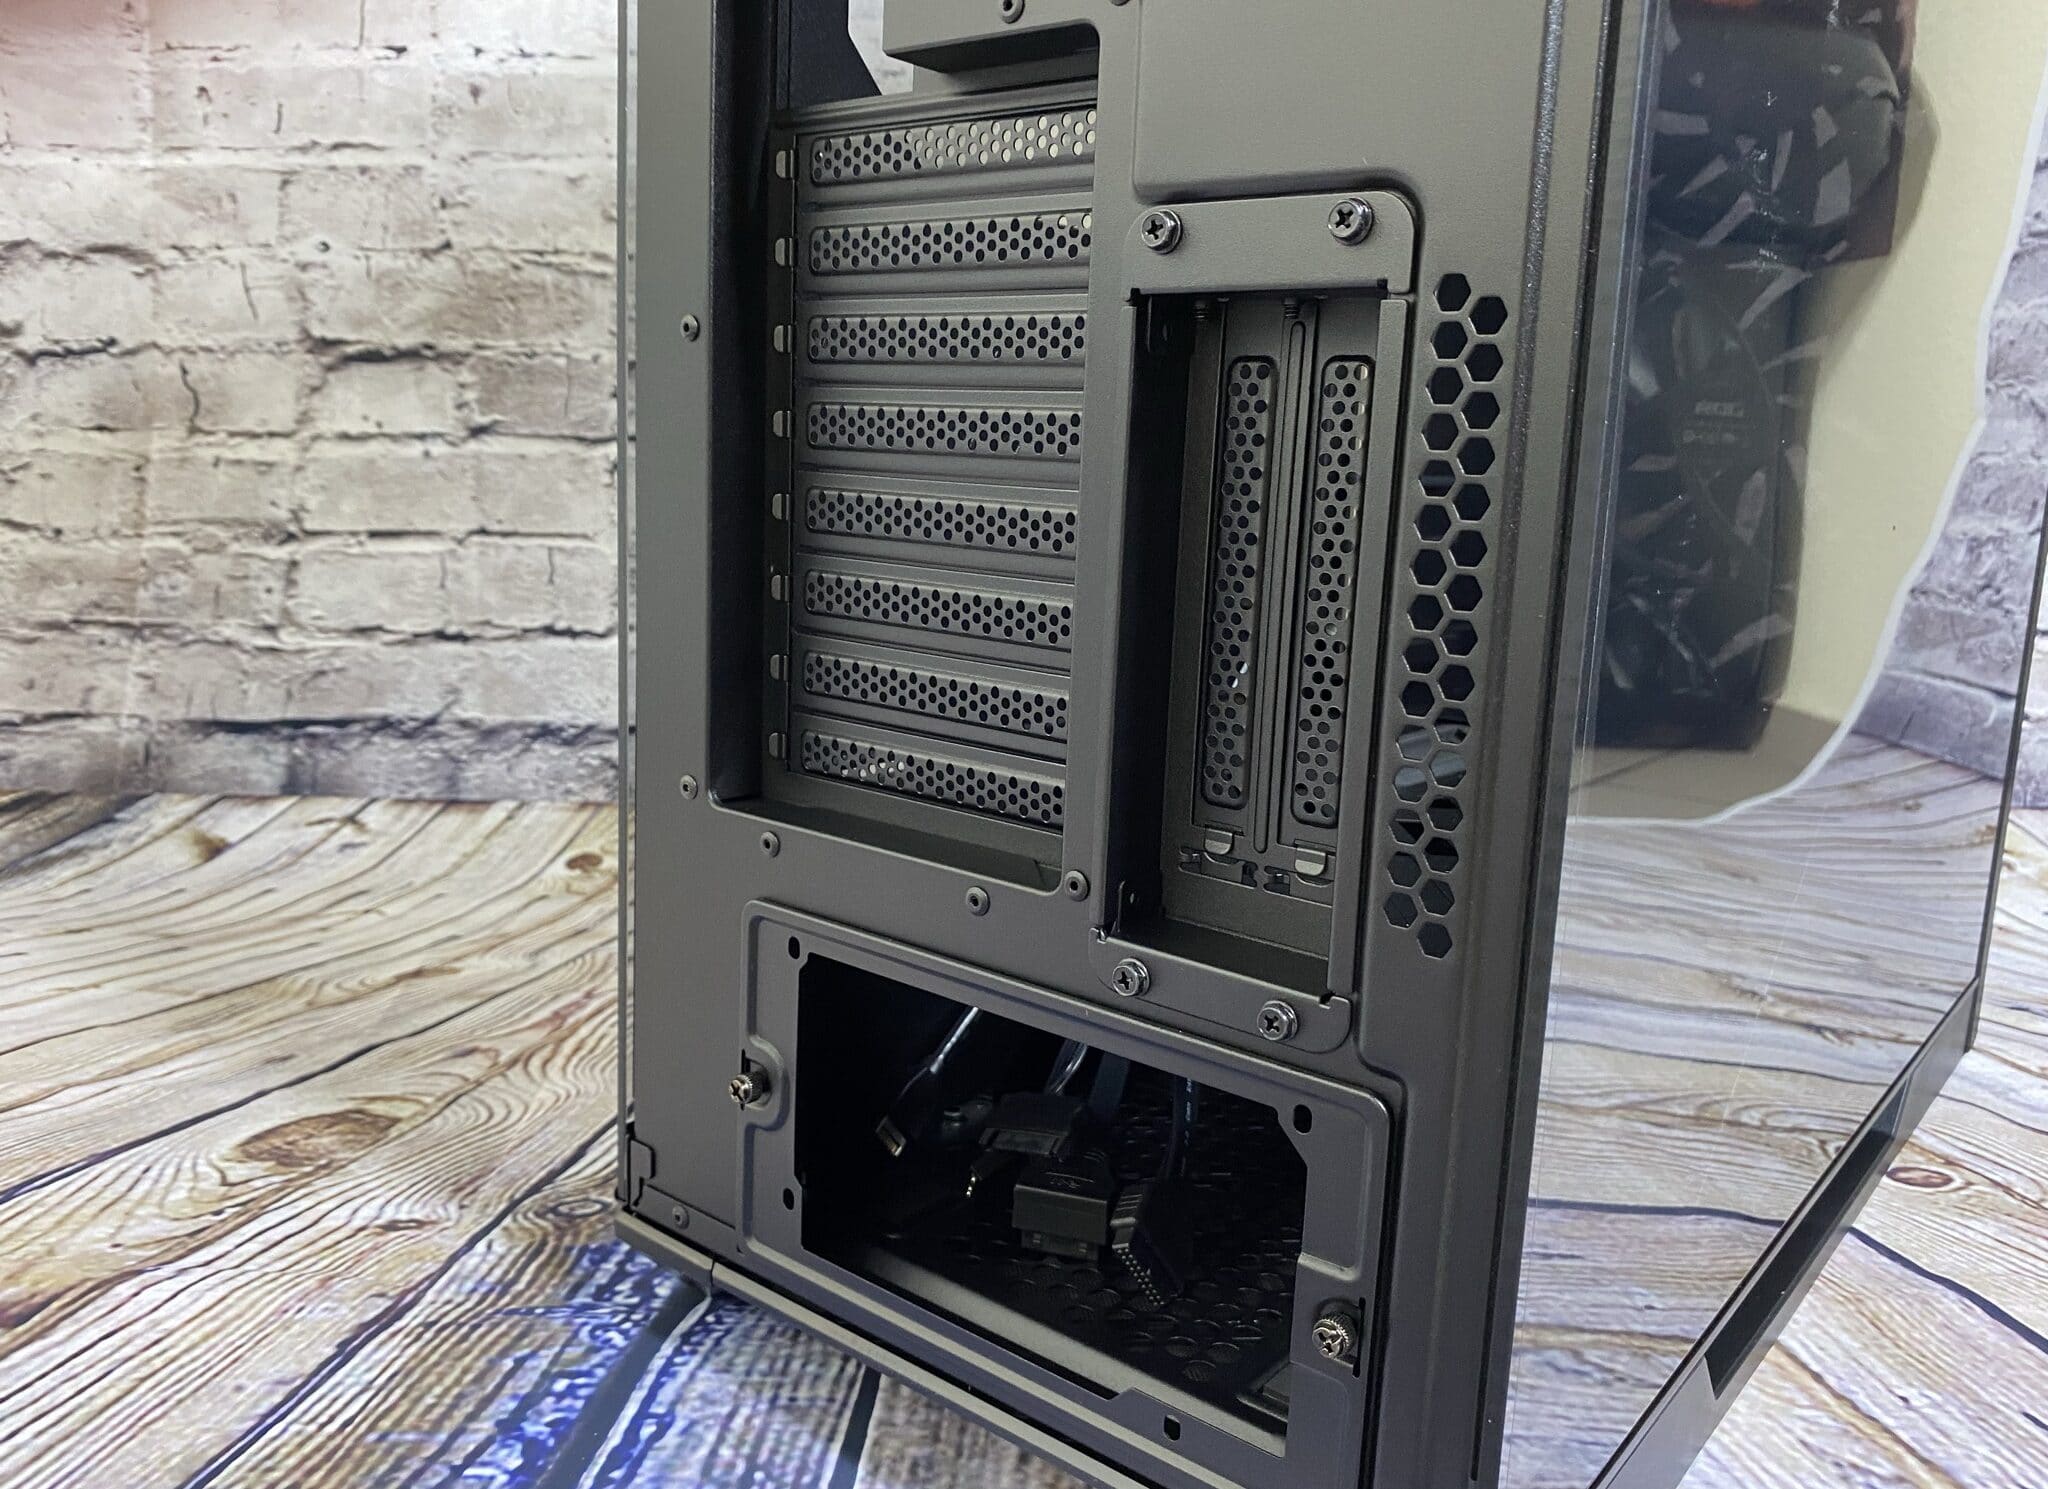
The back of the Strix Helios offers a few special features. For example, one of these special features is that the back panel supports a fan size of 140 mm. Looking at the PCI slots, it is noticeable that they do not have any braces between the individual bezels. A bit further to the right, there are two vertical PCI slots that can be removed with four screws. Even thicker graphics cards have enough space there to draw enough air. A little further down is a small frame for the power supply. The PSU is screwed to this and then pushed into the PSU slot.
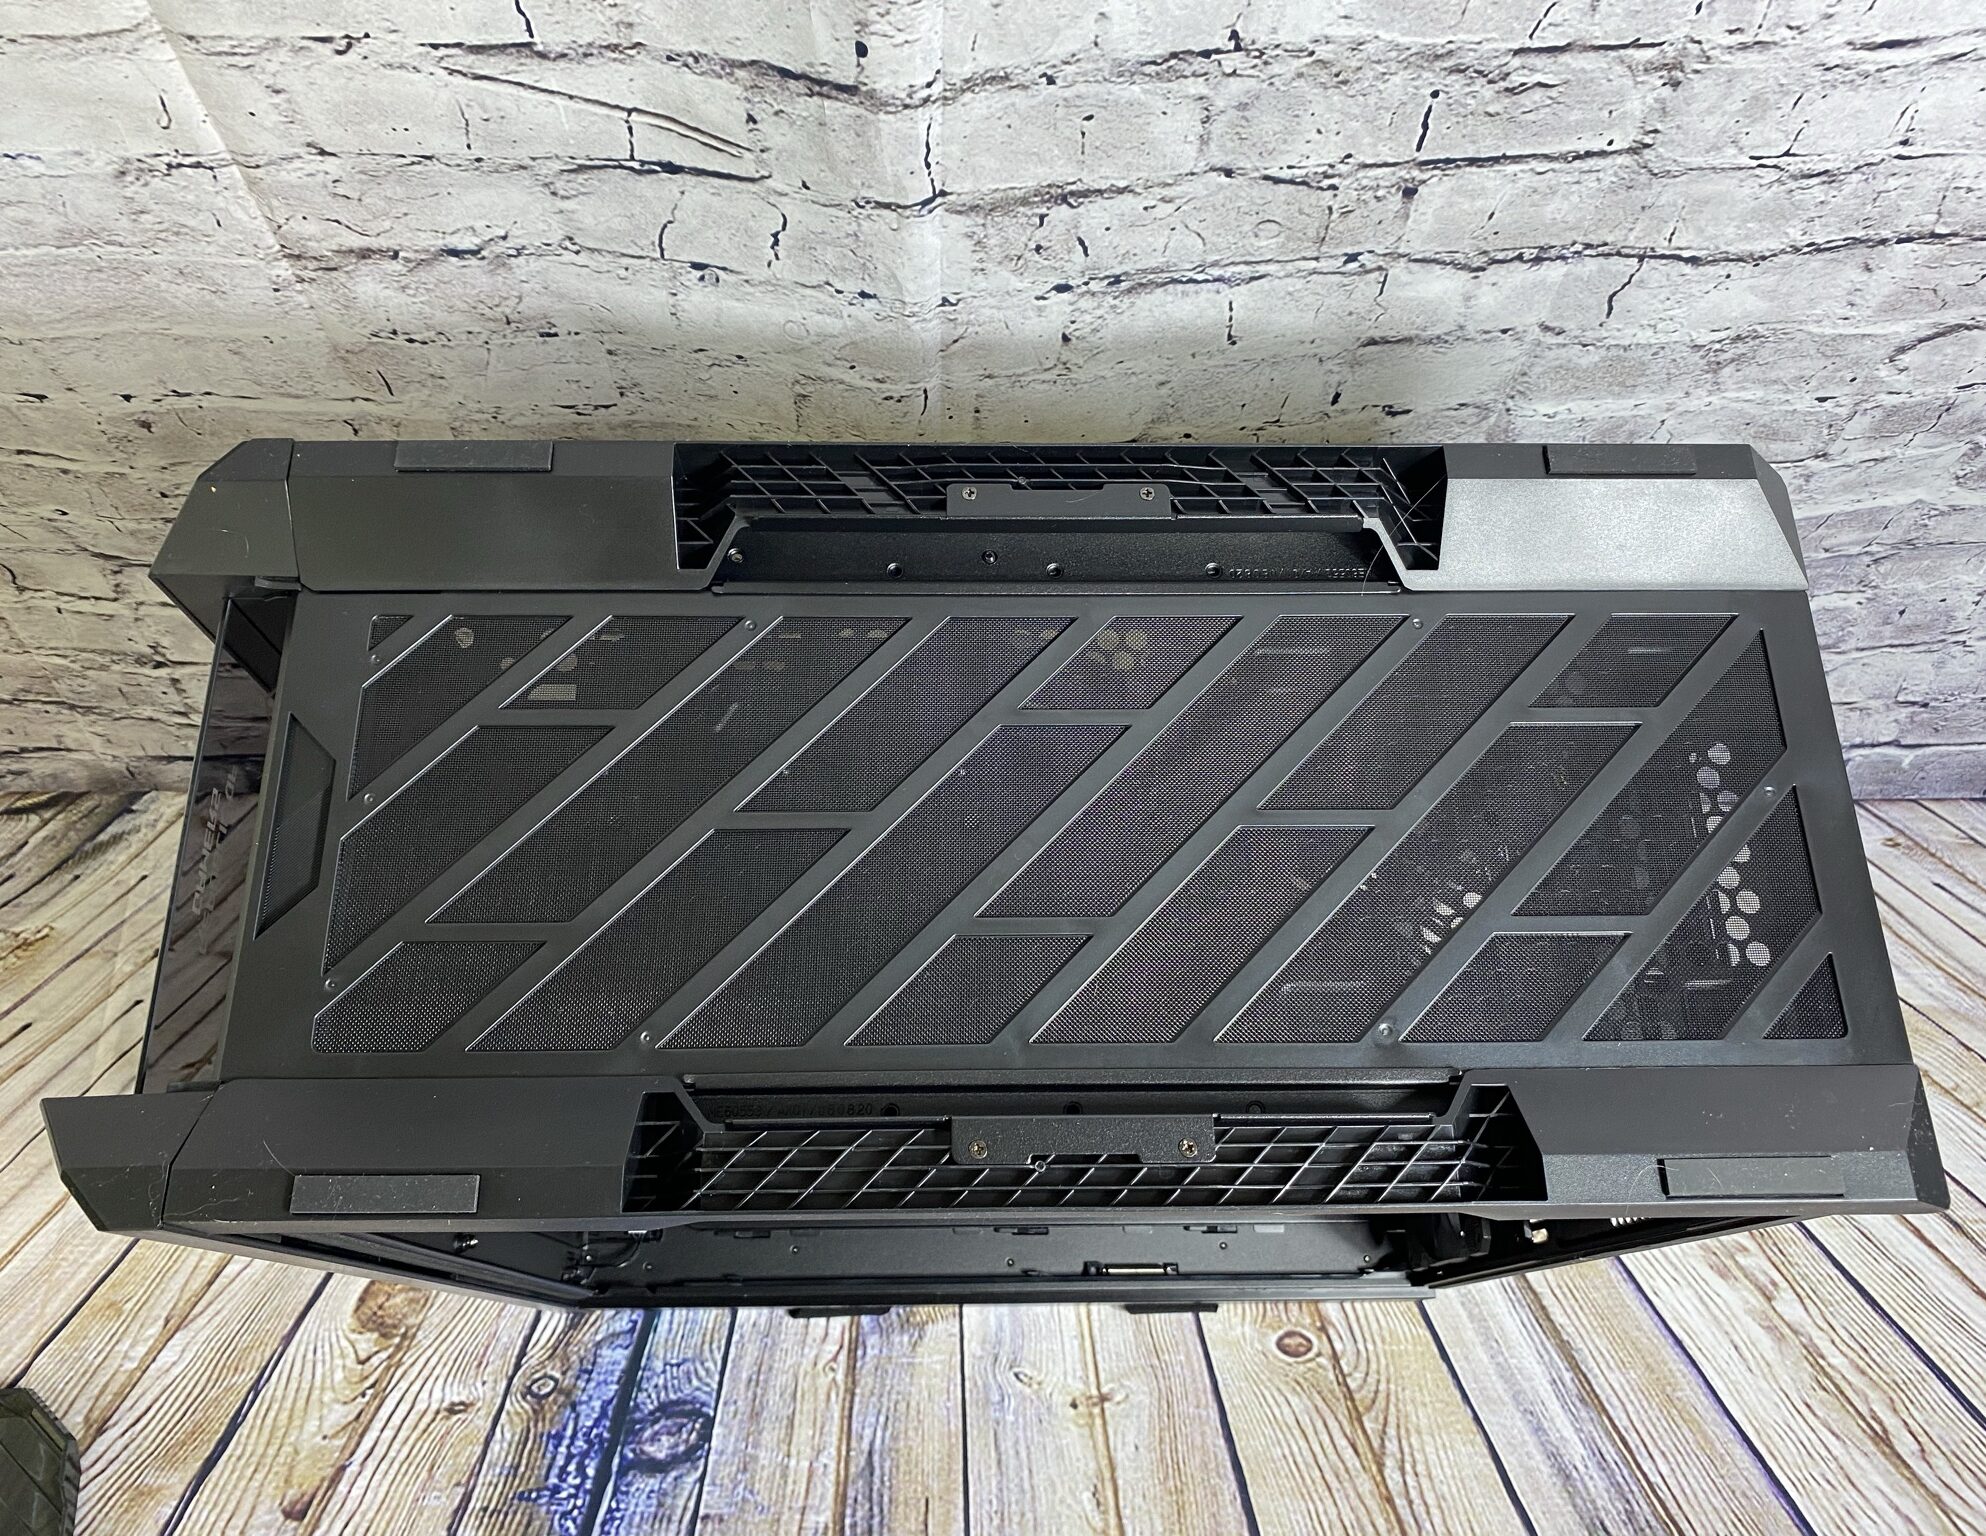
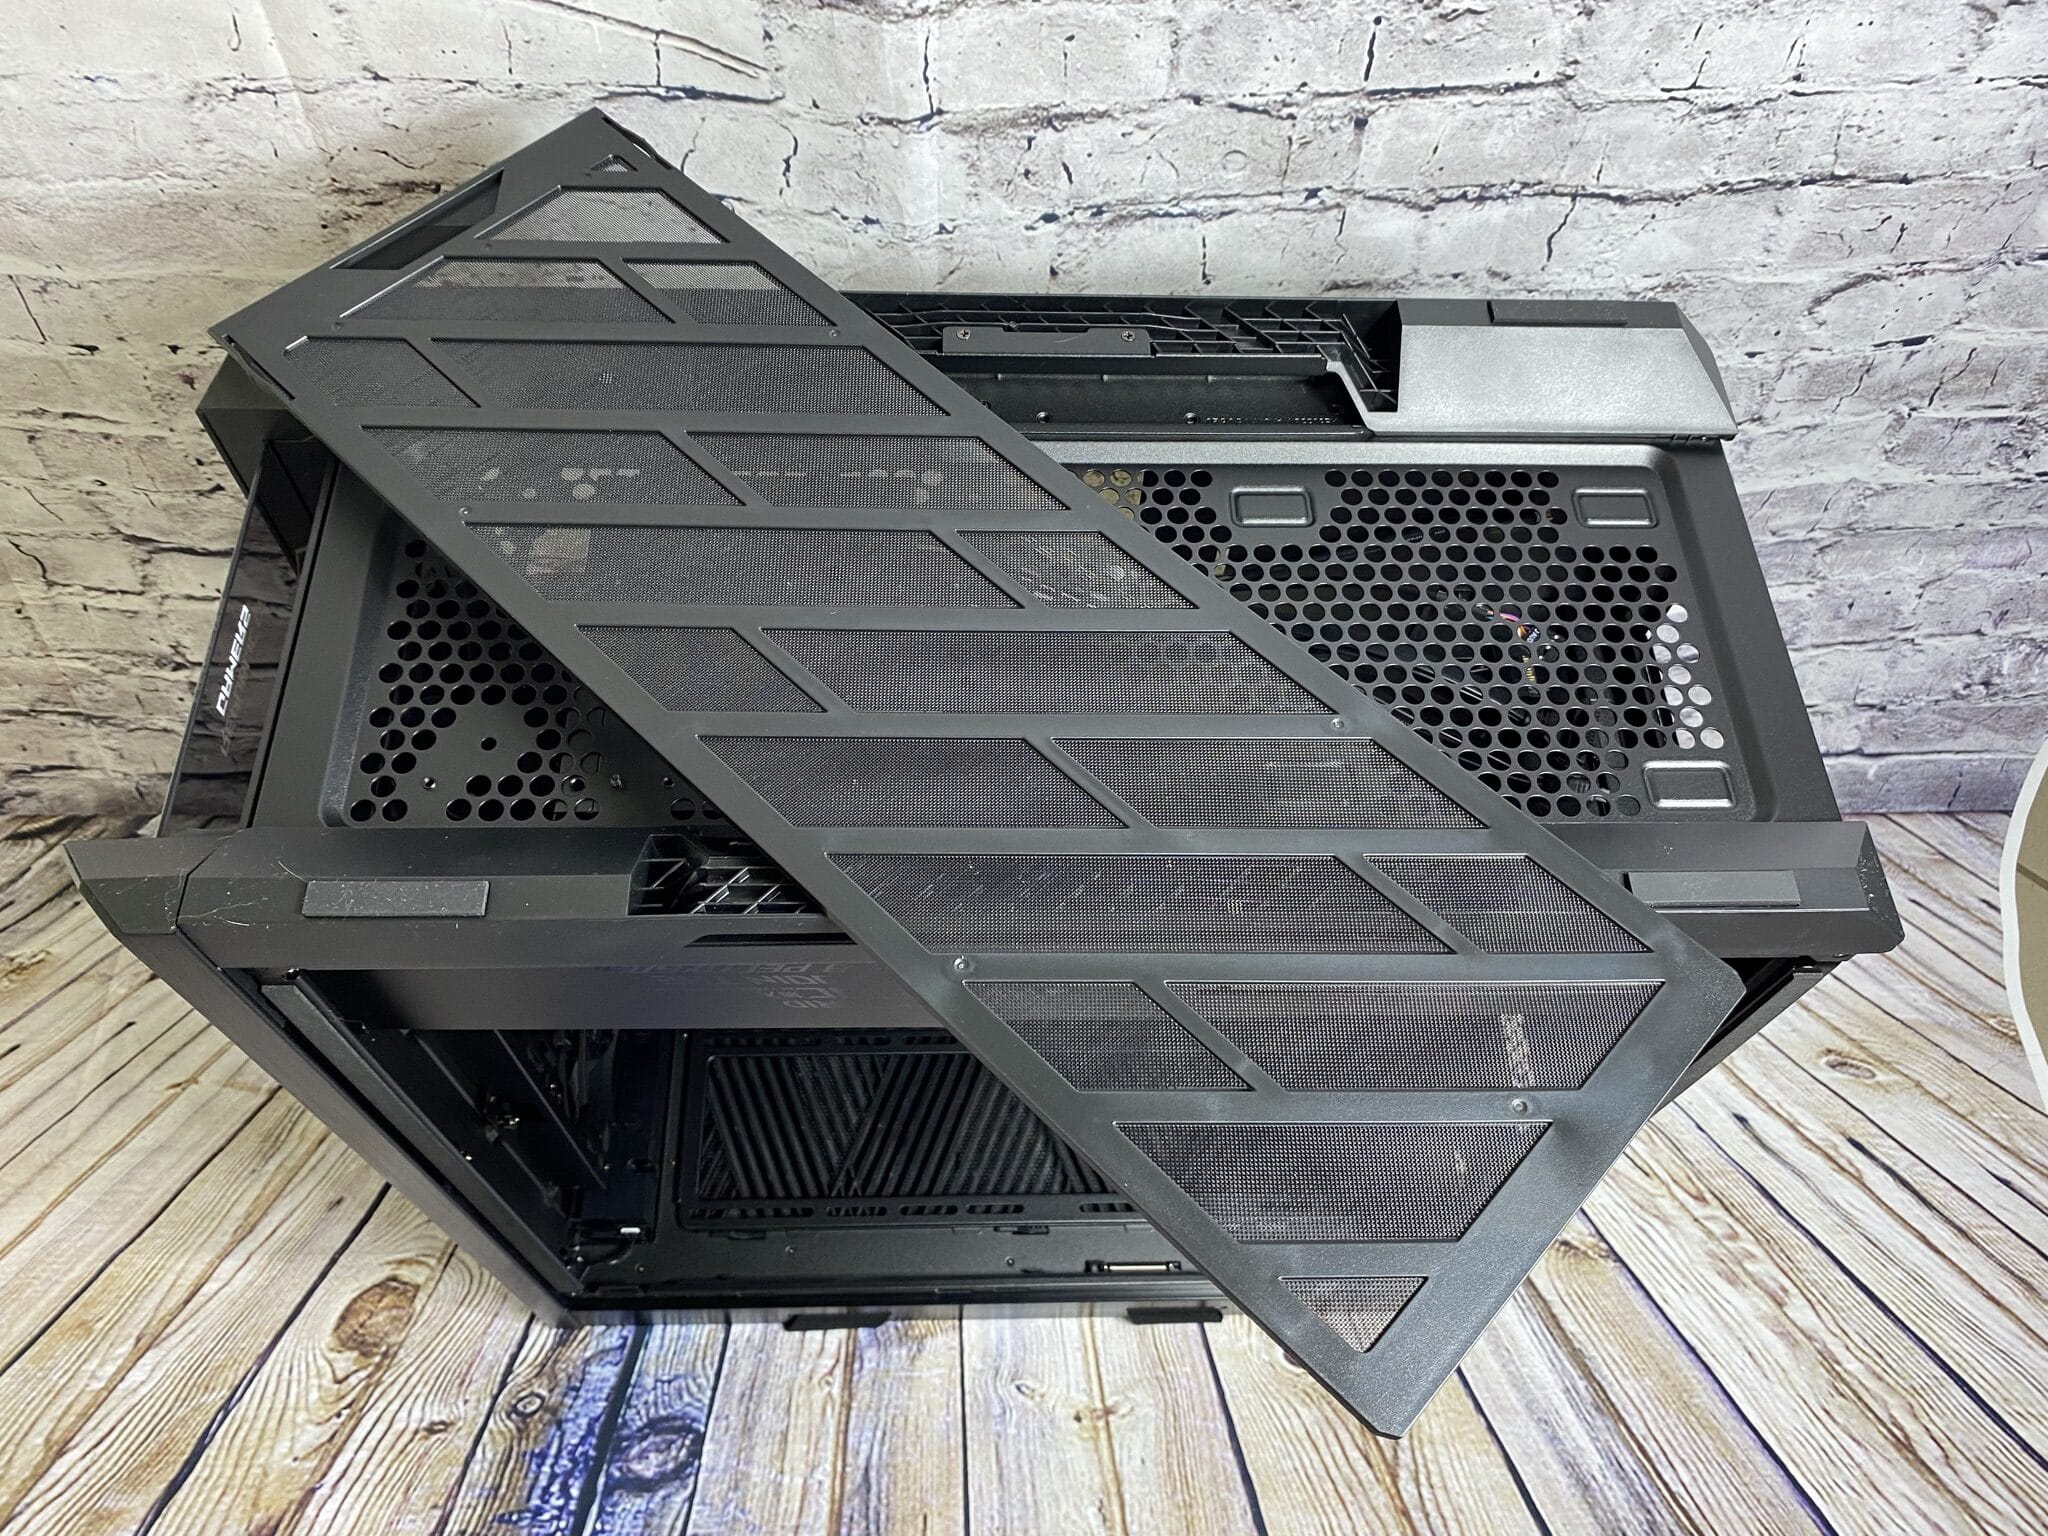
The last thing we have left is the underside. Here, just like behind the glass panel on the front, is a large dust filter. To take it out, you pull it forward away from the rail. Apart from that, there are four feet, each equipped with an elongated anti-slip pad. Overall, there are a lot of nice and good-looking little visual details on the outside of the case.

Interior Impression
The exterior of the ROG Strix Helios was already quite convincing. So how does it look like on the inside? Let’s start with the motherboard mount. The Strix Helios has a EATX, ATX-, Micro-ATX or Mini ITX mainboard. To be able to lead cables to the motherboard from above, one has two small holes at the upper edge of the back panel.
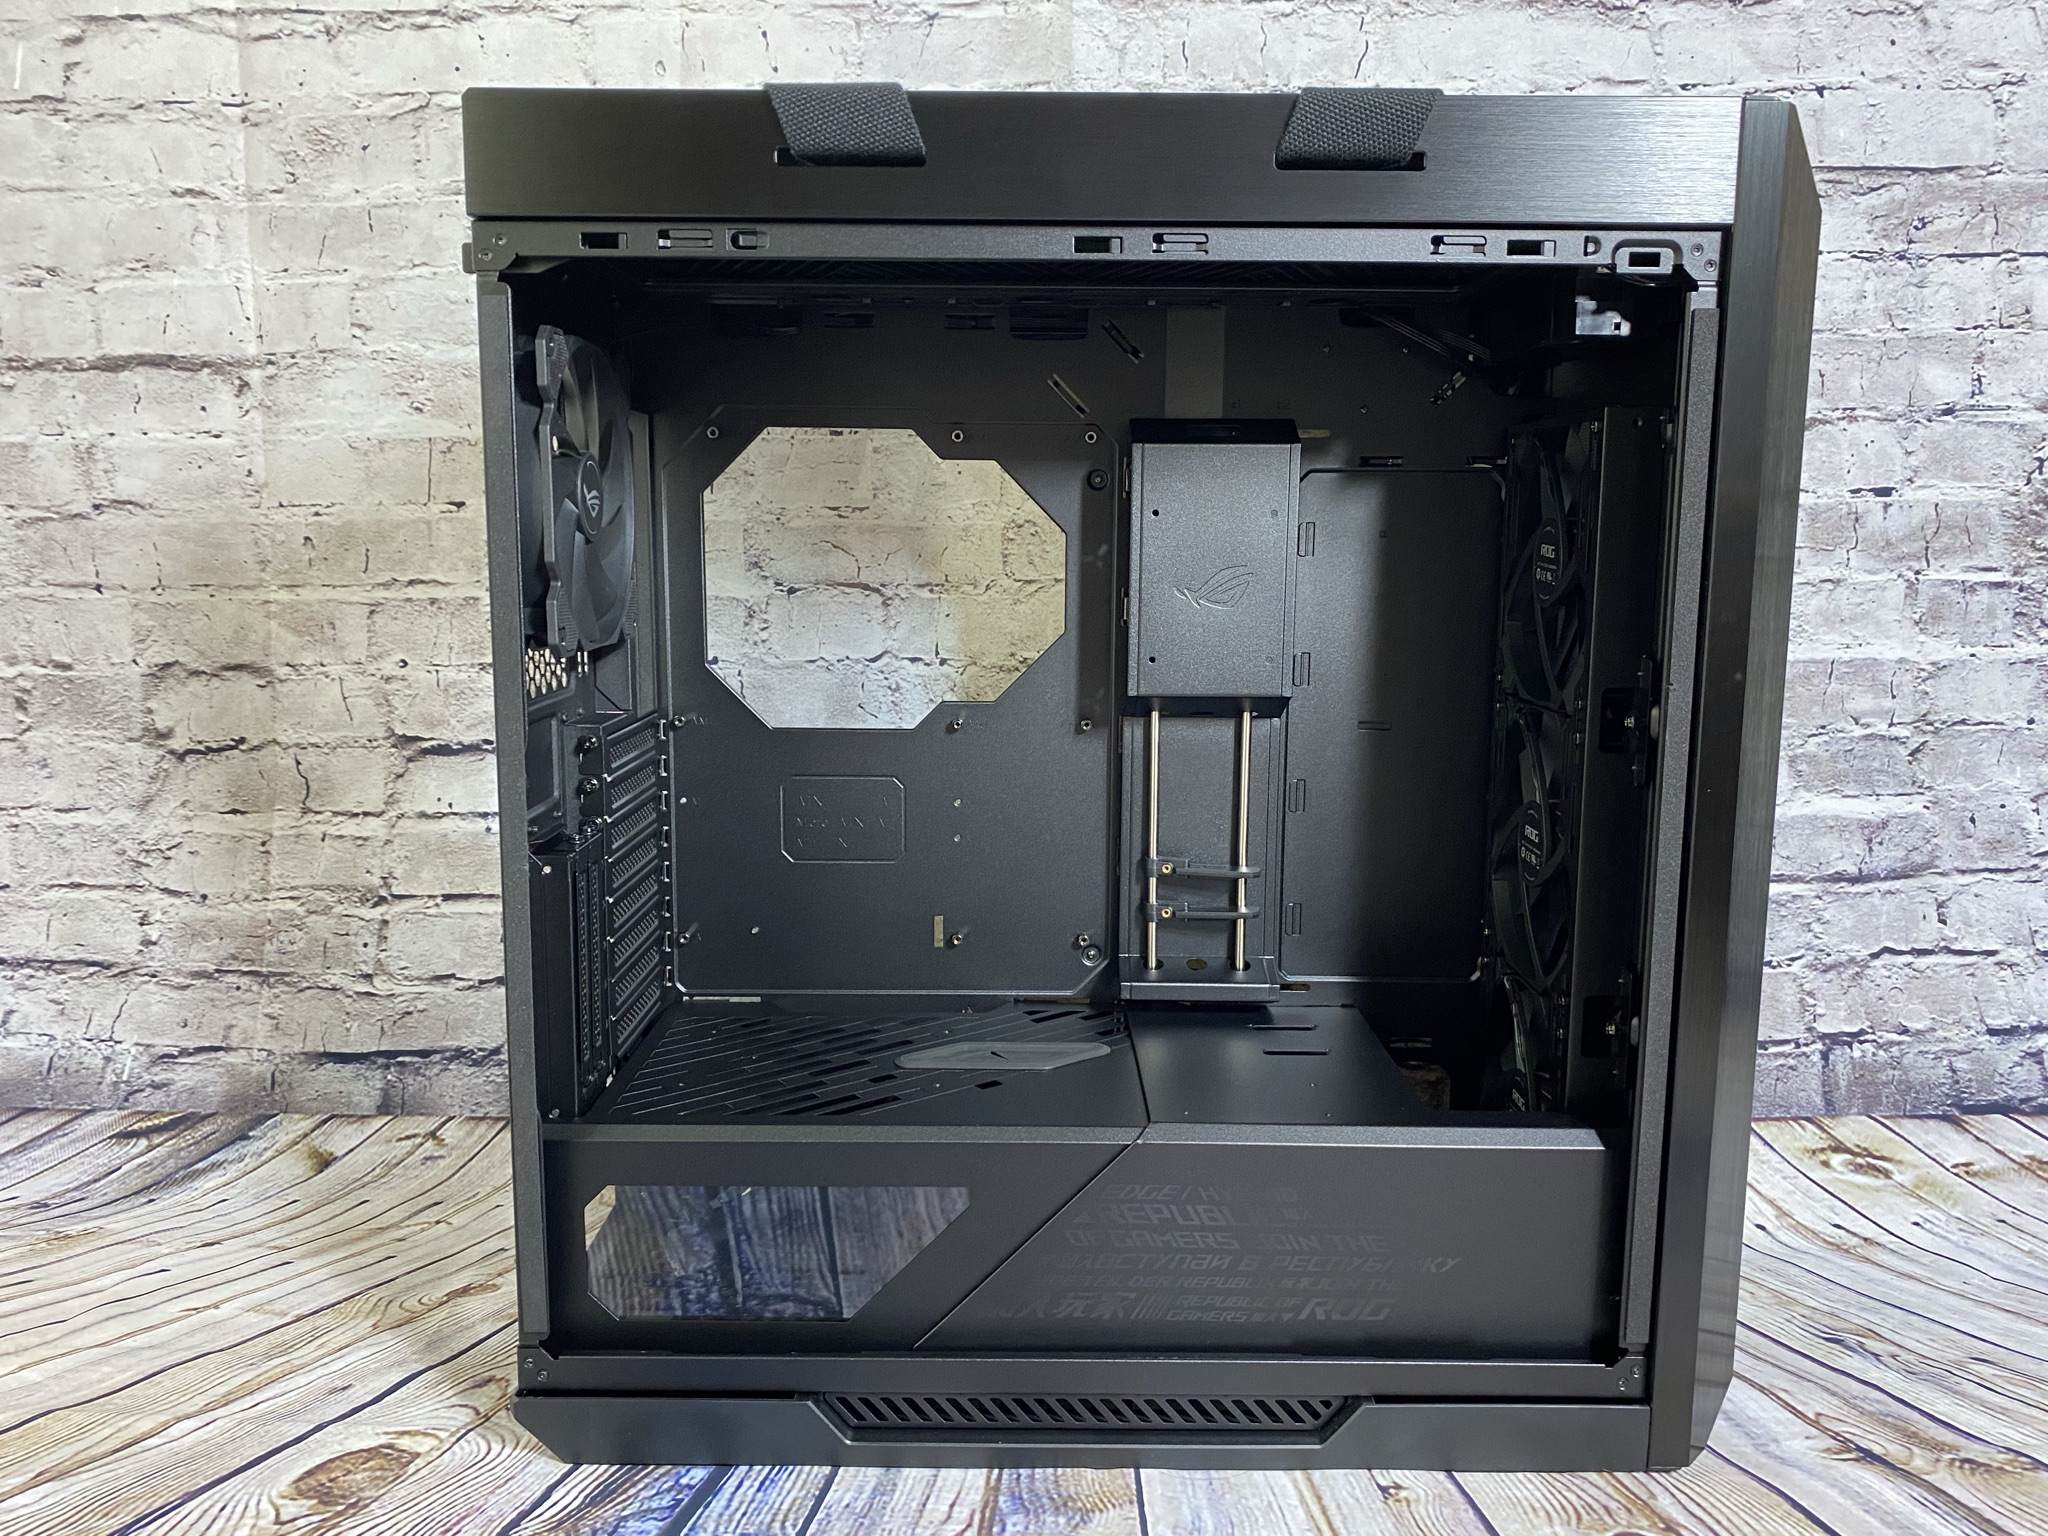
To the right, there is an elongated cover behind which there are two more holes for cable routing. Unfortunately, the mentioned holes don’t have a rubber coating. The long cover also serves as a holder for a ROG RGB controller. If you loosen the screws on the back, the cover can be pushed to the side. To give the graphics card more support, ROG has installed two plastic supports for the GPU here. In order to vary their height, they are equipped with a screw system..


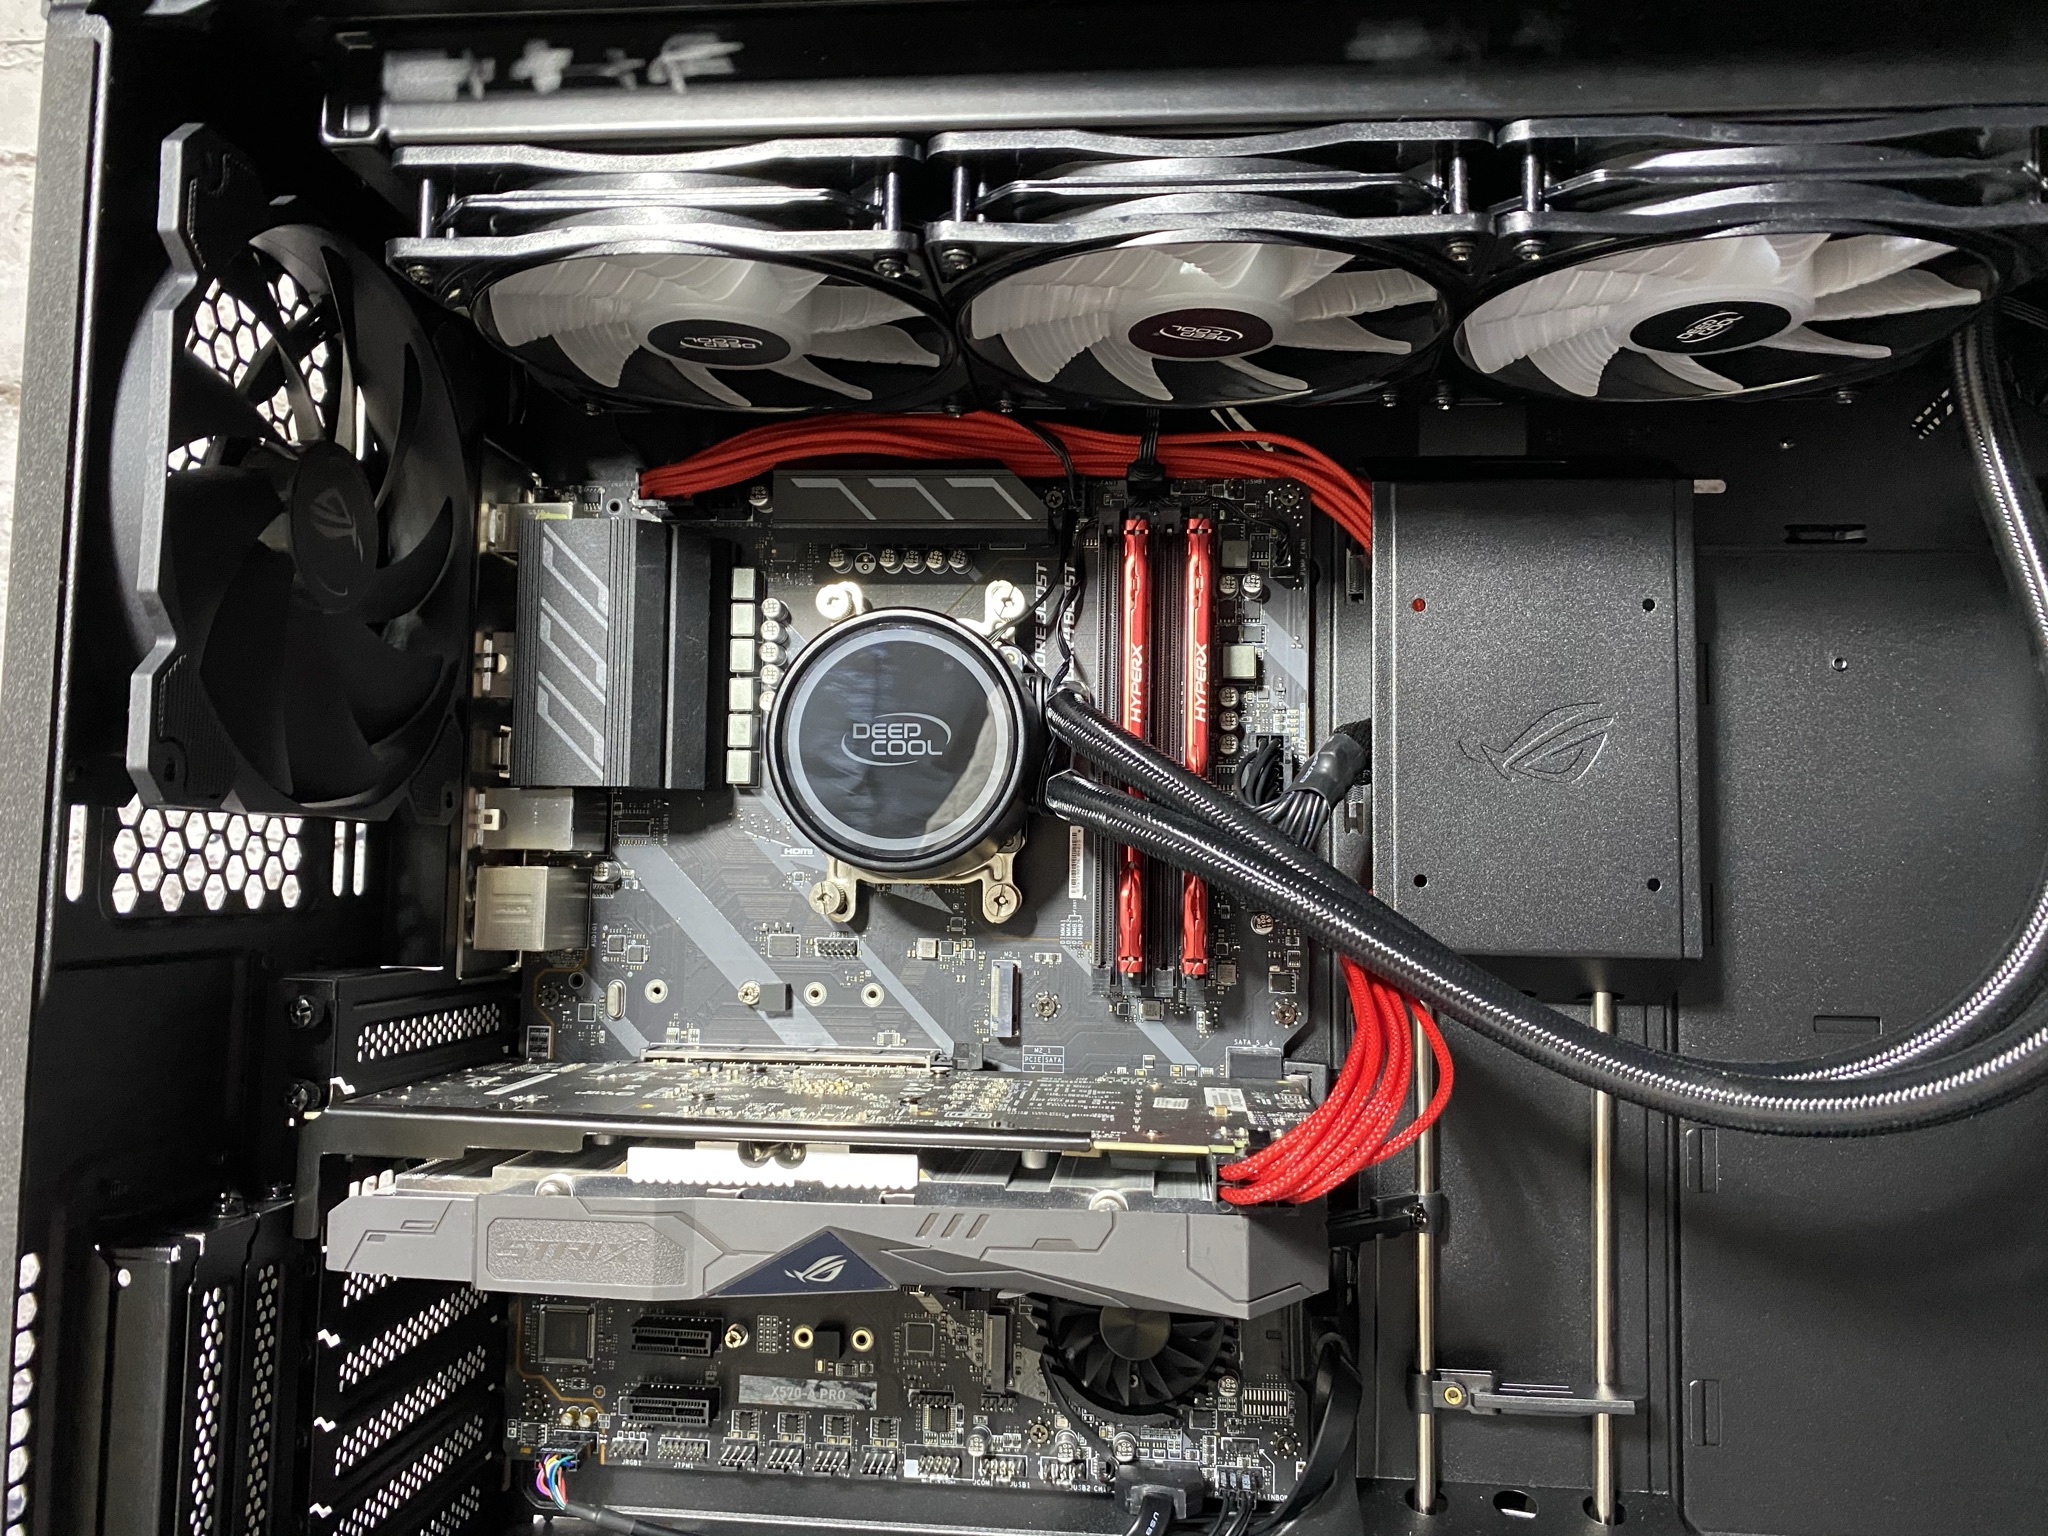
Facing the front, we can see the pre-installed black ROG fans there in the 140mm variant. These are mounted separately on a bracket, which allows you to remove the whole rail including the three fans from the case after loosening a few screws. The whole thing has the reason that you can’t remove the glass panel at the front of the case – such a workaround works very well at this point and was also implemented well here. A radiator with the maximum size of 420 mm can also be attached to the front.
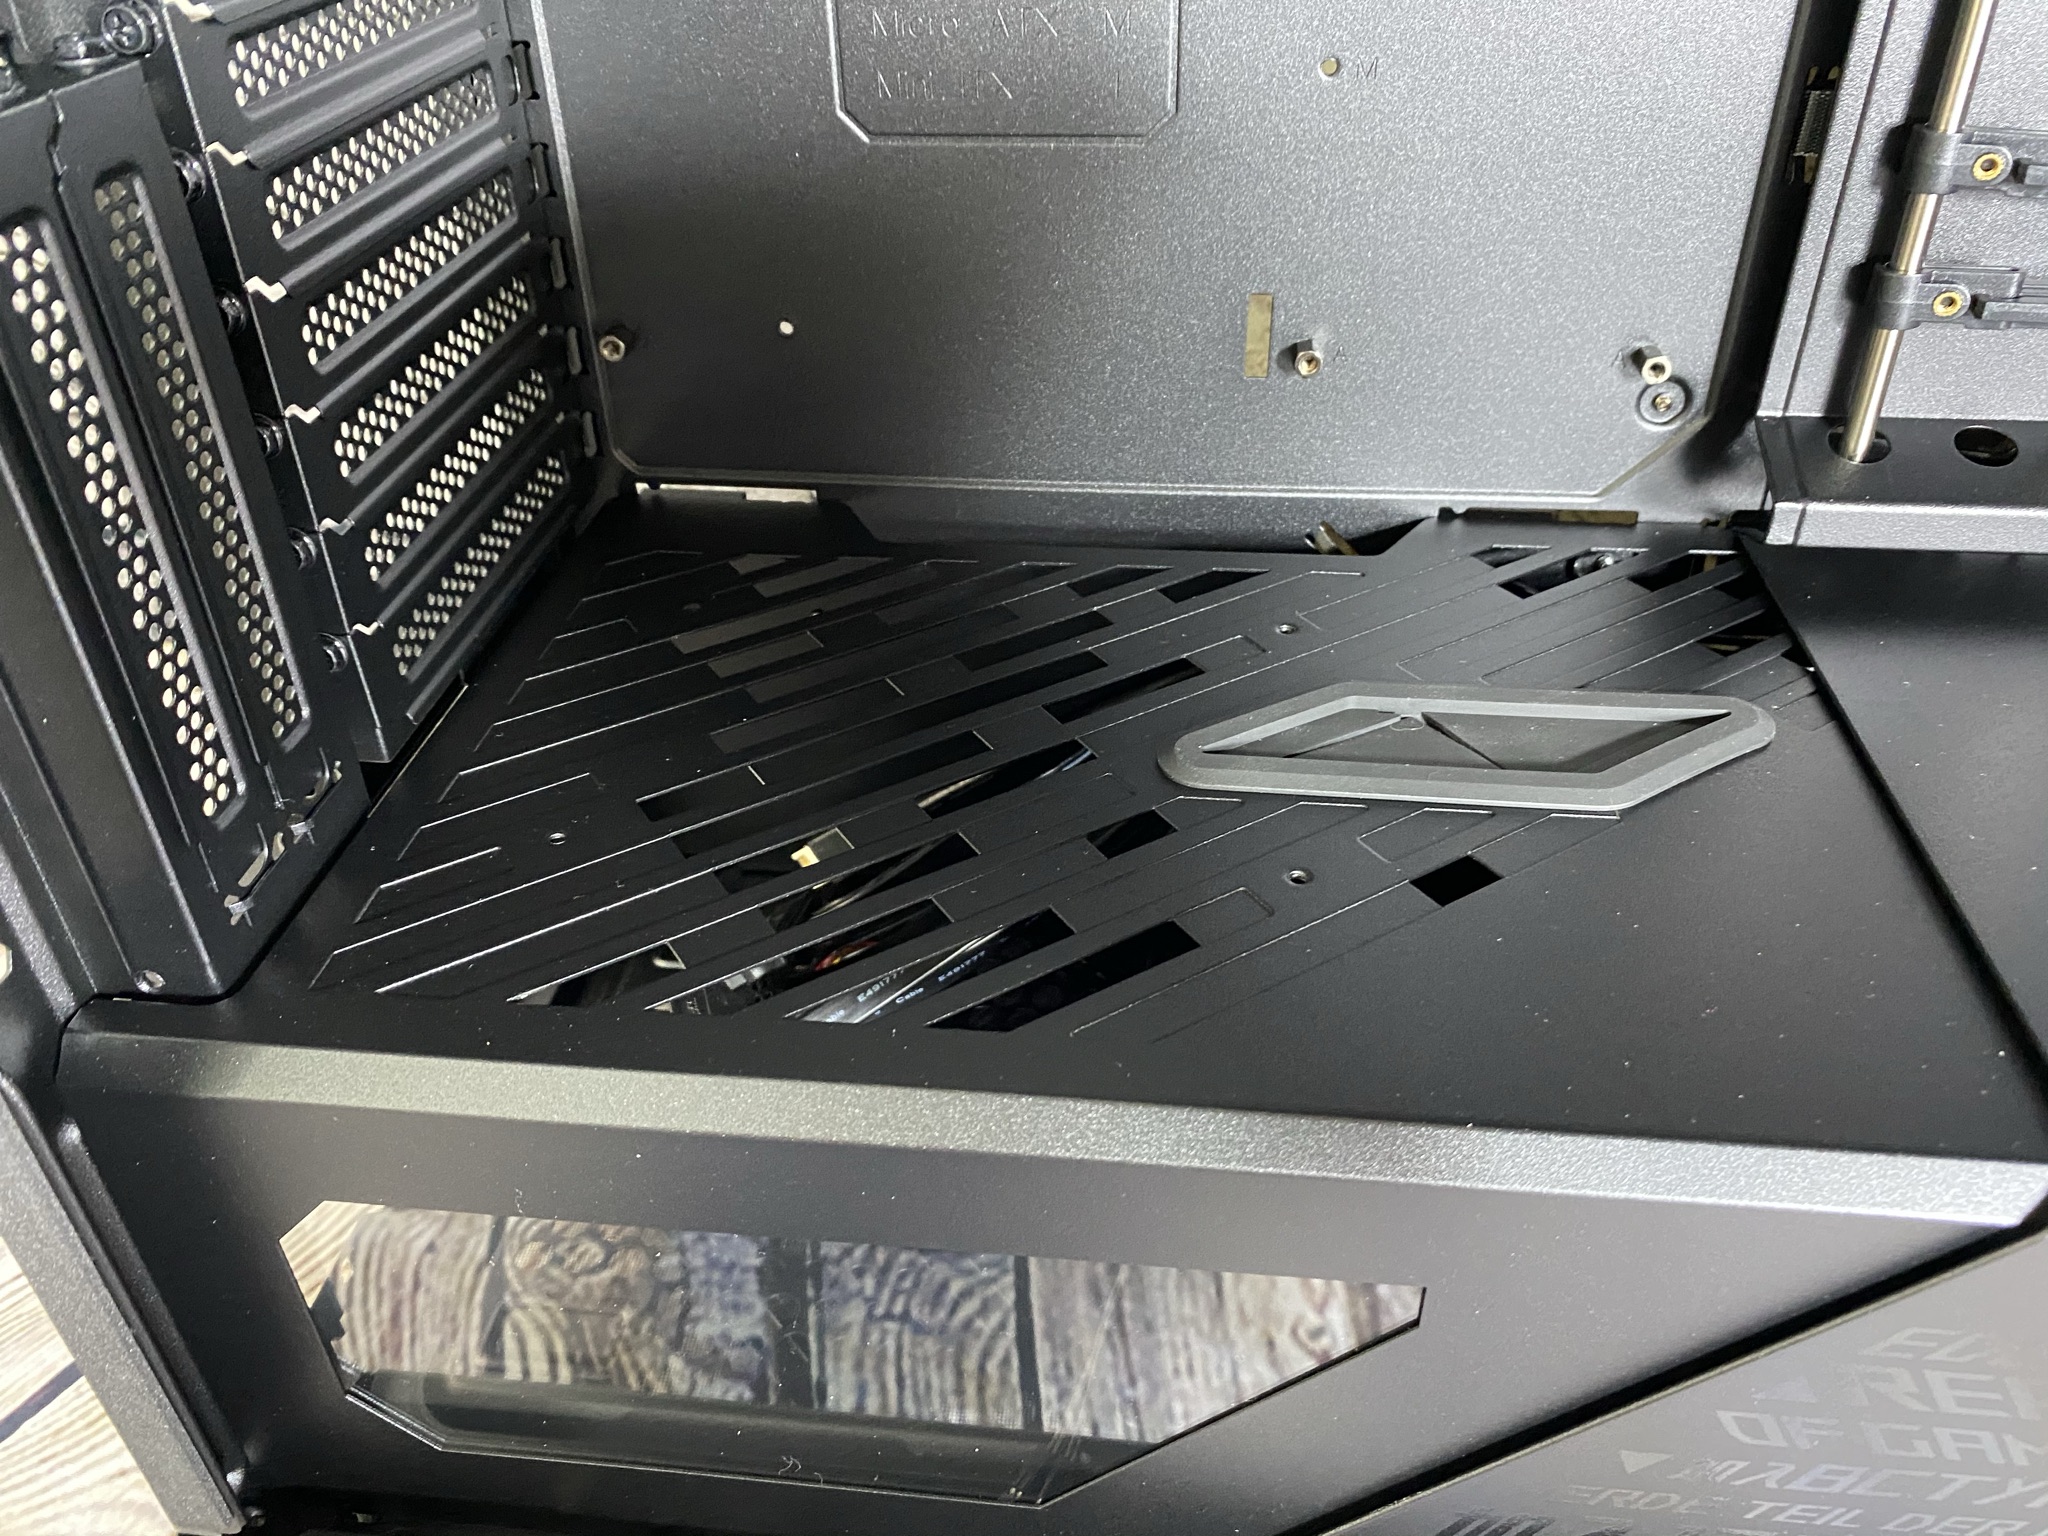
The last thing left in the interior is the power supply cover. First of all an important information: The whole power supply cover, which consists of two parts, can also be removed from the case here. You’ll find out why we mention it so explicitly in the next chapter. In order to be able to see its own PSU, ROG has installed a small viewing window made of transparent plastic on the side – all those who have an RGB PSU can rejoice. We find the classic ROG design here again in two places, once to the right of the PSU’s viewing window lifted off in glossy black, and due to the ventilation holes above the PSU tray. A slightly larger hole with a rubber sheathing for the graphics card’s power cable has been added in place, a small detail for better looking cabling.

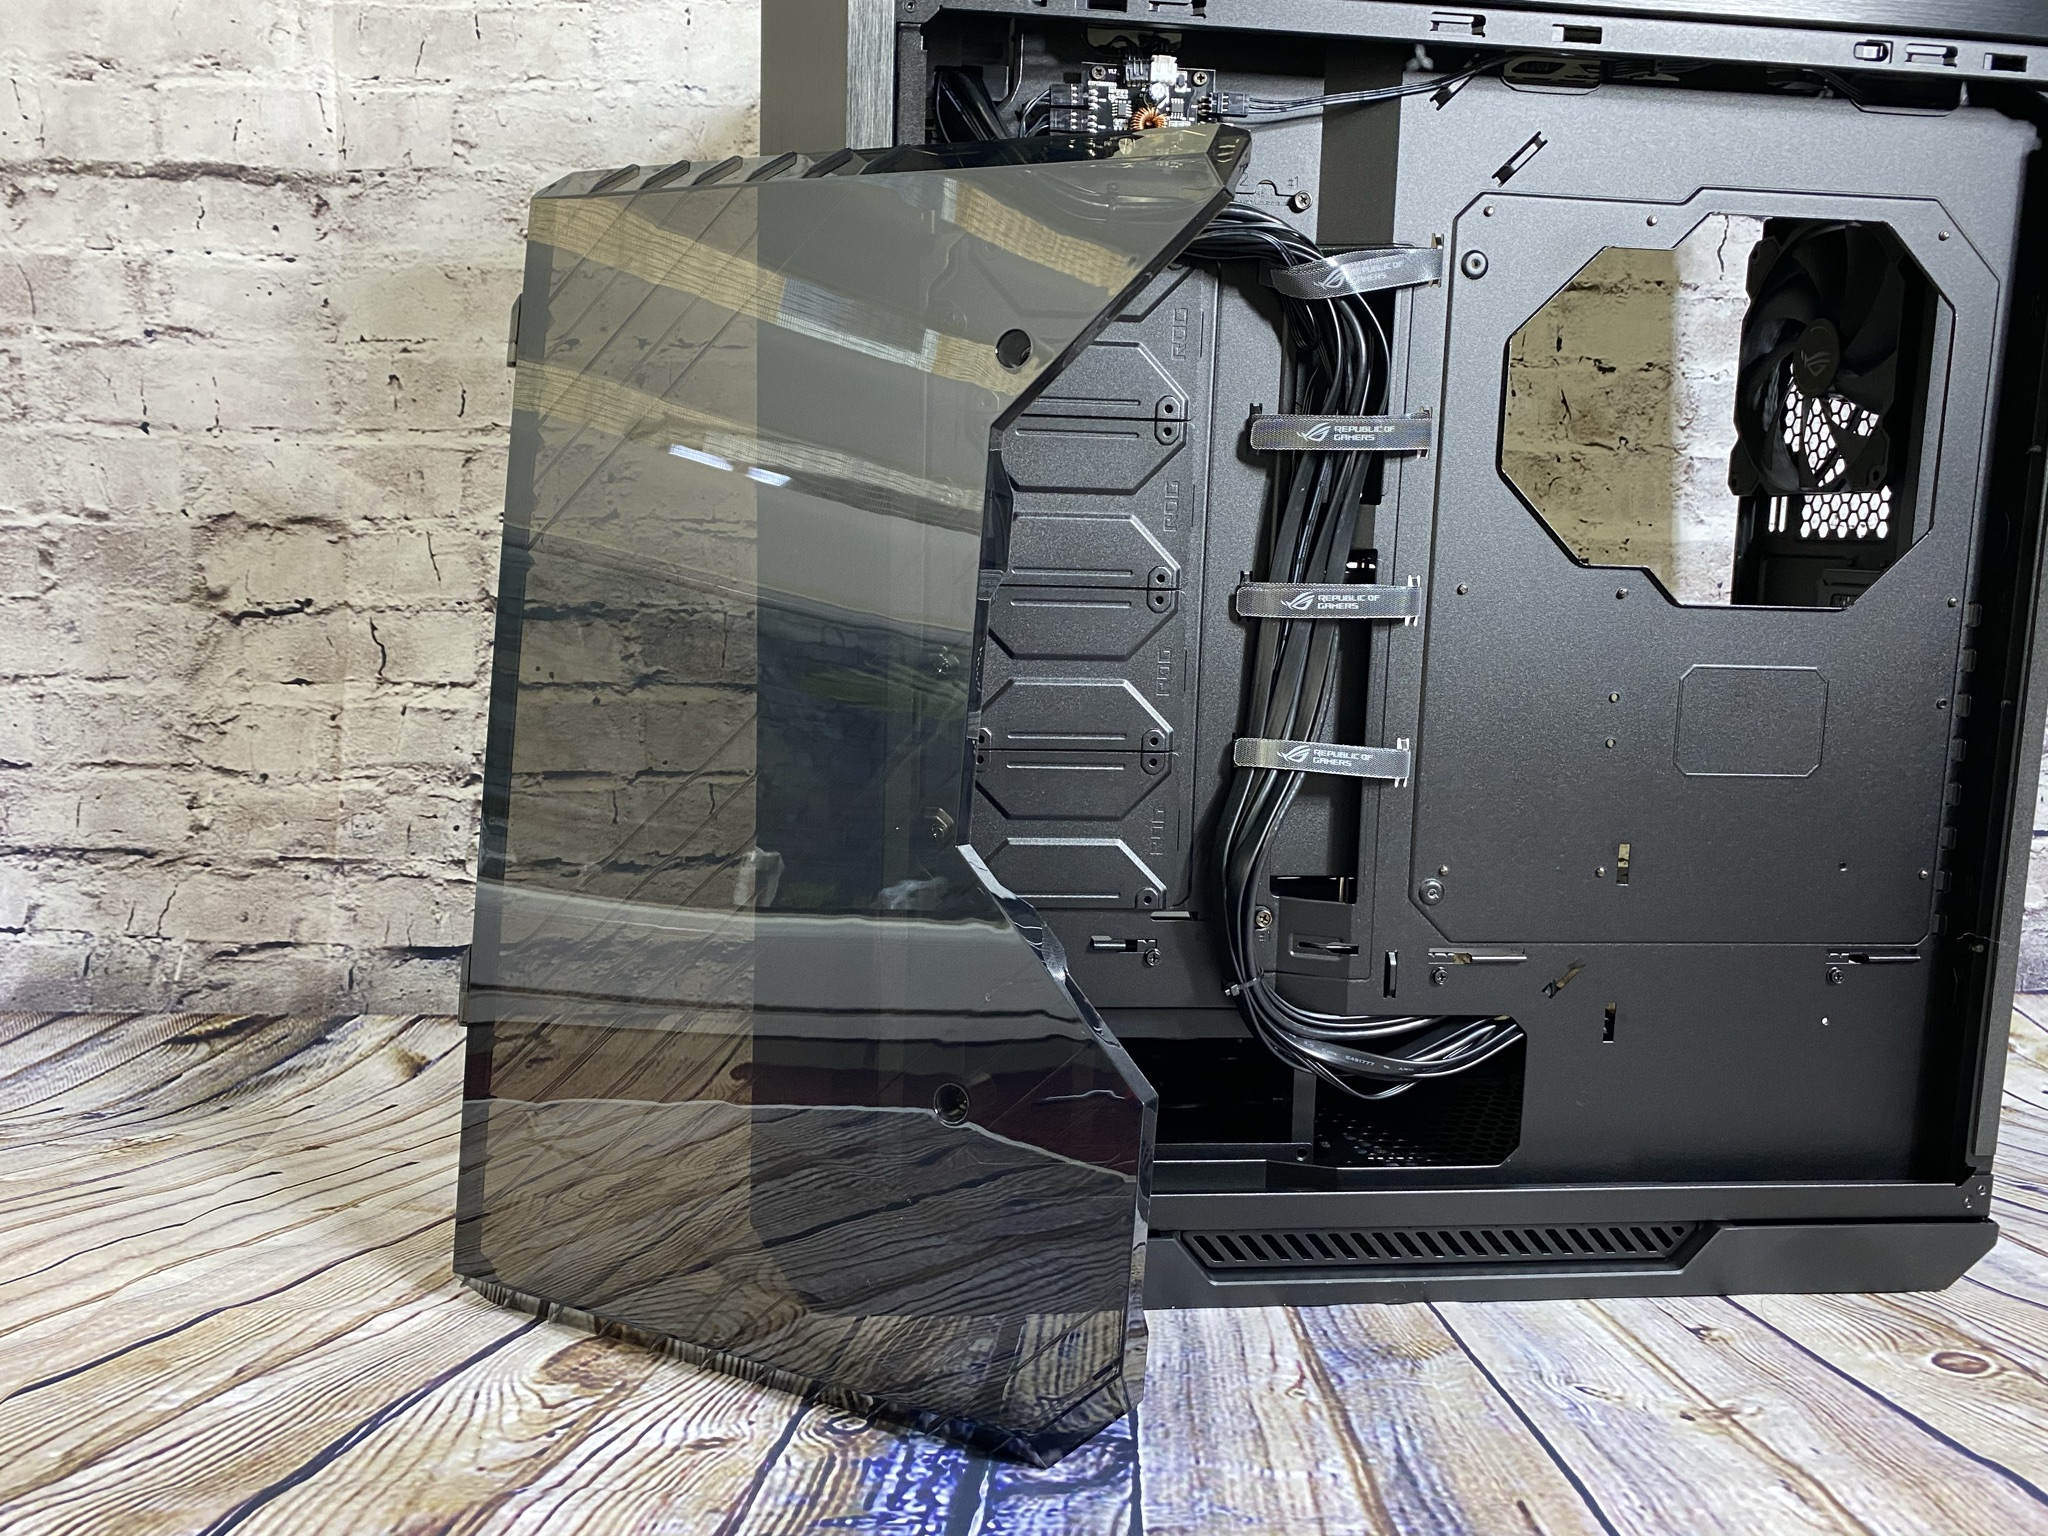
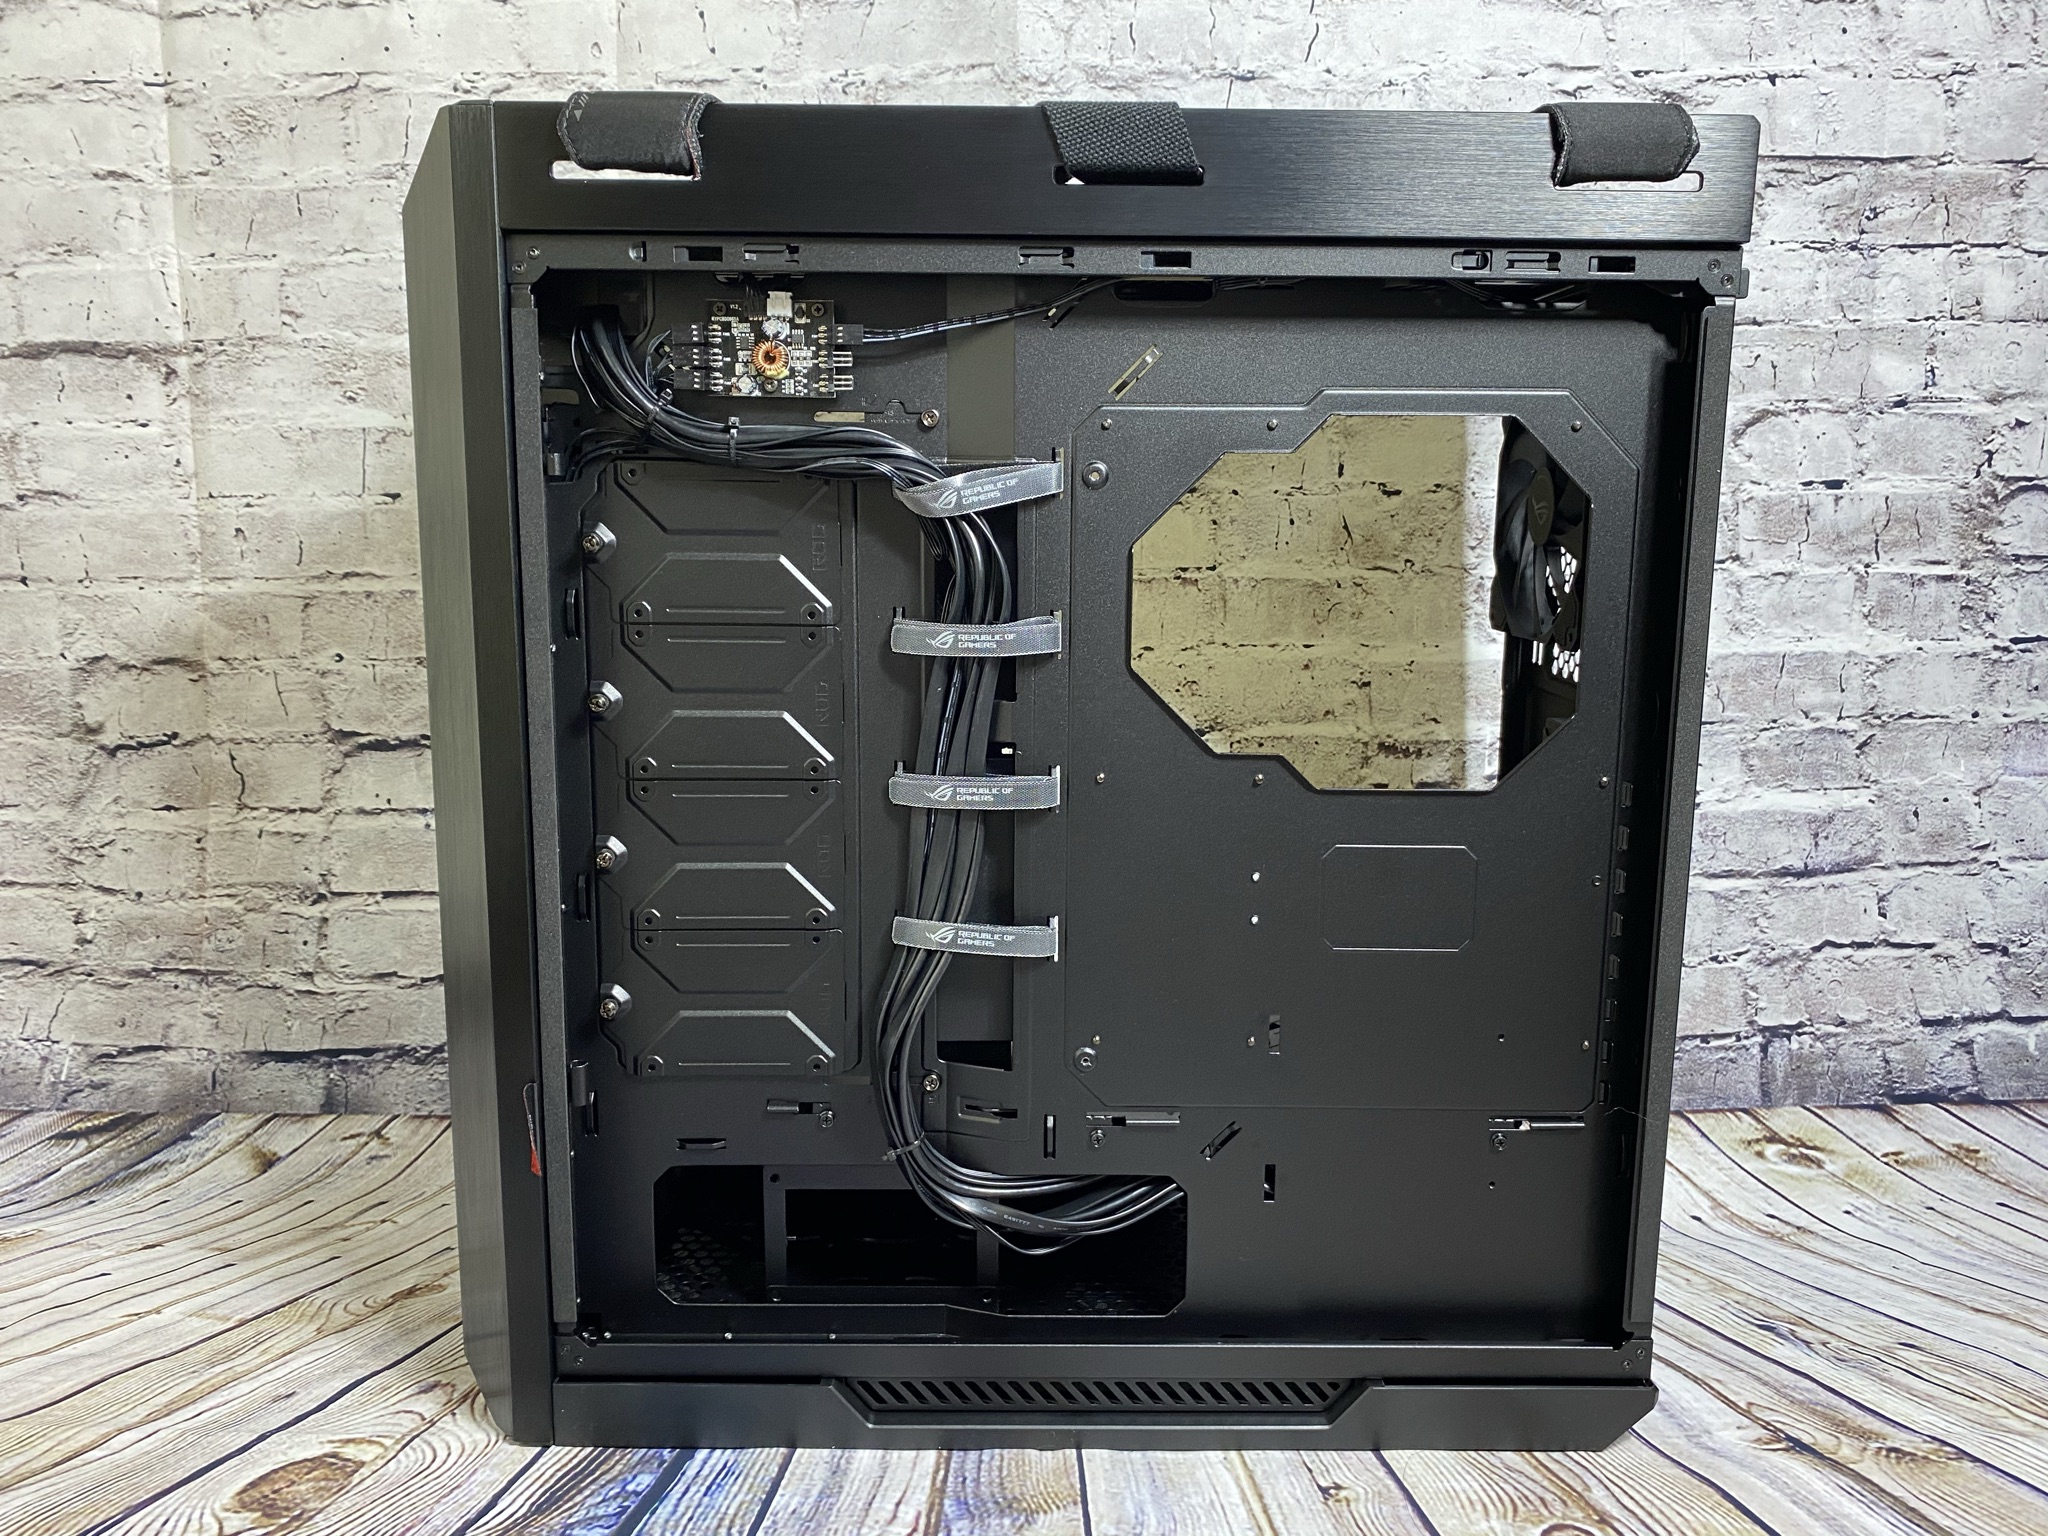
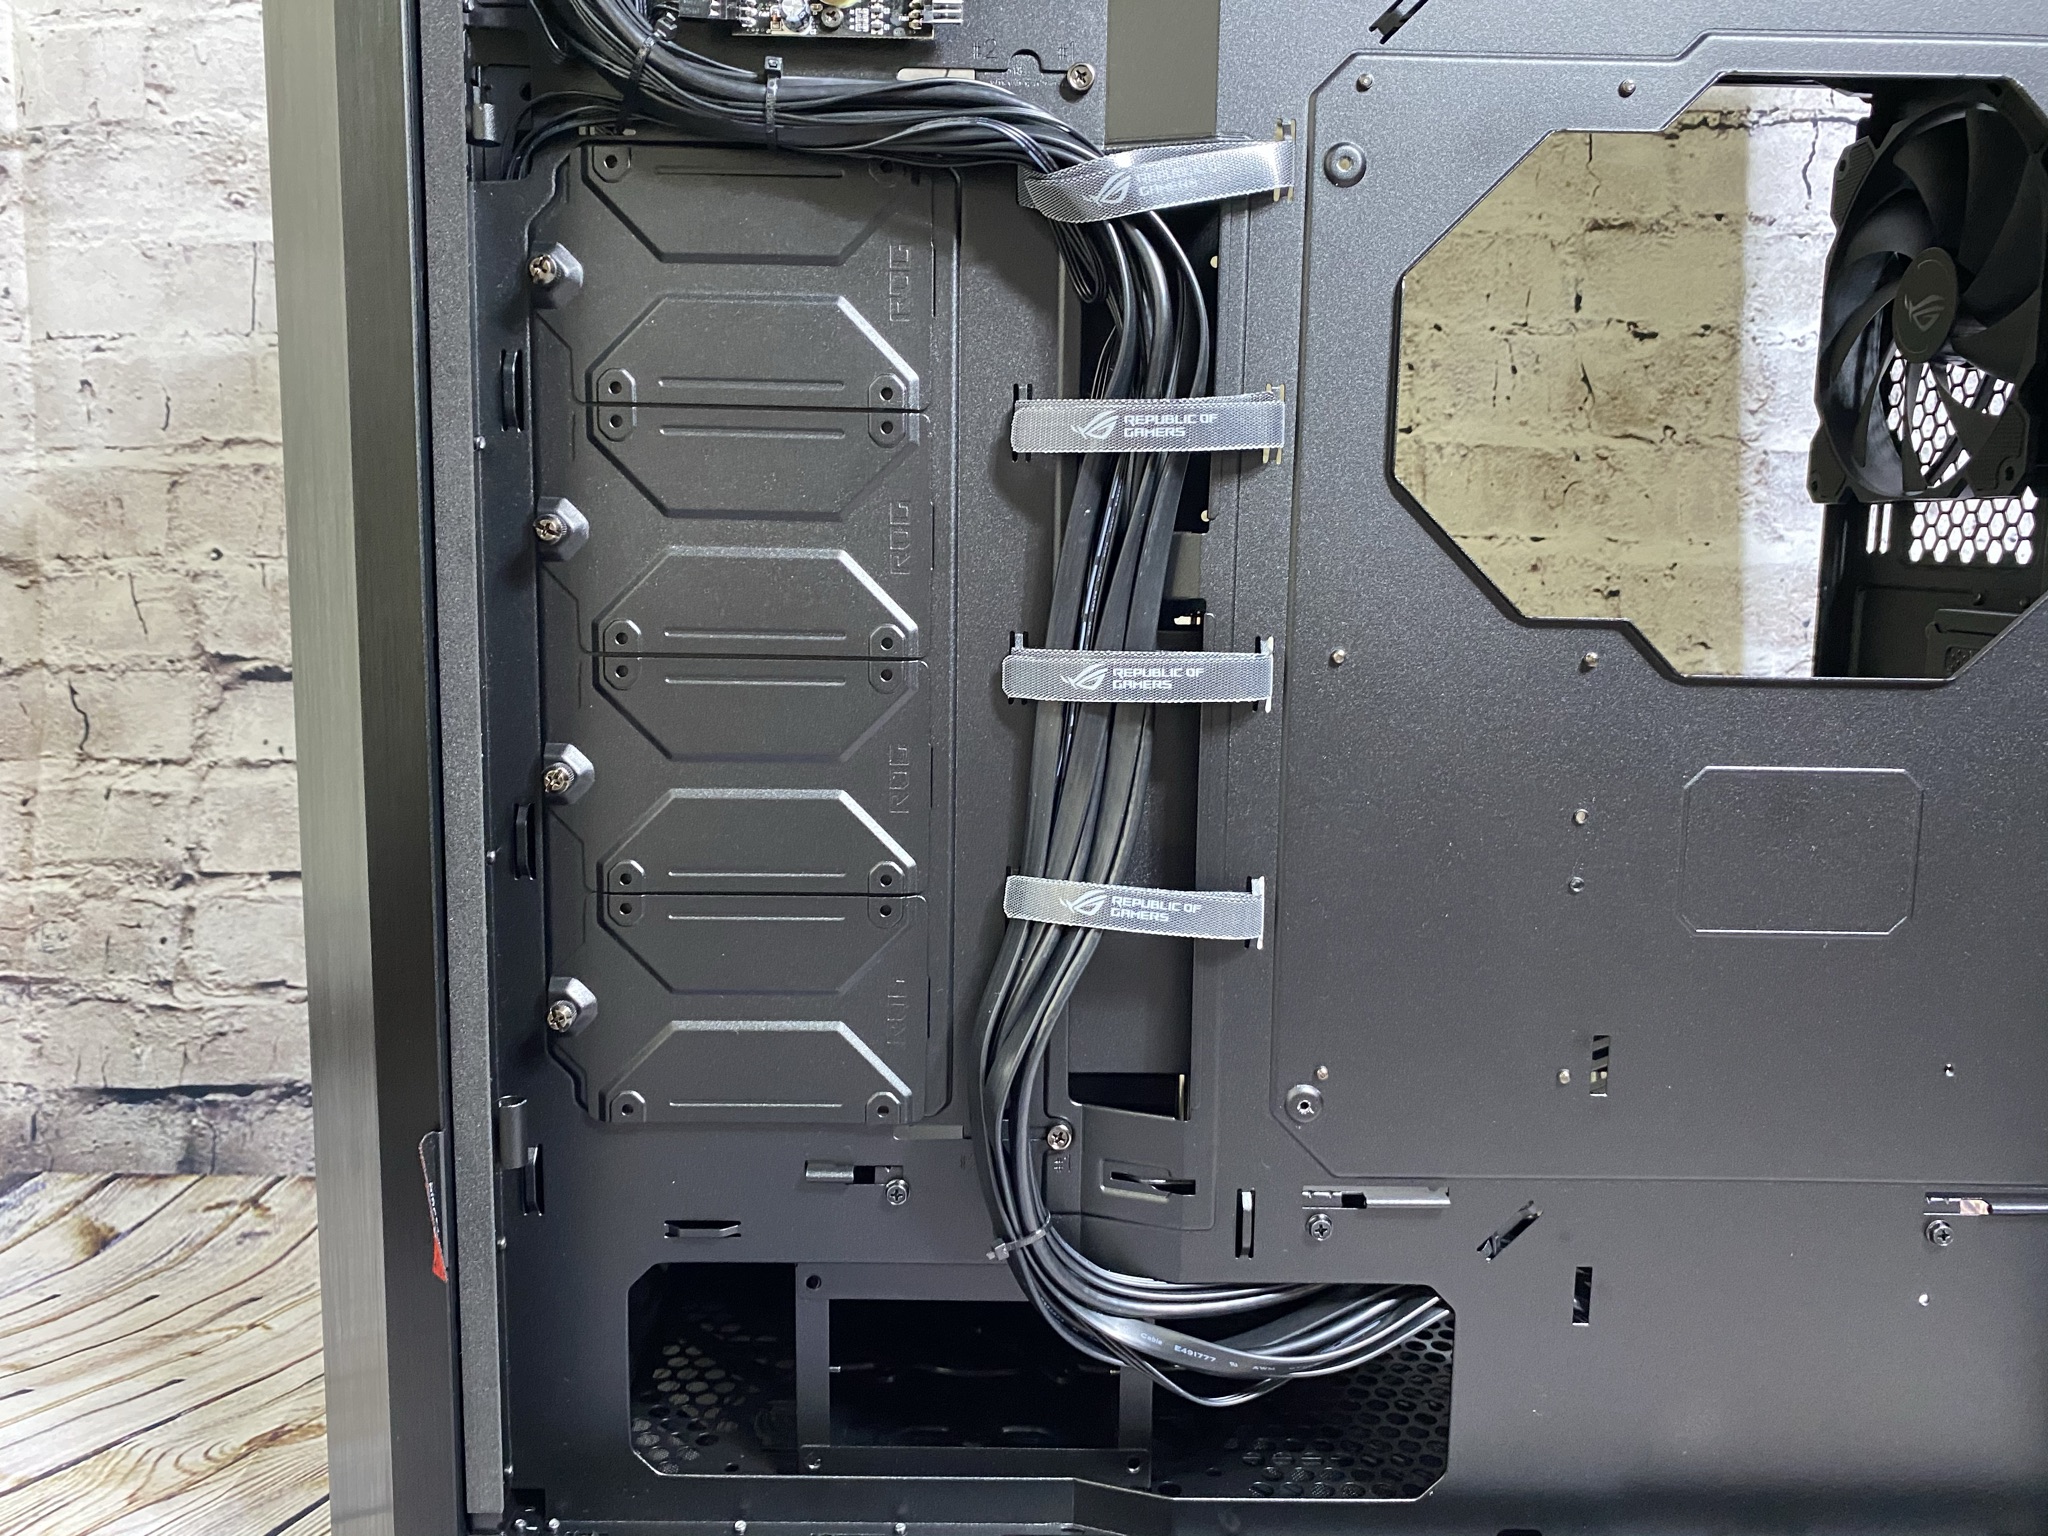
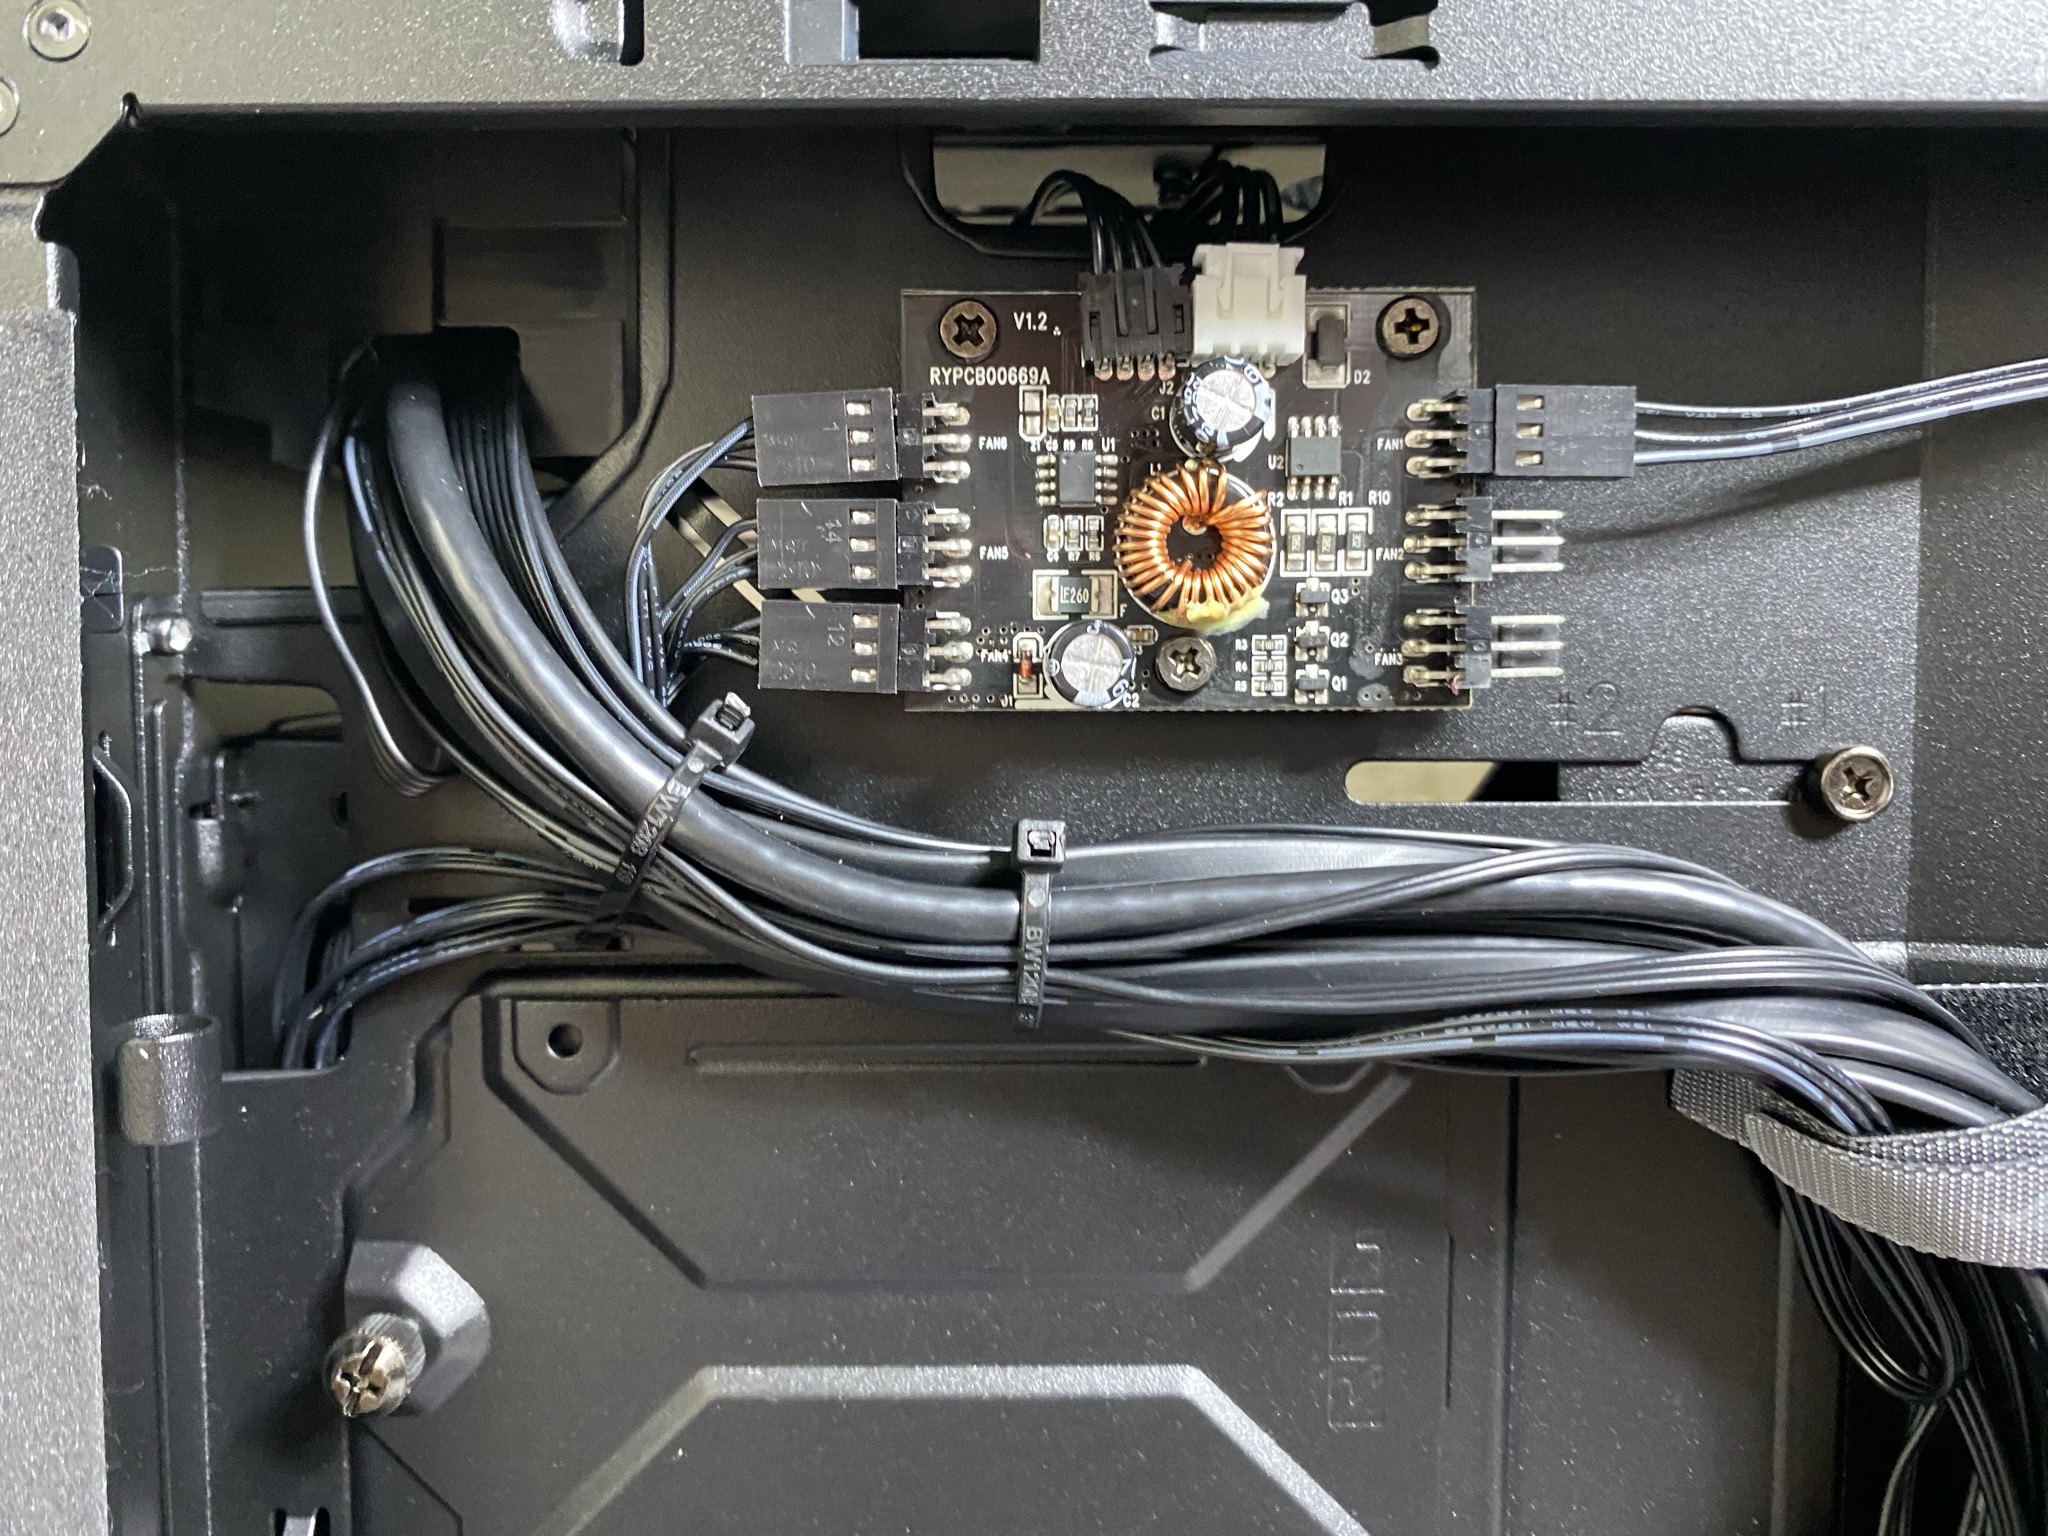
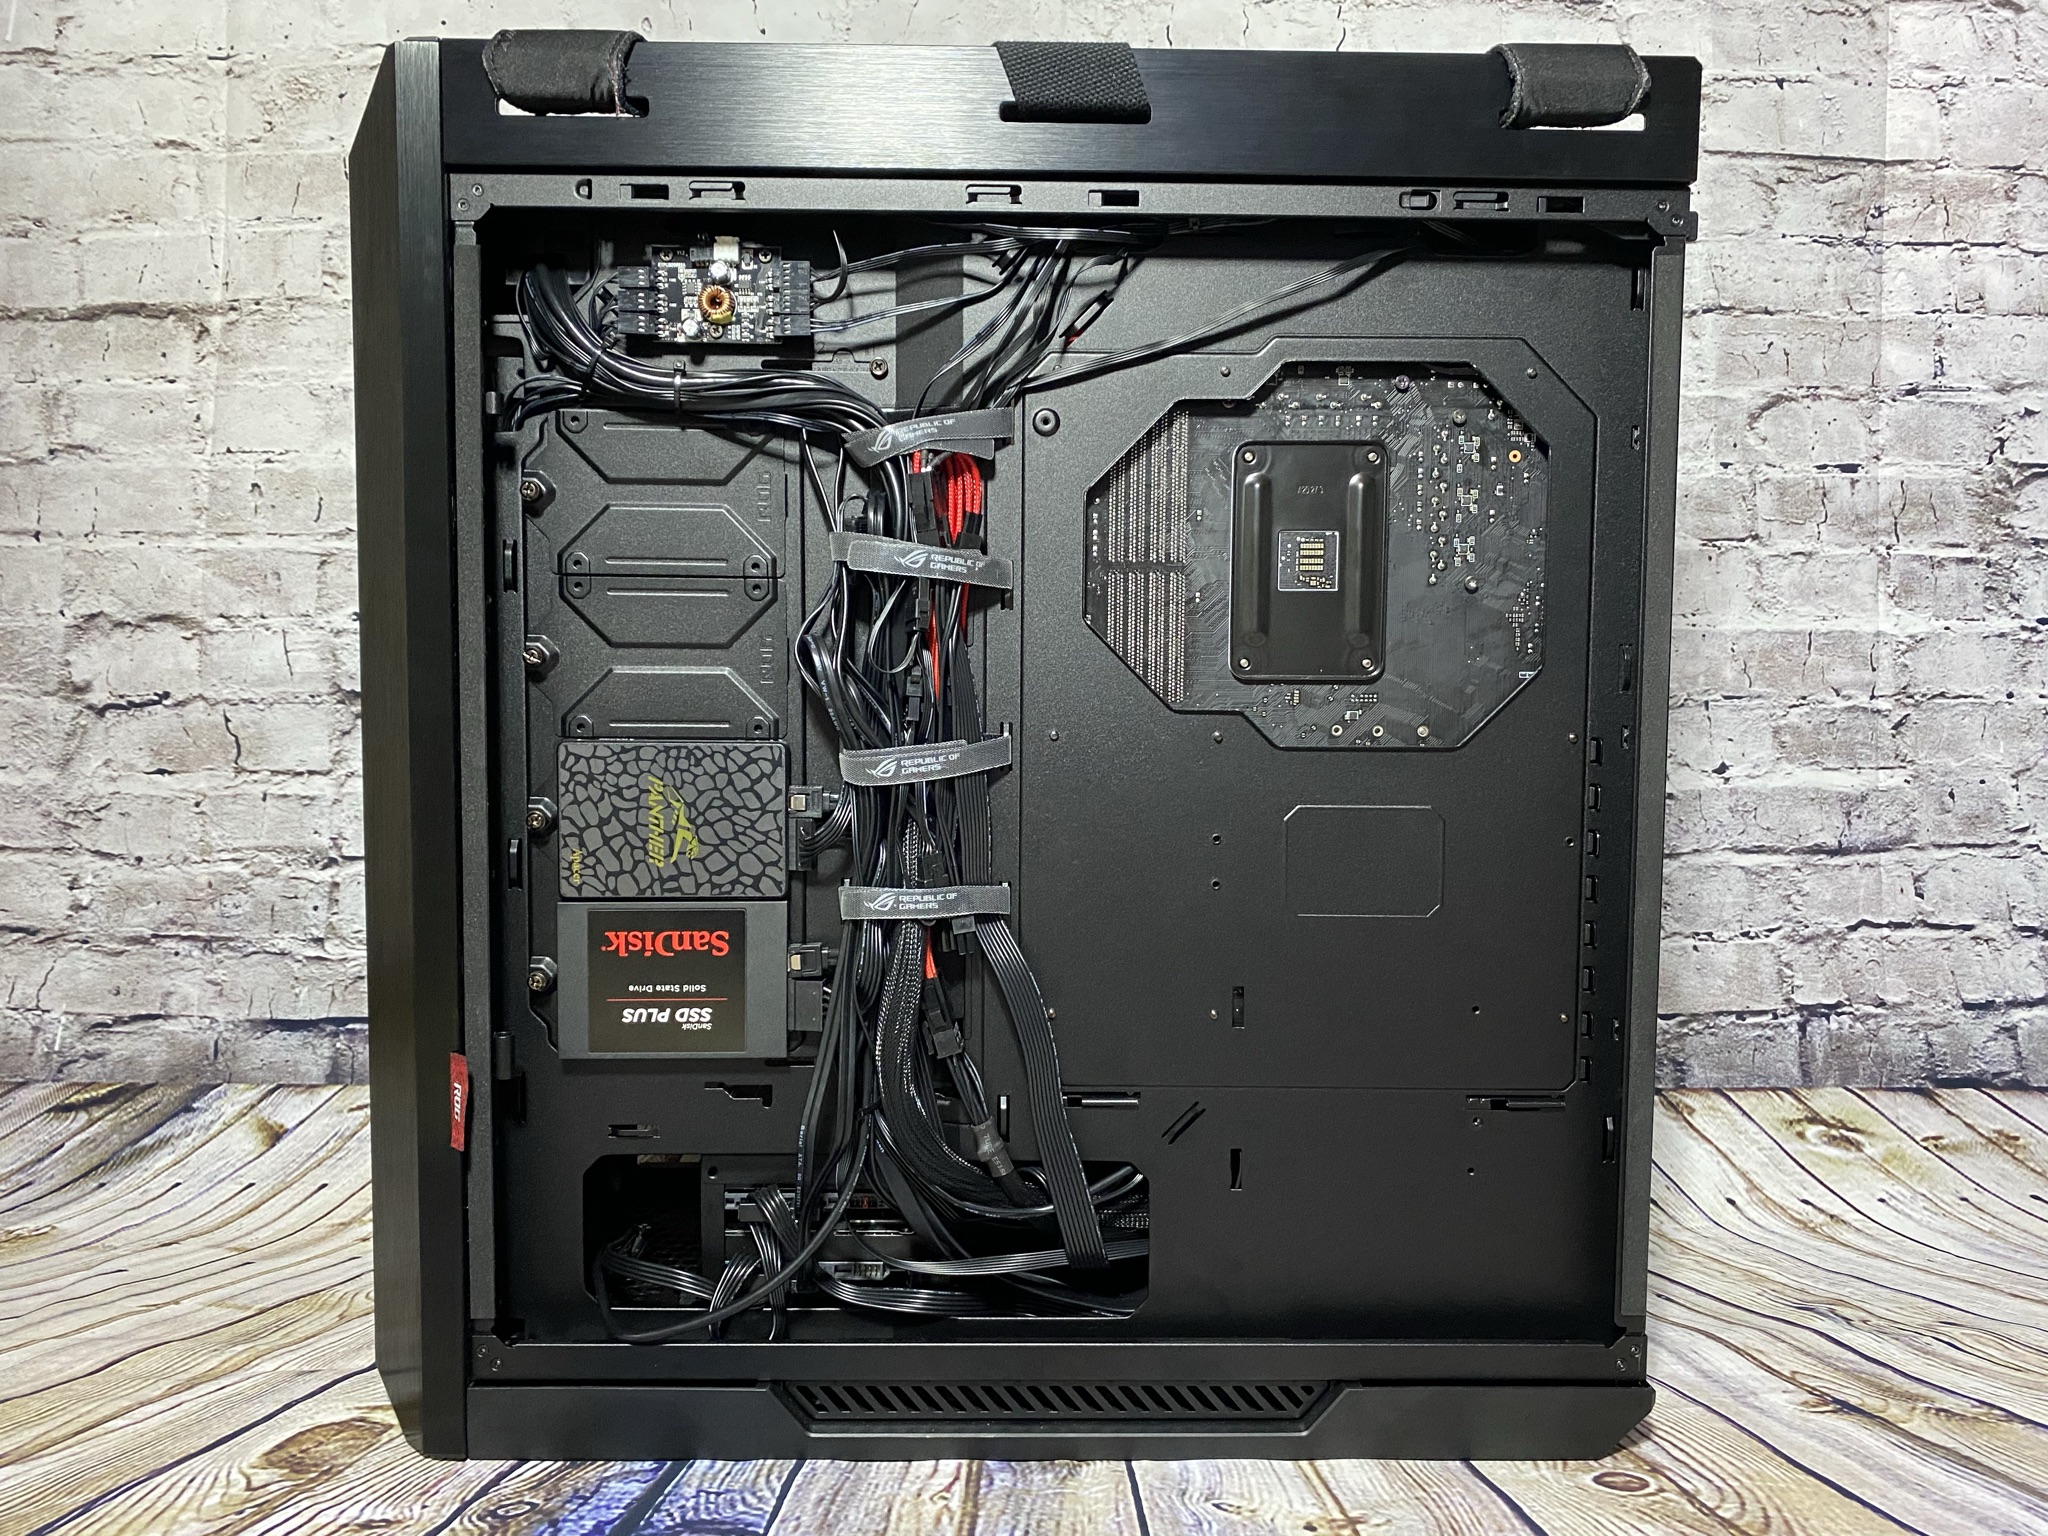
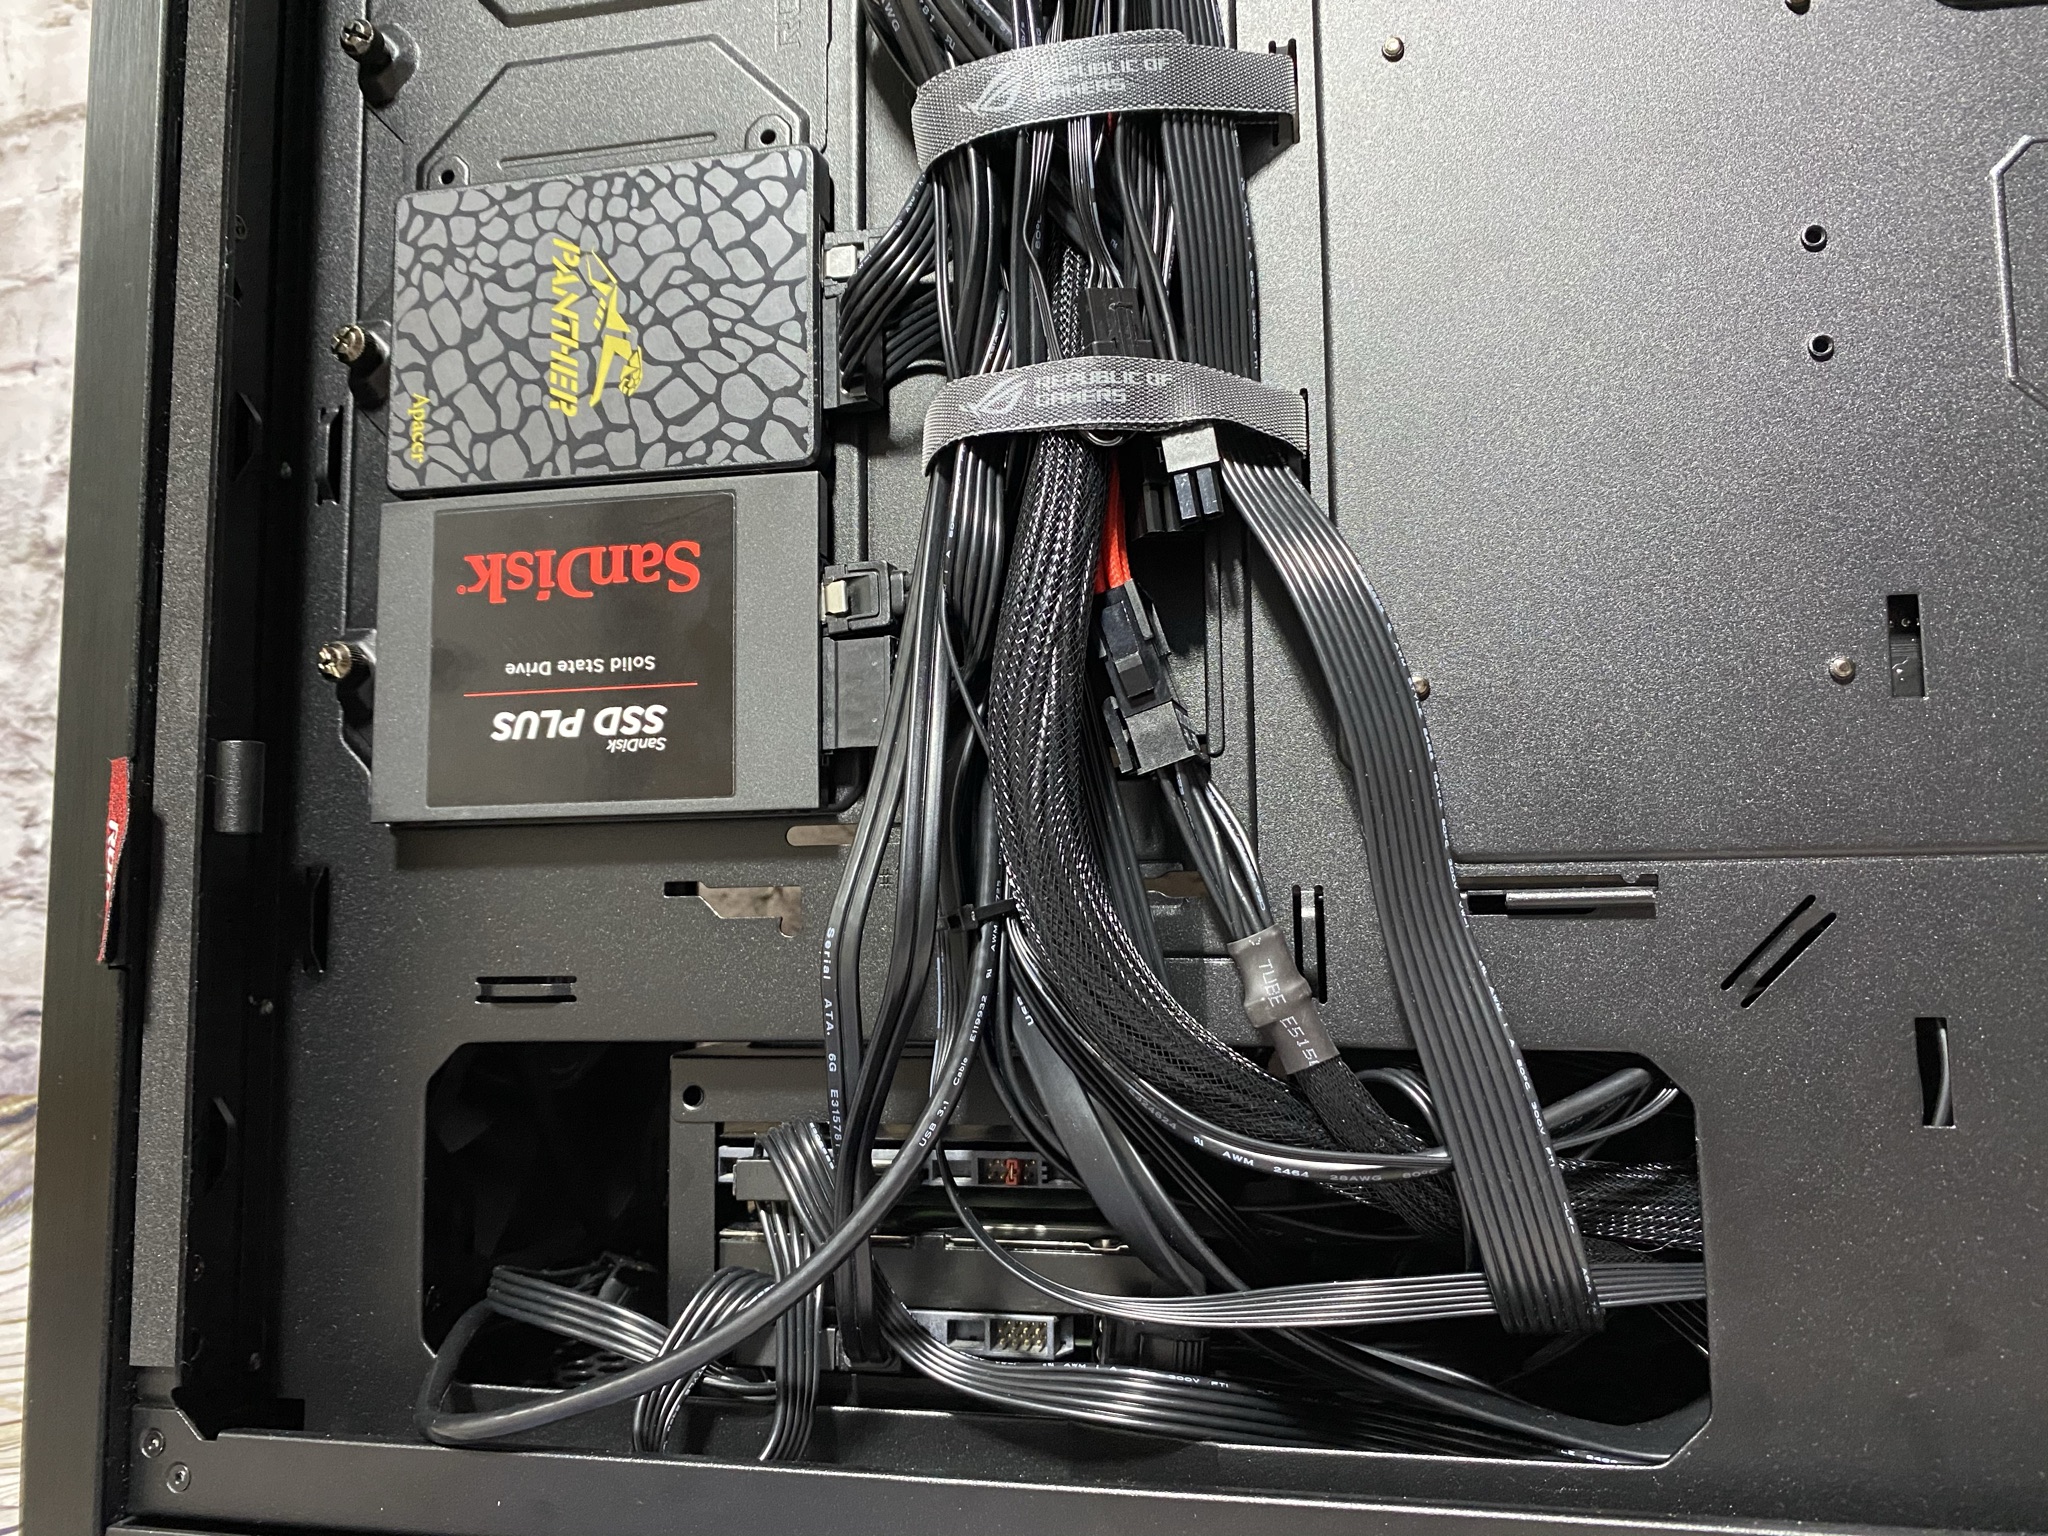
On the back, things continue in an exciting way – the entire cable management of the case is covered by a large, transparent, dark-tinted plastic cap, which can be released with two screws. Behind the plastic cap are not only the pre-installed cables, which are held to the case with cable ties and ROG Velcro, but also a fan controller and four 2.5″ SSD rails. It is a pity that Asus does not include additional Velcro fasteners for cable management in the scope of delivery. To access the HDD rail, you have to unscrew the PSU tray from its holder and remove the plastic rail for a 3.5″ HDD from the inside.
Assembly
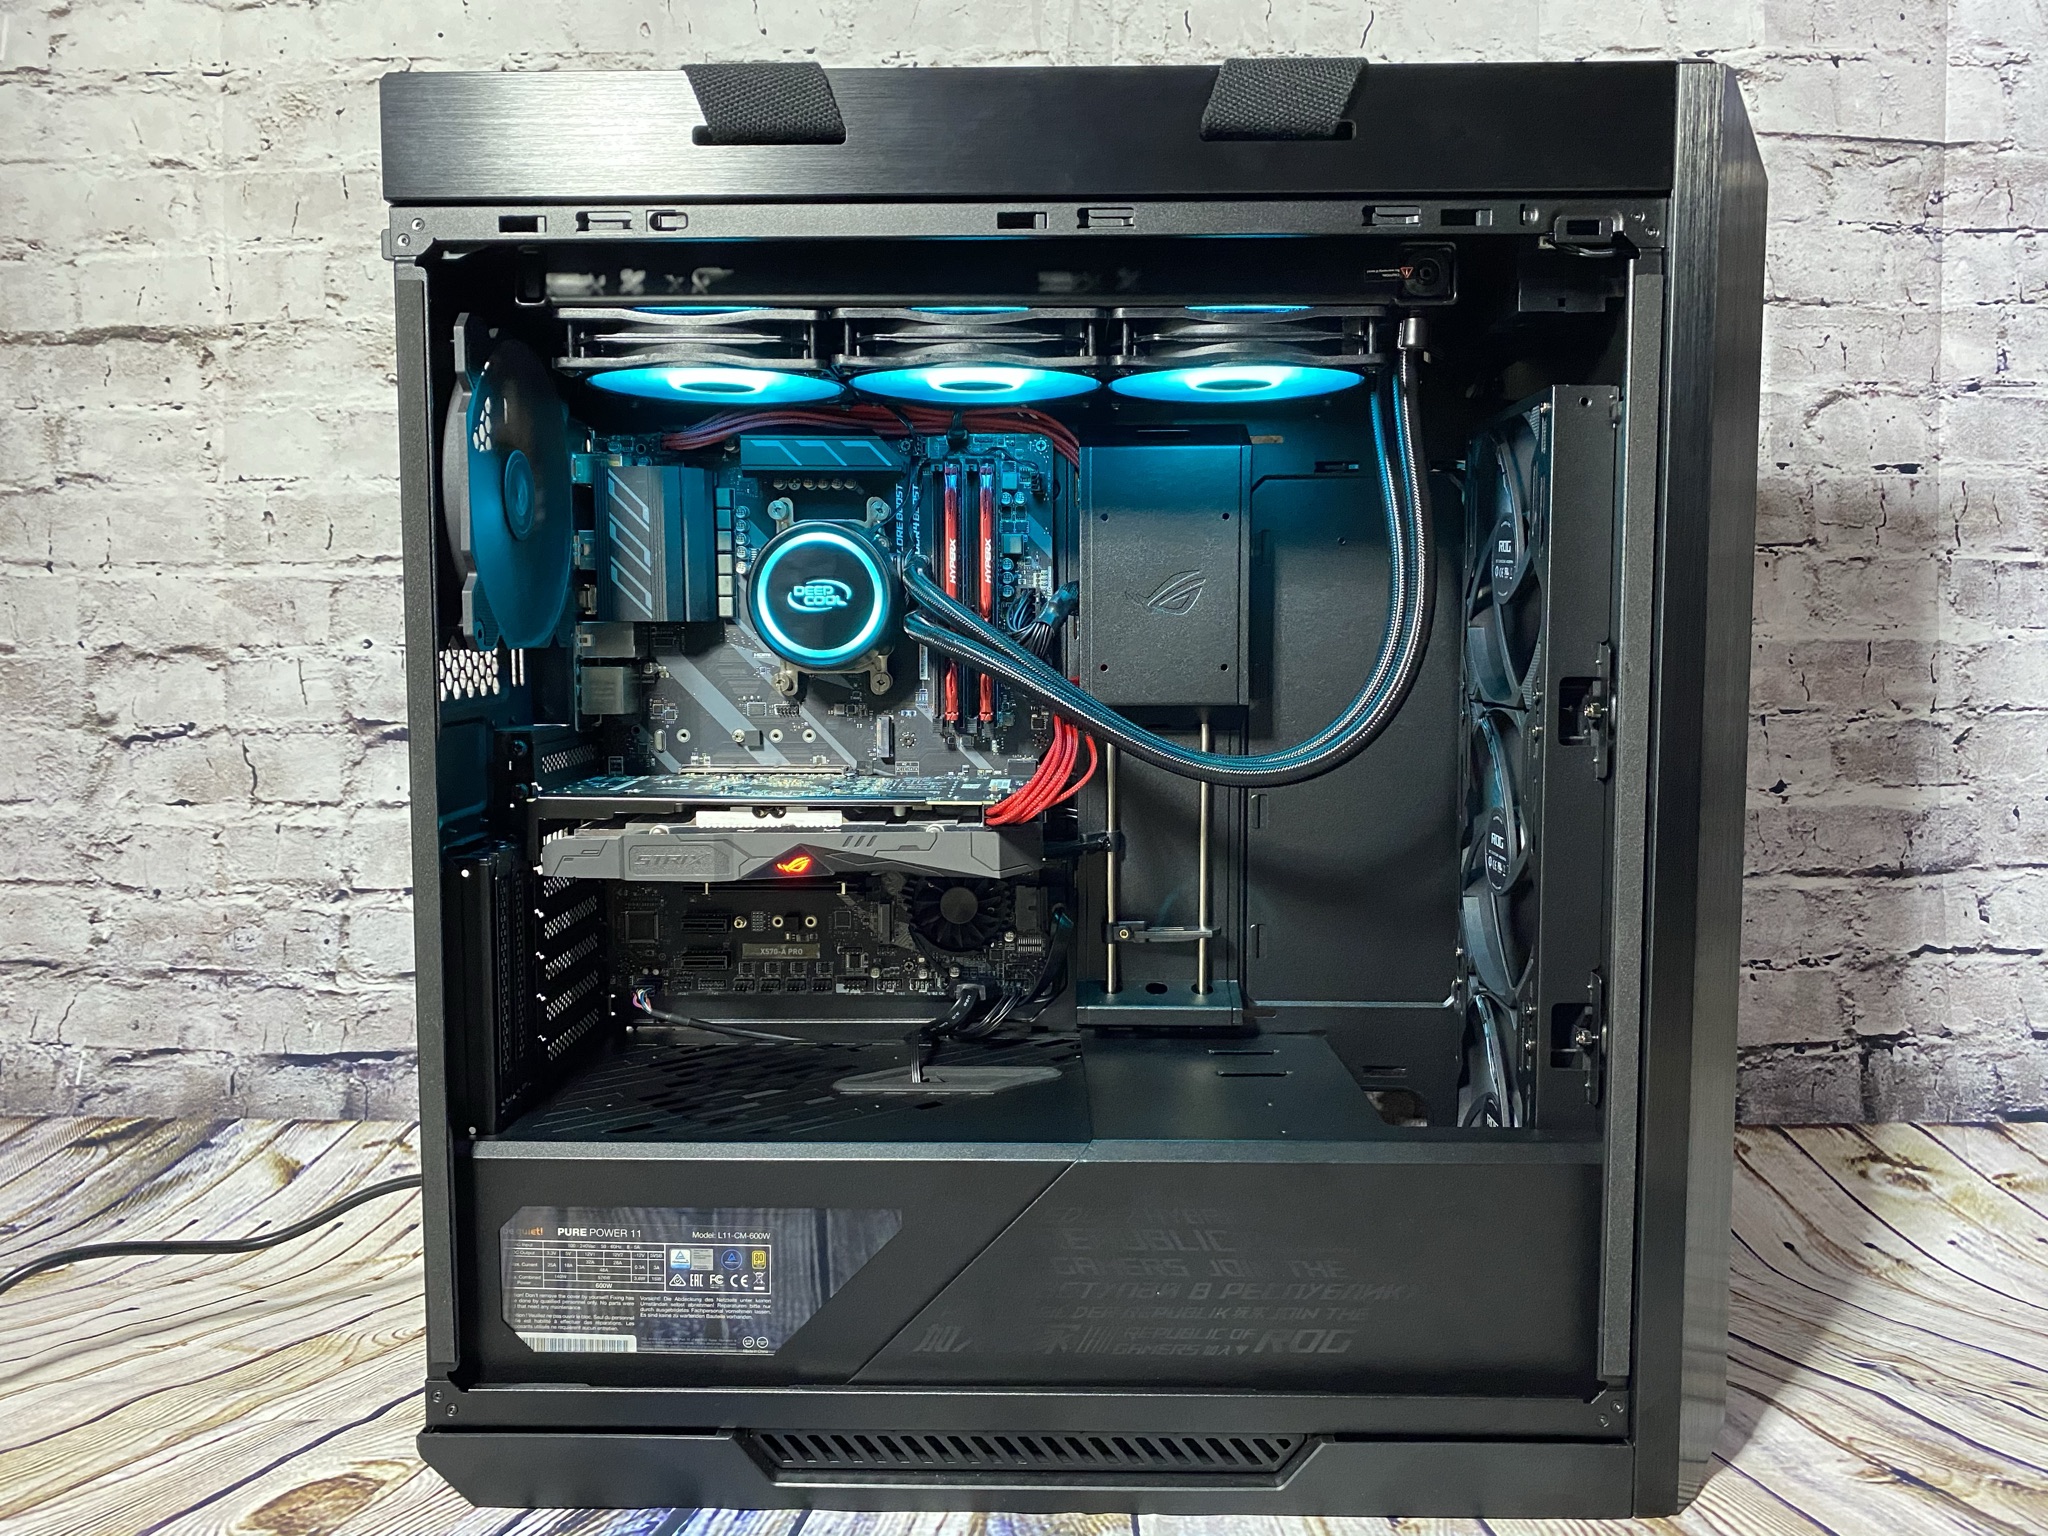
We installed the following components into the ASUS ROG Strix Helios:
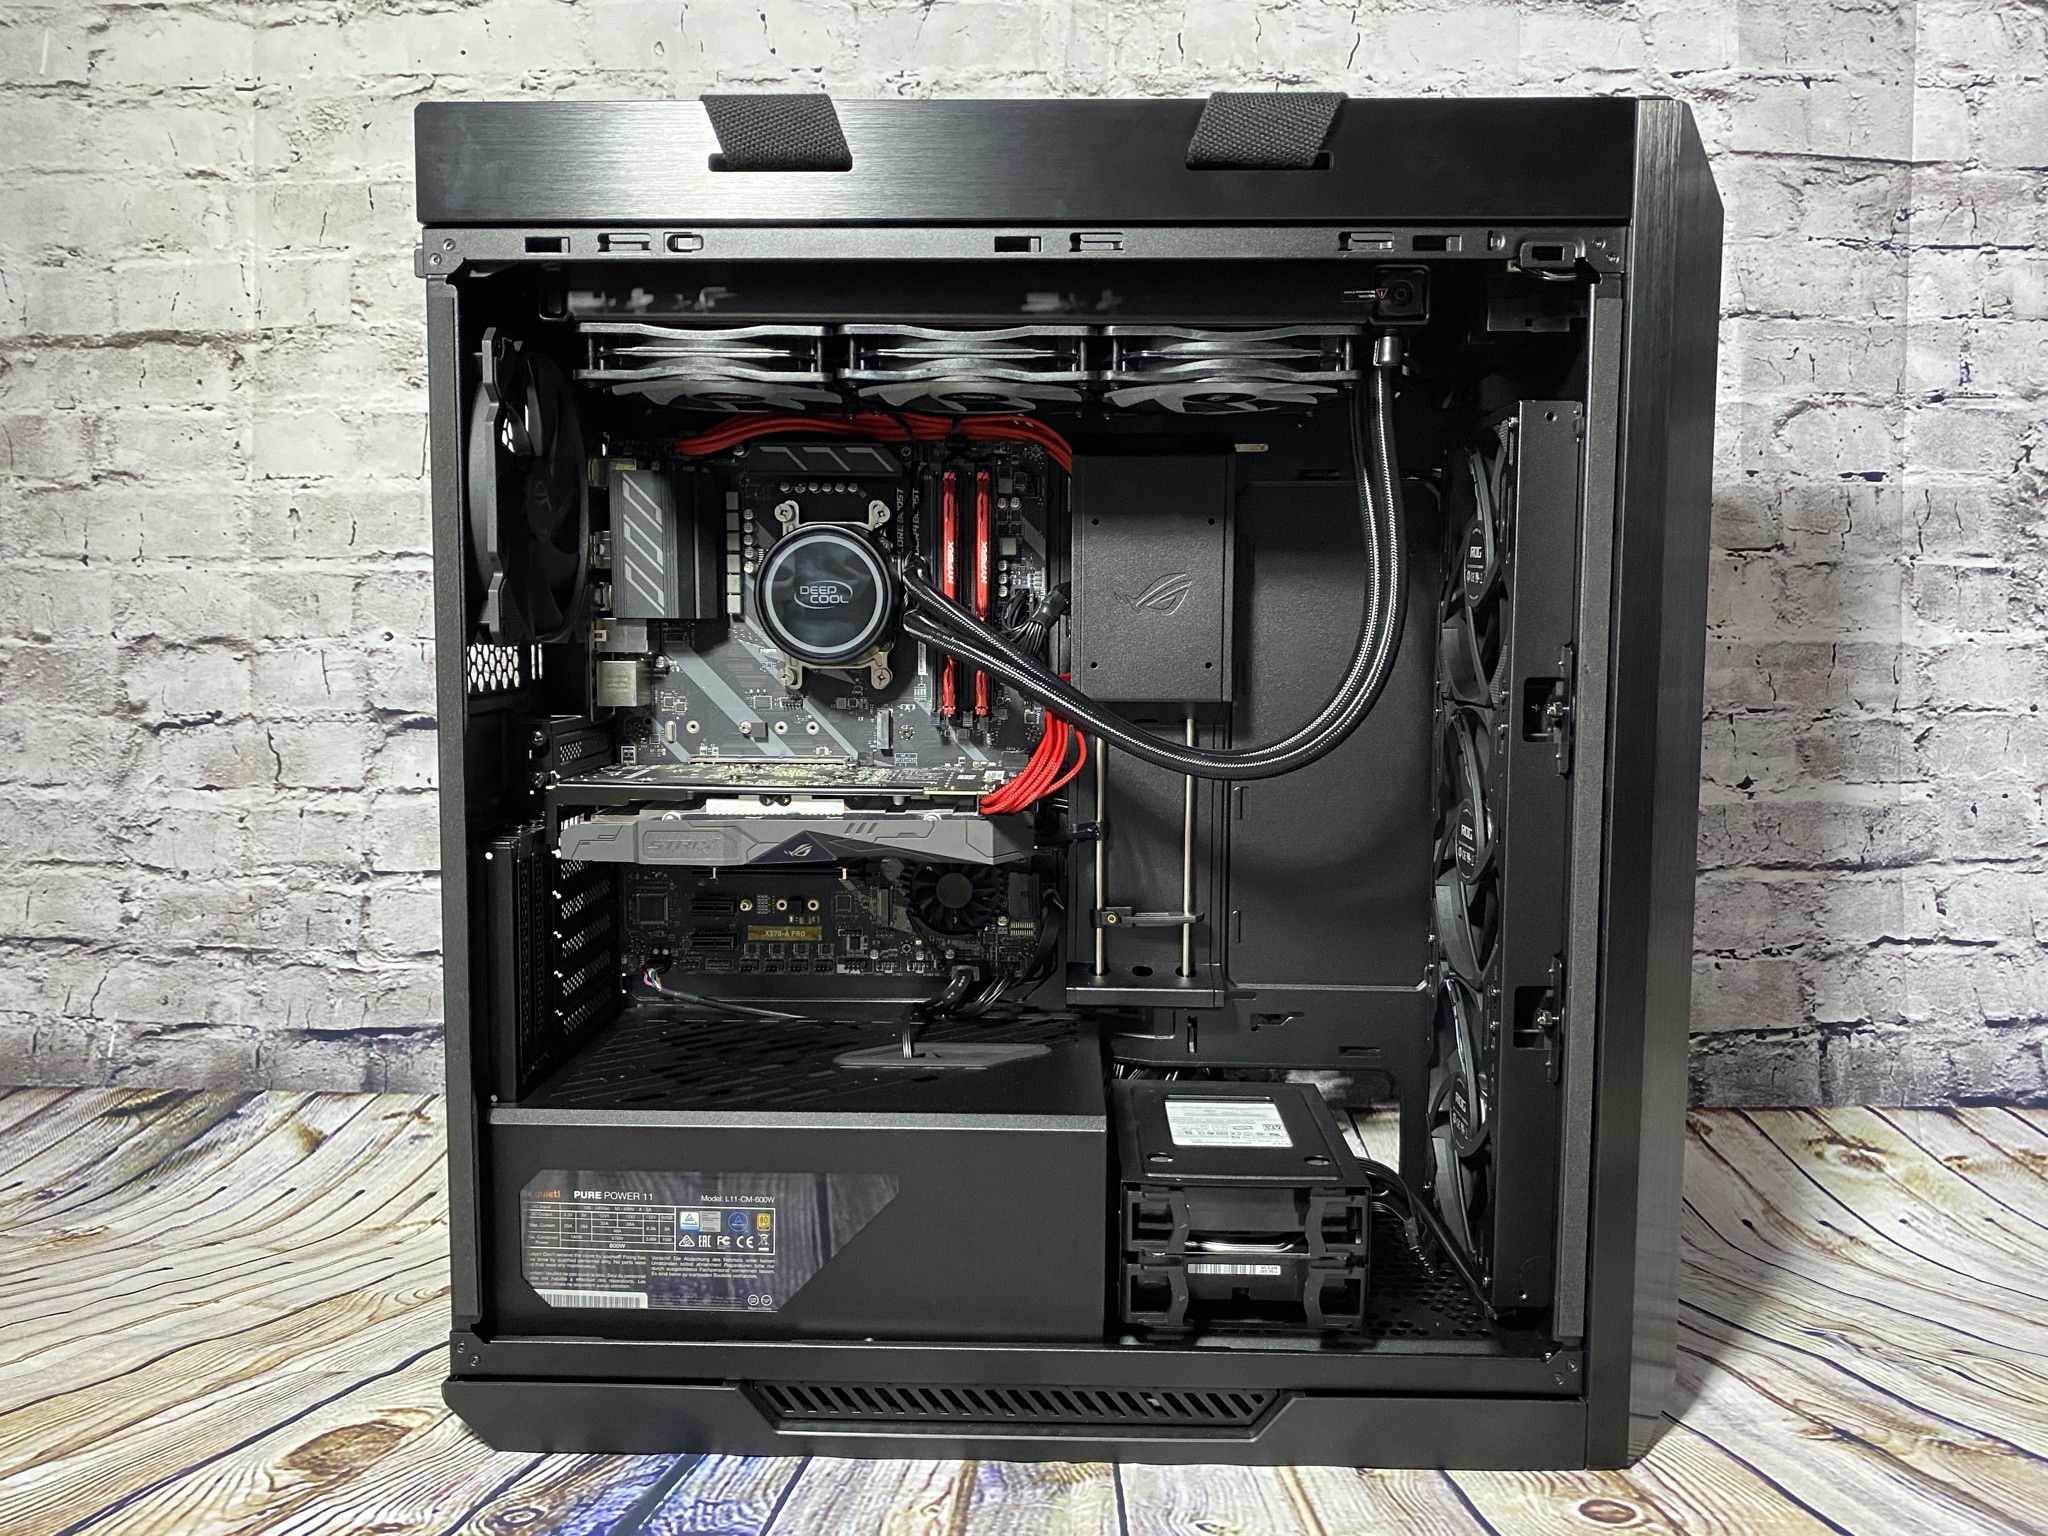
- AMD Ryzen 5 3600, 6x 3.60Ghz
- DEEP COOL Gammaxx L360 V2
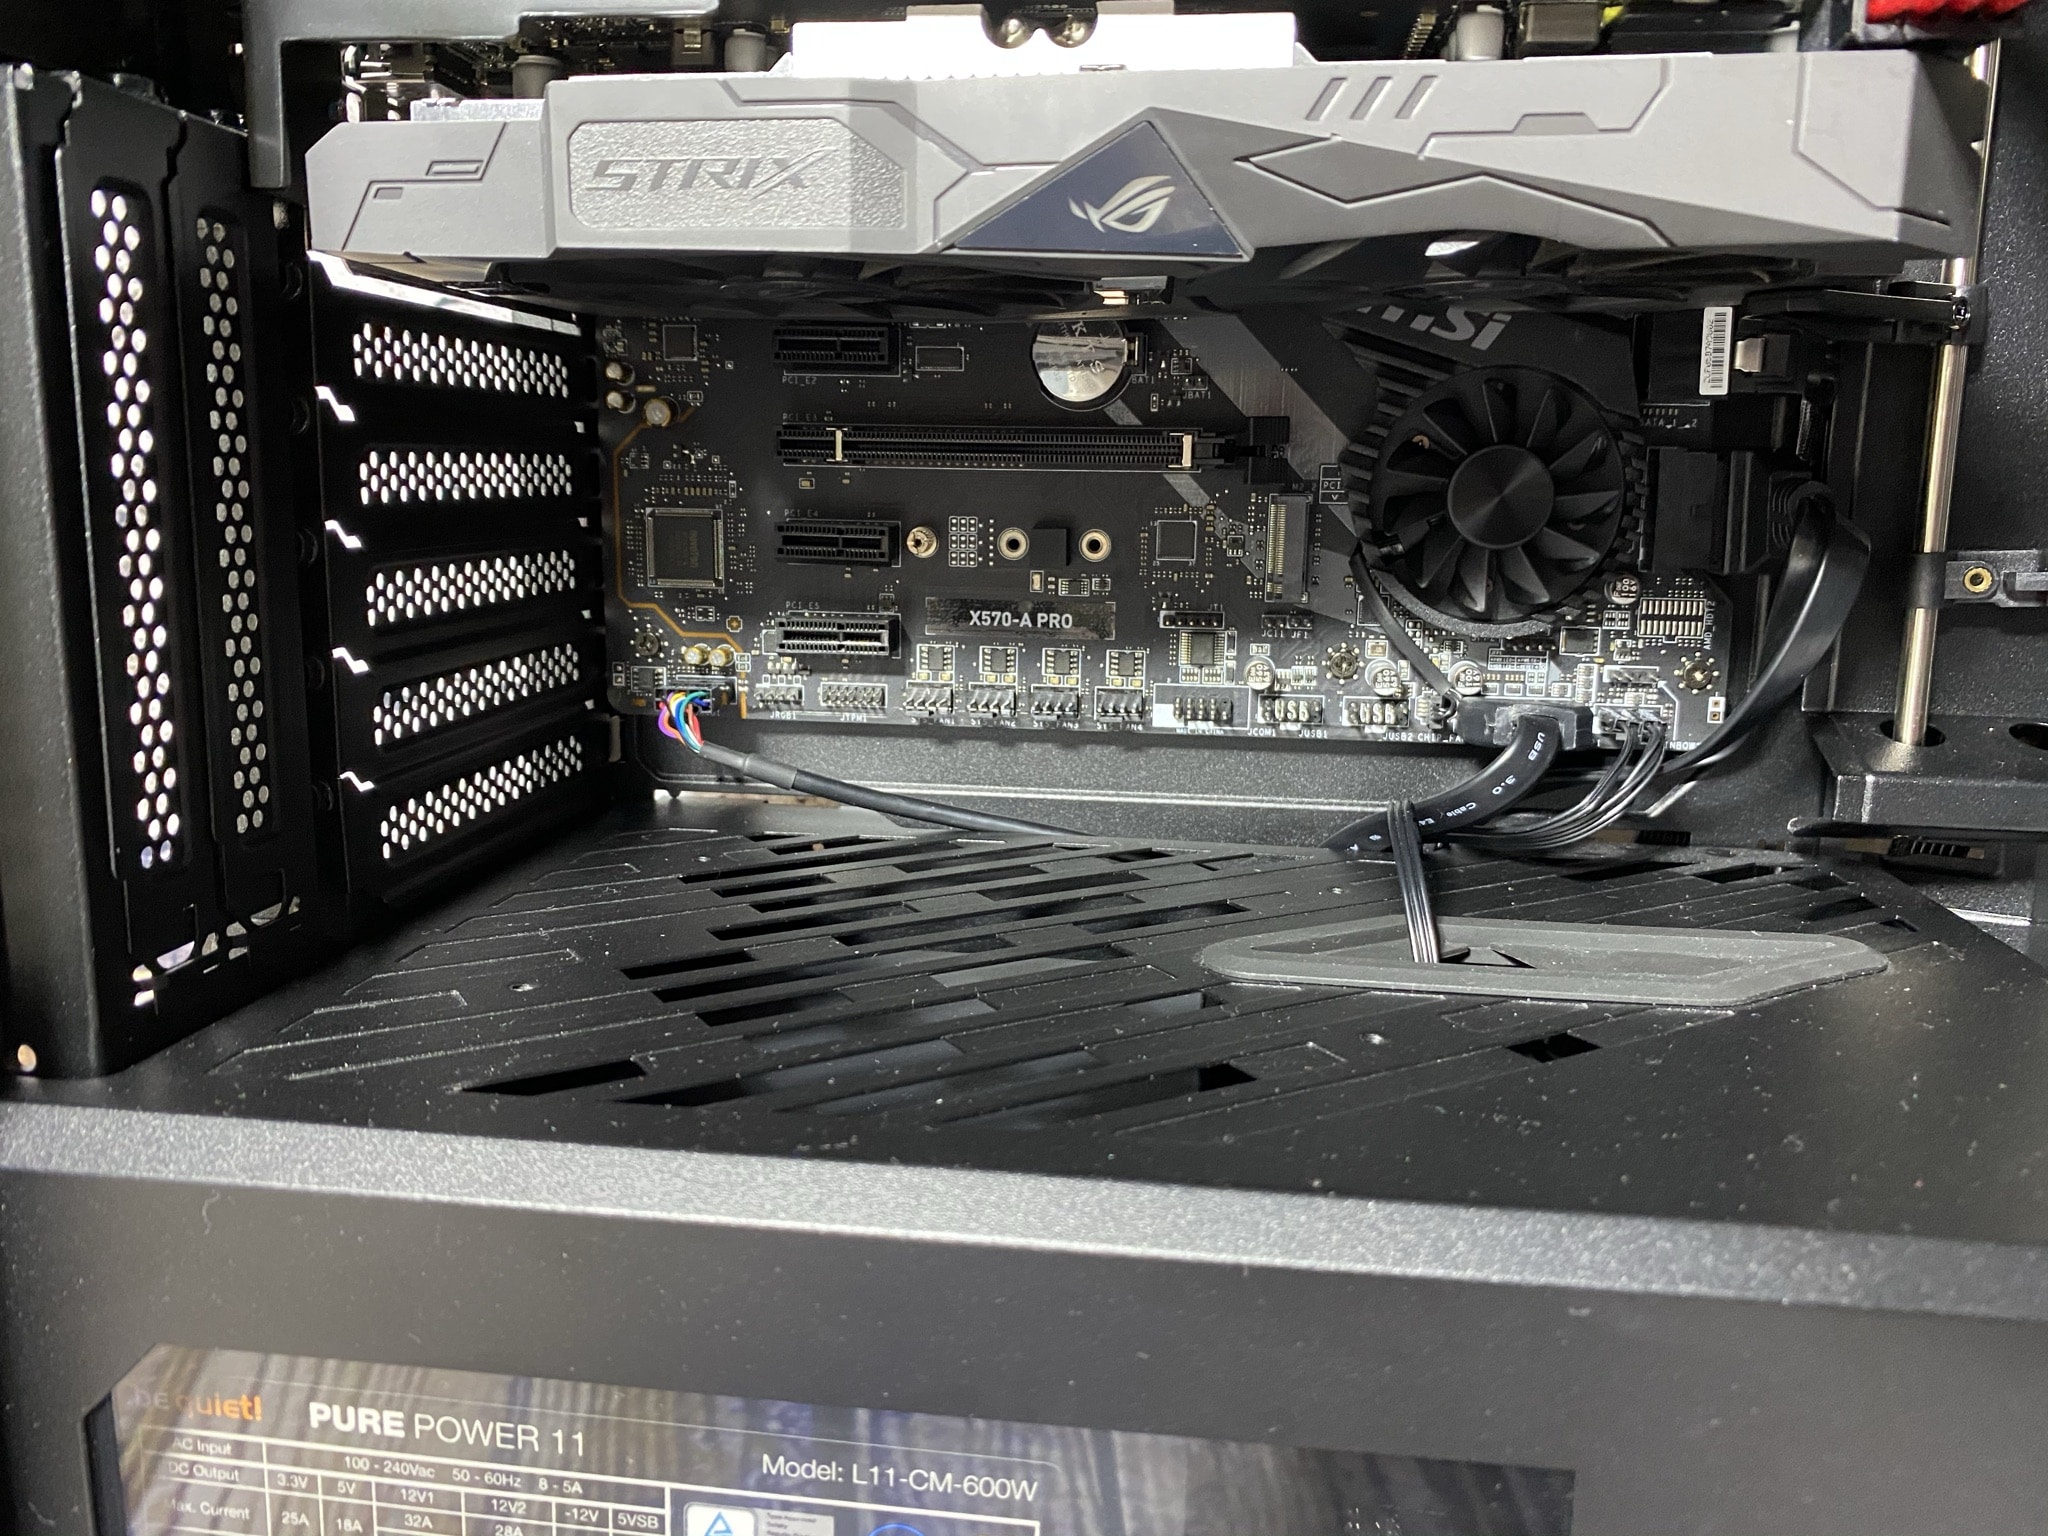
- MSI X570-A PRO
- 2x HyperX HX424C15FR2/8 Fury Red DDR4 8GB 2400MHz
- ASUS ROG Strix-RX570-O8GB-Gaming
- Apacer AP480GAS340G-1 AS340 Panther
- SanDisk SSD PLUS 240GB
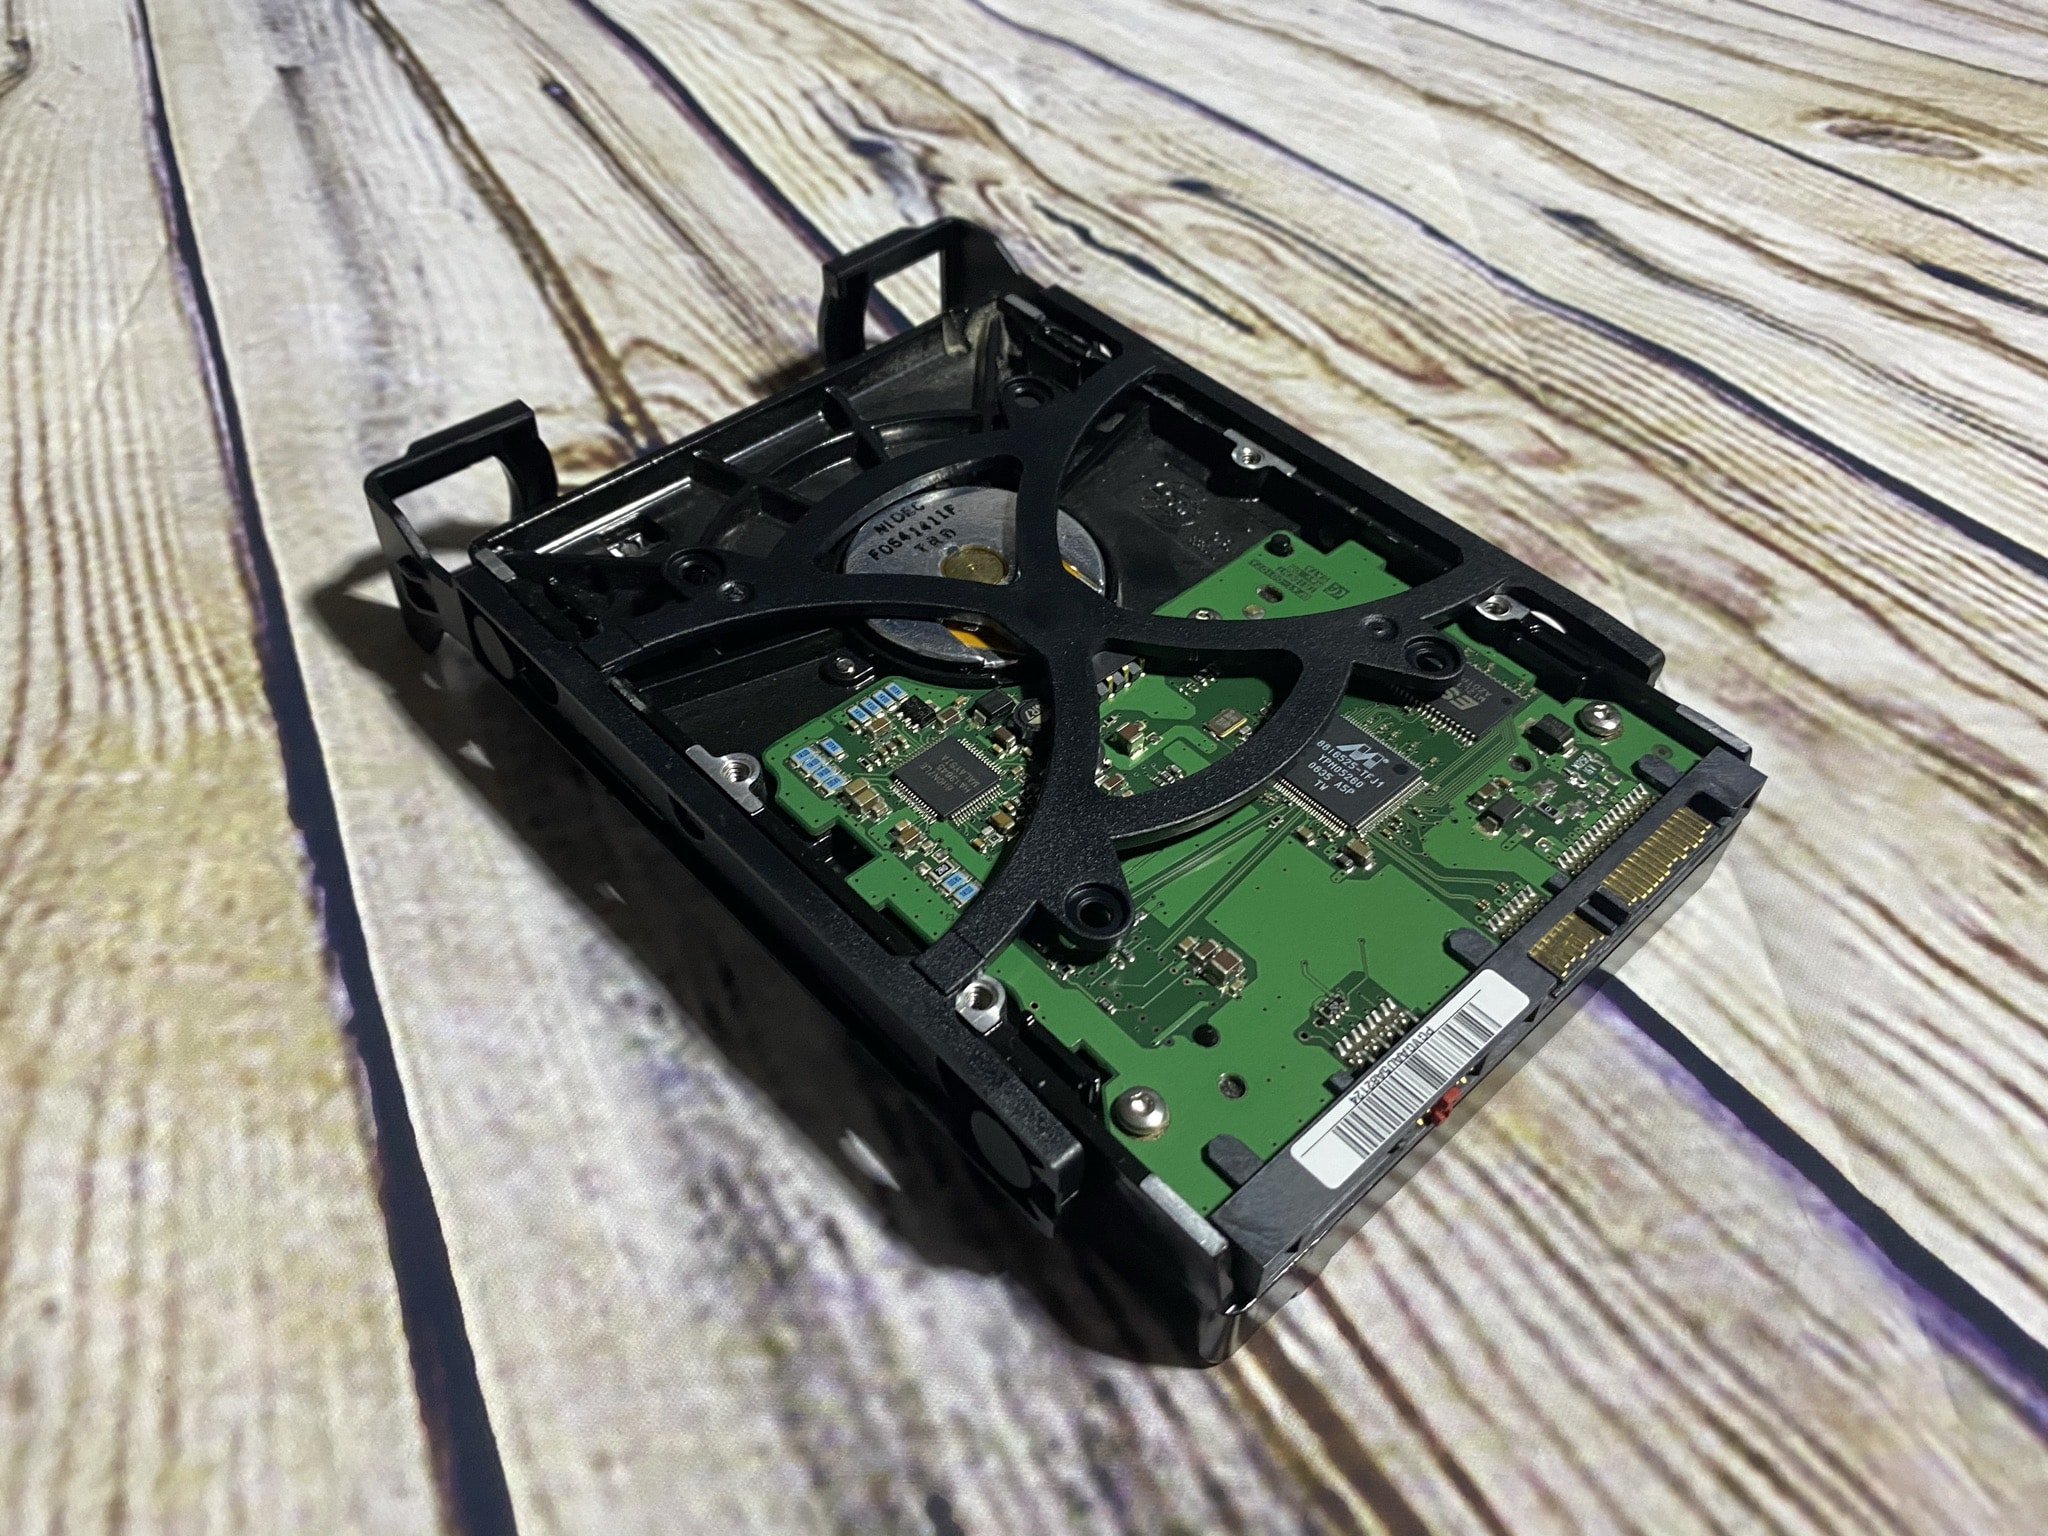
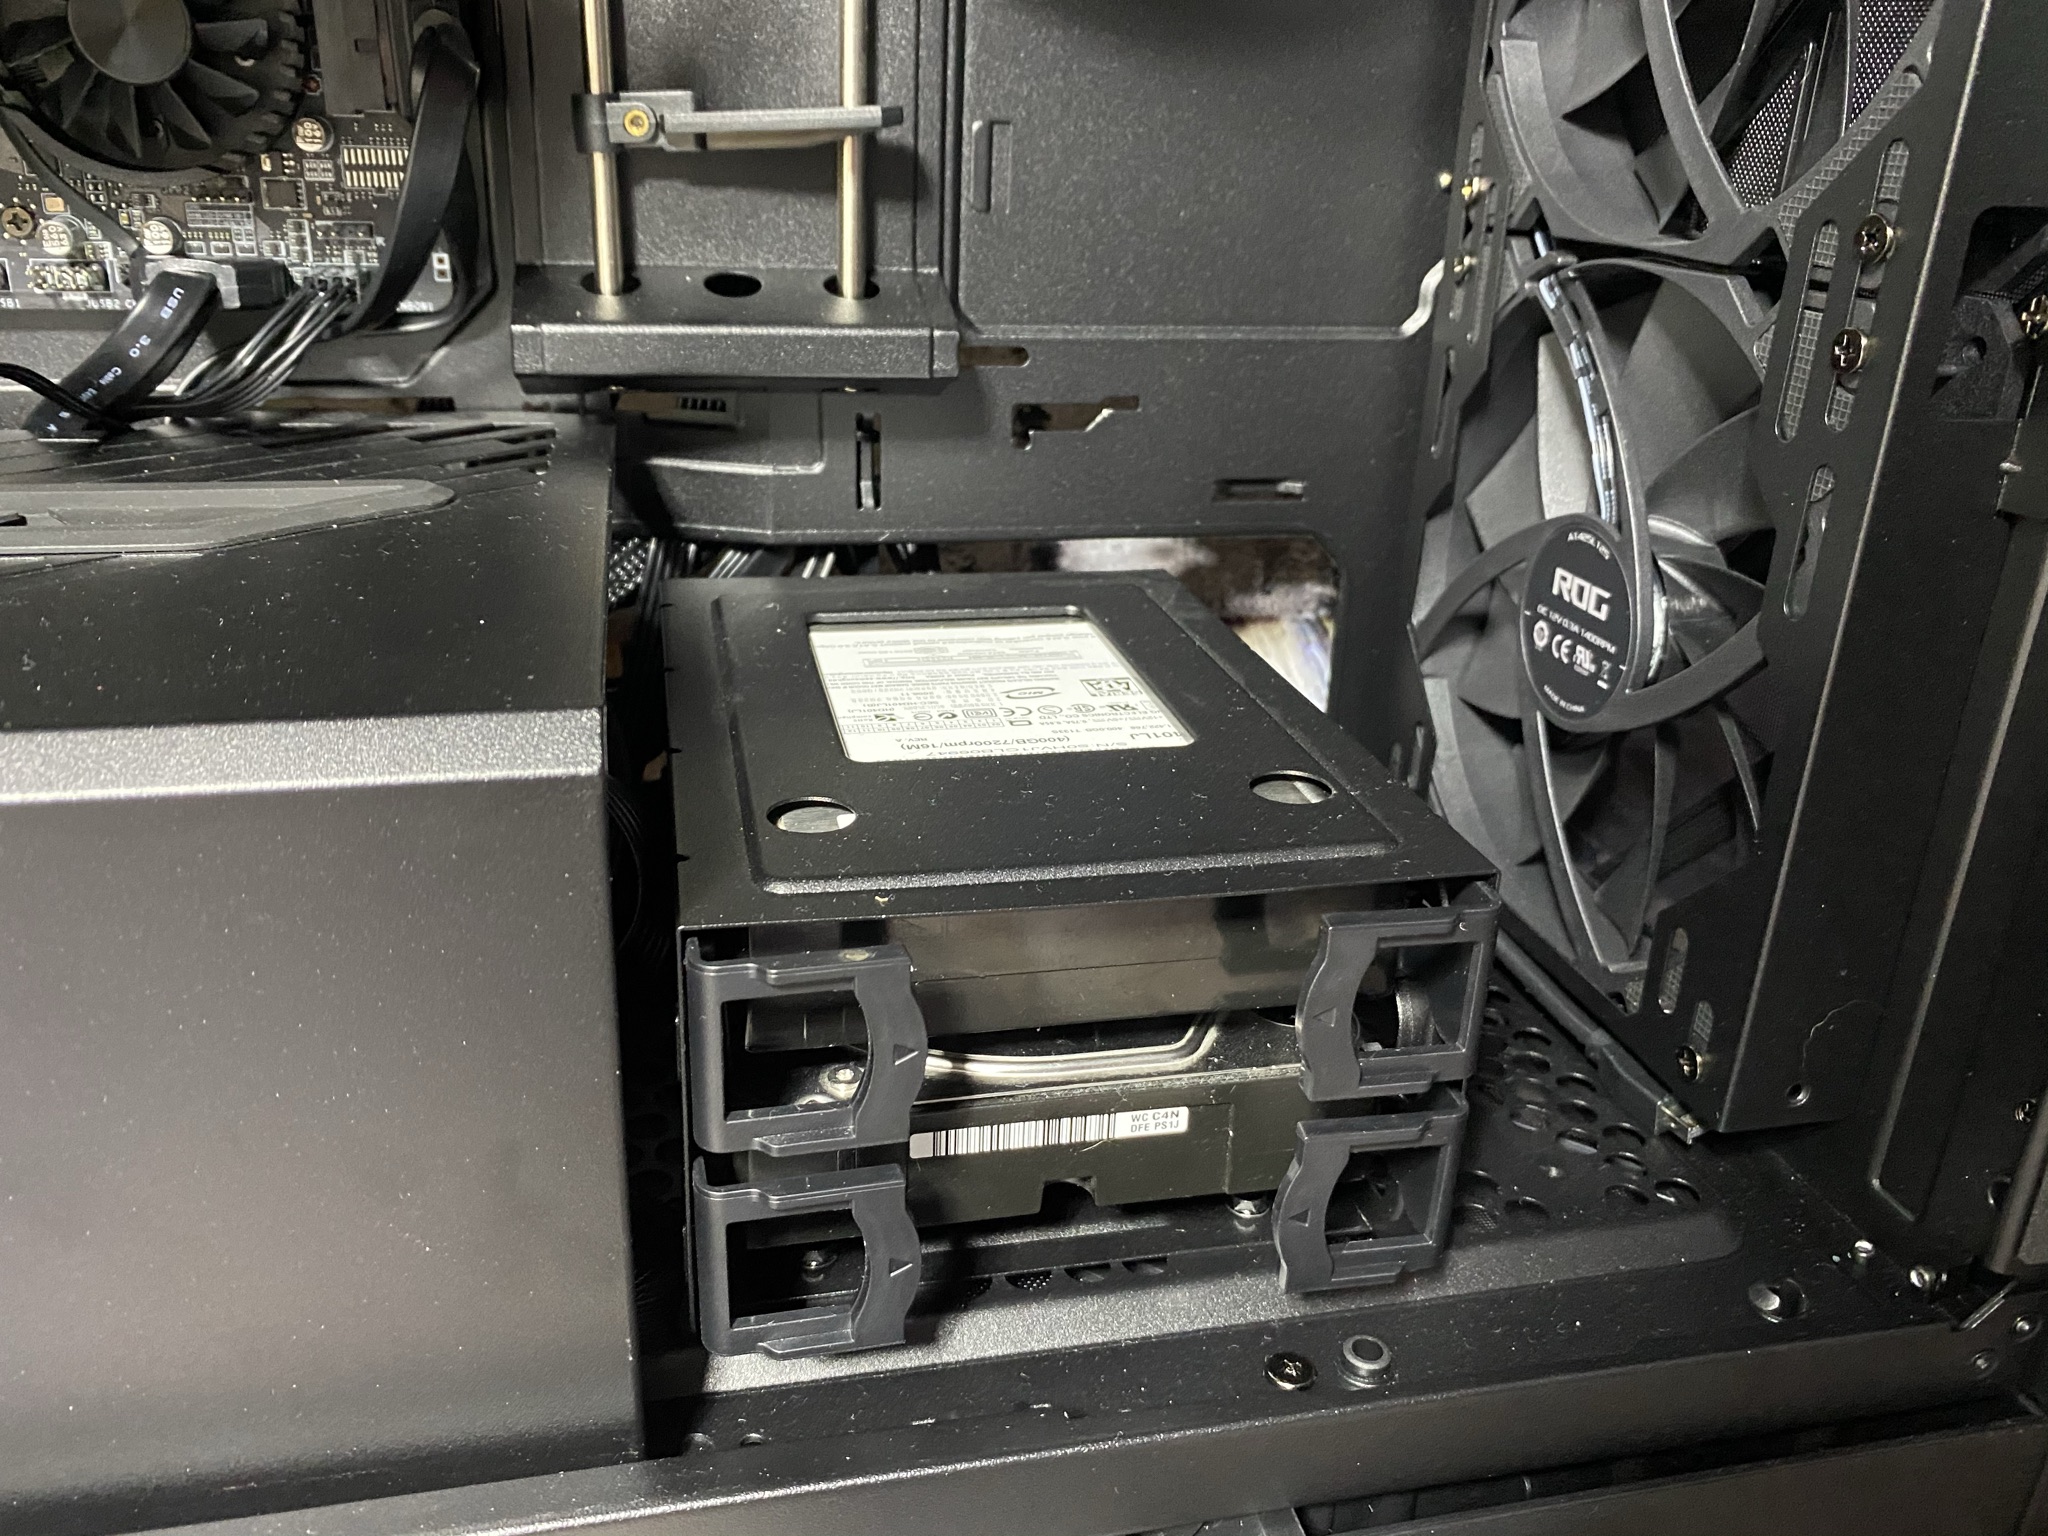
- 2x 400GB HDD Samsung HD400LD
- be quiet! STRAIGHT POWER11 CM 600 W


The Strix Helios is a colossus with beautiful details on the outside. Accordingly, the interior should make assembly less complicated due to its size.
Assembly was pretty unspectacular at one point or another, as the interior is very similar to other basic gaming cases. Thus, a lot of lost potential stands out for the price range and the size of the case. That much in advance: The assembly was largely problem-free, all components of the case have a first-class quality, can be easily detached and moved back to their intended place – the PC components fit exactly into the intended places.
One of these lost potentials is, for example, a missing RGB controller, which you can at least expect at this price. The ROG Aura terminal does have an intended slot, but this is at the same time only conditionally compatible with RGB controllers from other manufacturers.
Another problem is the accessibility of the HDD rail. In order to install or remove an HDD, you first have to unscrew half the case, with screws that are not directly visible, since the HDD slides are only accessible from the inside.
A small possibility escaped Asus when designing the cable management. If the plastic cover had been mounted on the opposite side, above the motherboard, and the SSD slides had been moved underneath the motherboard at the same time, the resulting free space on the left side would have allowed for more fans to be mounted. With little effort and a bit of redesign, you could have provided even more ventilation here, as it has been implemented for example with the Corsair iCUE 5000X RGB.
After everything has been installed, you of course remove the protective foils from the panels so that you can get started – but here Asus plays a little trick on us. They don’t stick the paper sticker with the warning to the protective foil, but directly to the screen. You have to be careful when removing the sticker, because otherwise annoying adhesive residues will stick to the screen.

Cooling
To test the cooling performance of the Strix Helios, we measured the temperature of the system under no load and under load from Prime95 and FurMark. The whole thing in each case in a 30-minute interval with a room temperature of about ~20 °C. The system’s values were set to the default values. You can see our results in the following table:
| Fan performance | temperature CPU | GPU temperature |
| 5V without load (LOW) | 38°C | 26°C |
| 12V with load (HIGH) | 74°C | 75°C |
Due to the built-in 140mm fans, it was clear from the start that enough air would be pulled into the case for proper cooling – the results we tested confirm this. The front panel has more than enough space between it and the fans, allowing plenty of air to enter from above and below here. The size of the rear fan is also very nice; it transports enough air out of the case. If you install a radiator on top, like we did, the airflow of the Strix Helios is coherent!
In order to not have to control the fans via the BIOS, the built-in ROG fan controller has a small feature – on the front IO panel, you can decide whether the fans should turn LOW or HIGH by pressing a button. However, the usefulness is a bit lost since the controller is also connected to the motherboard. However, it is ideal for testing the resulting soundscape. The case is very well insulated, it lets almost no noise escape at the insulated spots on the windows. In addition, the pre-installed fans are not noticeably loud under full load.
Lighting
The only pre-installed lighting we find is on the front of the case. Here, the glass panel is illuminated from the sides with two LED strips, allowing the ROG pattern on the slide to glow. The lighting can be controlled via a button on the front IO panel and optionally via the motherboard with a 4-pin RGB connector. The modes for the lighting are all standard and not particularly unusual.

There is one thing we would like to share with you again: Anyone who is into extensive RGB lighting inside the case should hold off on this model if the look of the front is important to them. The more light coming from the inside, the more you’ll see the light shining through the front fans, thus distorting the actual effect – Subtle RGB lighting is the most likely fit for the Strix Helios.
Conclusion
The ASUS ROG Strix Helios is a high-quality case from the ROG series, which is largely worth its very high price. The workmanship is spot on and the sophistication of the attached details is worth mentioning – any ROG Strix fan will be fully satisfied with this case. The assembly of the components can lead to limits and problems at one point or another, but nothing that takes away the fun. All of the features brought to the case are satisfactory. However, there are still small steps missing, such as an included RGB controller, to the perfect case.
On the website of the ASUS ROG Strix Helios is advertised with the carrying straps of the case that you can easily carry the case to the next LAN party. Unfortunately, we can’t confirm this, as lifting the case onto your own desk becomes a challenge due to its own mass. We can only give a limited buy recommendation for this midi tower, because there are comparatively some much cheaper variants on the case market, such as the iCUE 5000X RGB, which is about 100 € cheaper and offers more features at the same time.

A midi tower that resembles a colossus - The ASUS ROG Strix Helios is a solid gaming tower in ROG optics that can be seen! However, the price could be set a bit lower.ASUS ROG Strix Helios
Workmanship
Structure
Features
Dampening
Cooling
Value for money
85/100